20 Brilliant Home Aesthetic DIY Ideas to Try
20 Brilliant Home Aesthetic DIY Ideas
There is something deeply satisfying about walking into a room and knowing you made it beautiful with your own two hands. These 20 brilliant home aesthetic diy ideas prove that you do not need a designer budget to create a home that feels calm, curated and completely you. Every project below uses affordable materials, simple tools and a free afternoon, yet each one delivers that polished, magazine-worthy finish we all scroll past on Pinterest. Whether you are refreshing a rented flat or slowly styling your forever home, pick one idea, gather your supplies and start today. Small changes, made with care, are what turn a house into a home.
1. Paint a Warm Neutral Accent Wall
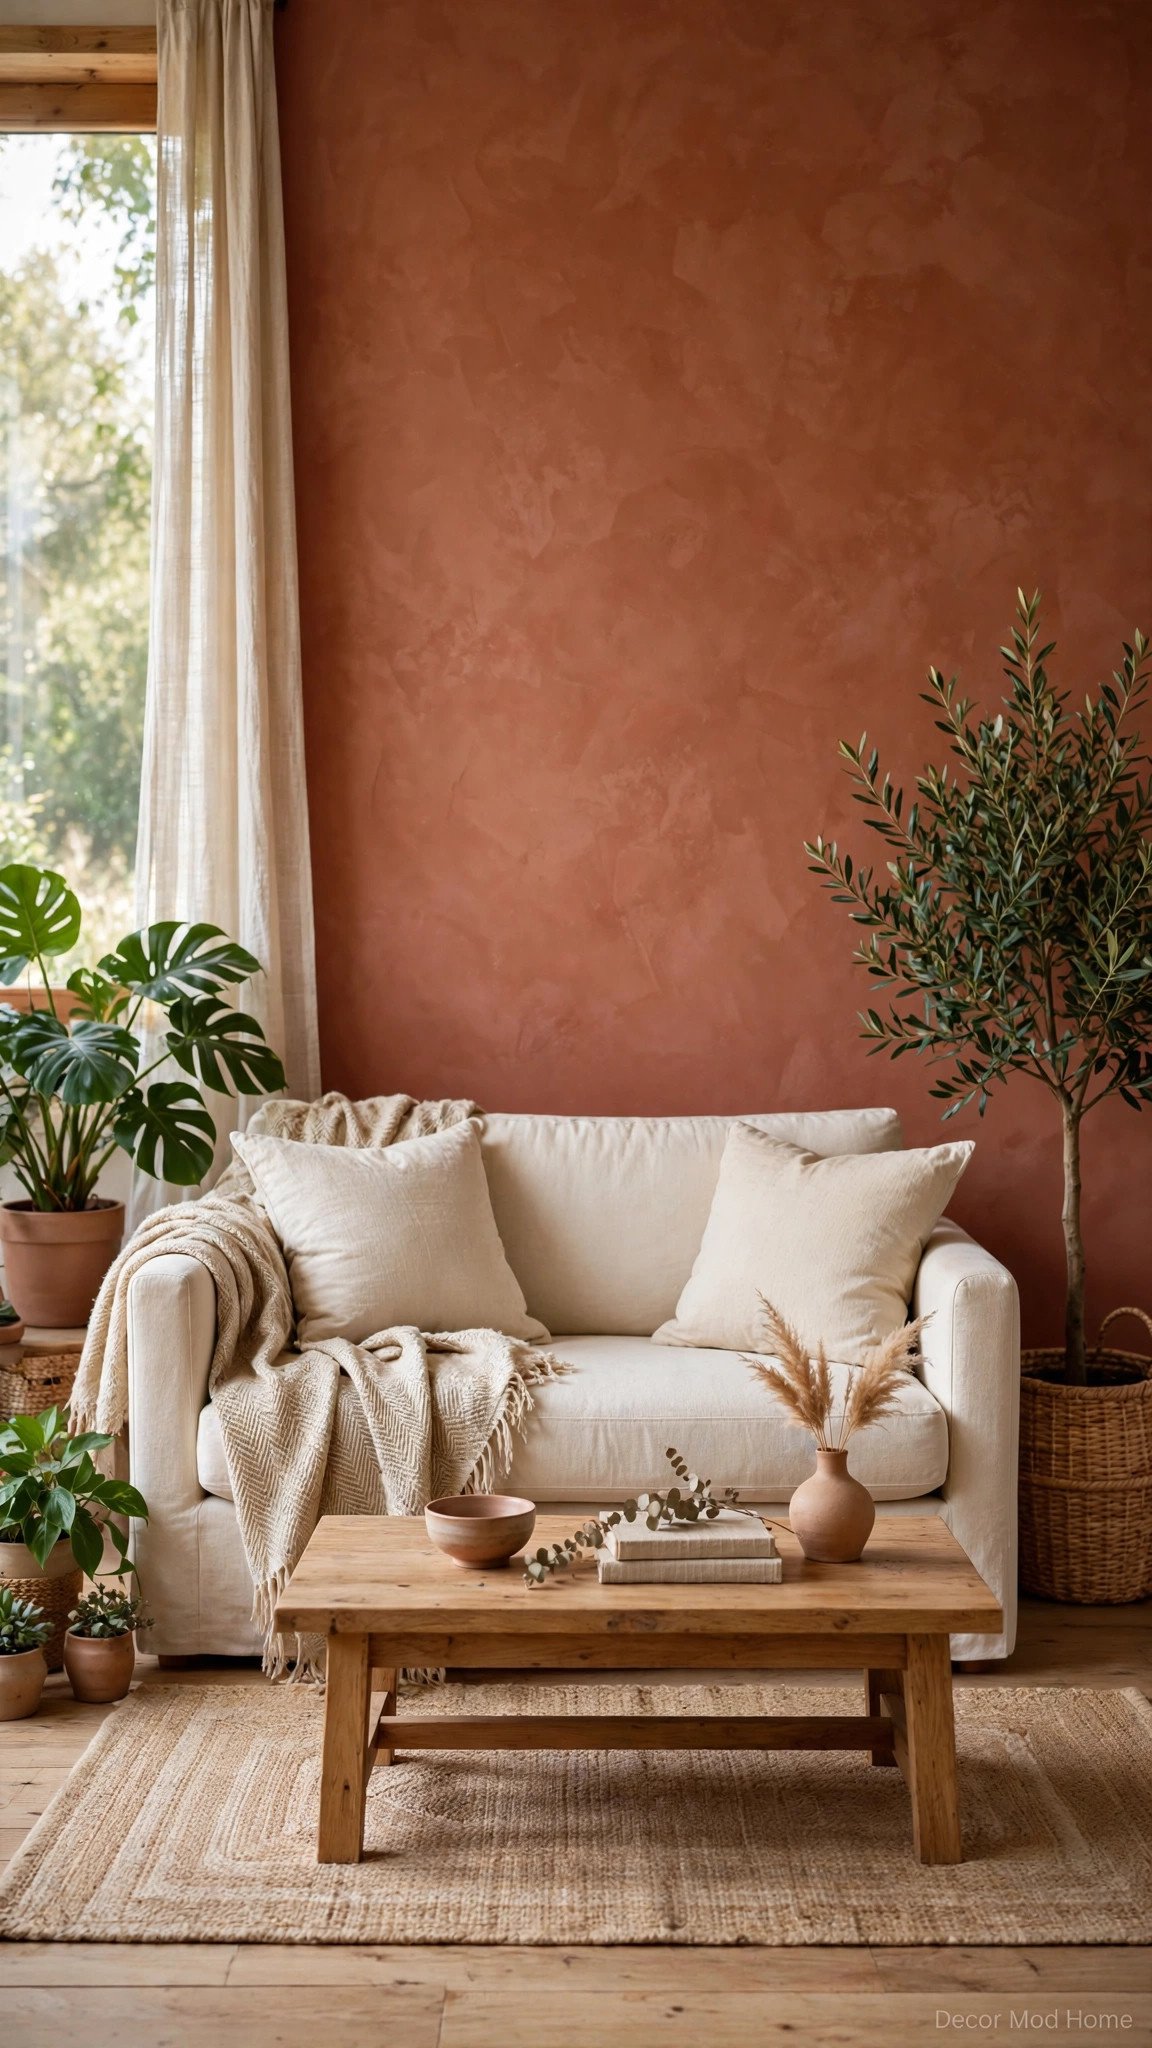
A single accent wall is the fastest way to change how a room feels, and warm neutrals do it without shouting. Choose a shade like terracotta, warm clay, soft caramel or muted olive, and paint the wall behind your sofa or bed. Keep the remaining walls light so the colour has room to breathe. Use painter’s tape for crisp edges, apply two coats, and let each coat dry fully before the next. Style the wall with a piece of art or a plant to anchor it. The result is a cosy, layered backdrop that makes even budget furniture look intentional. A tester pot costs very little, so try two shades on paper first and watch them in morning and evening light.
2. Try a Limewash Plaster Wall
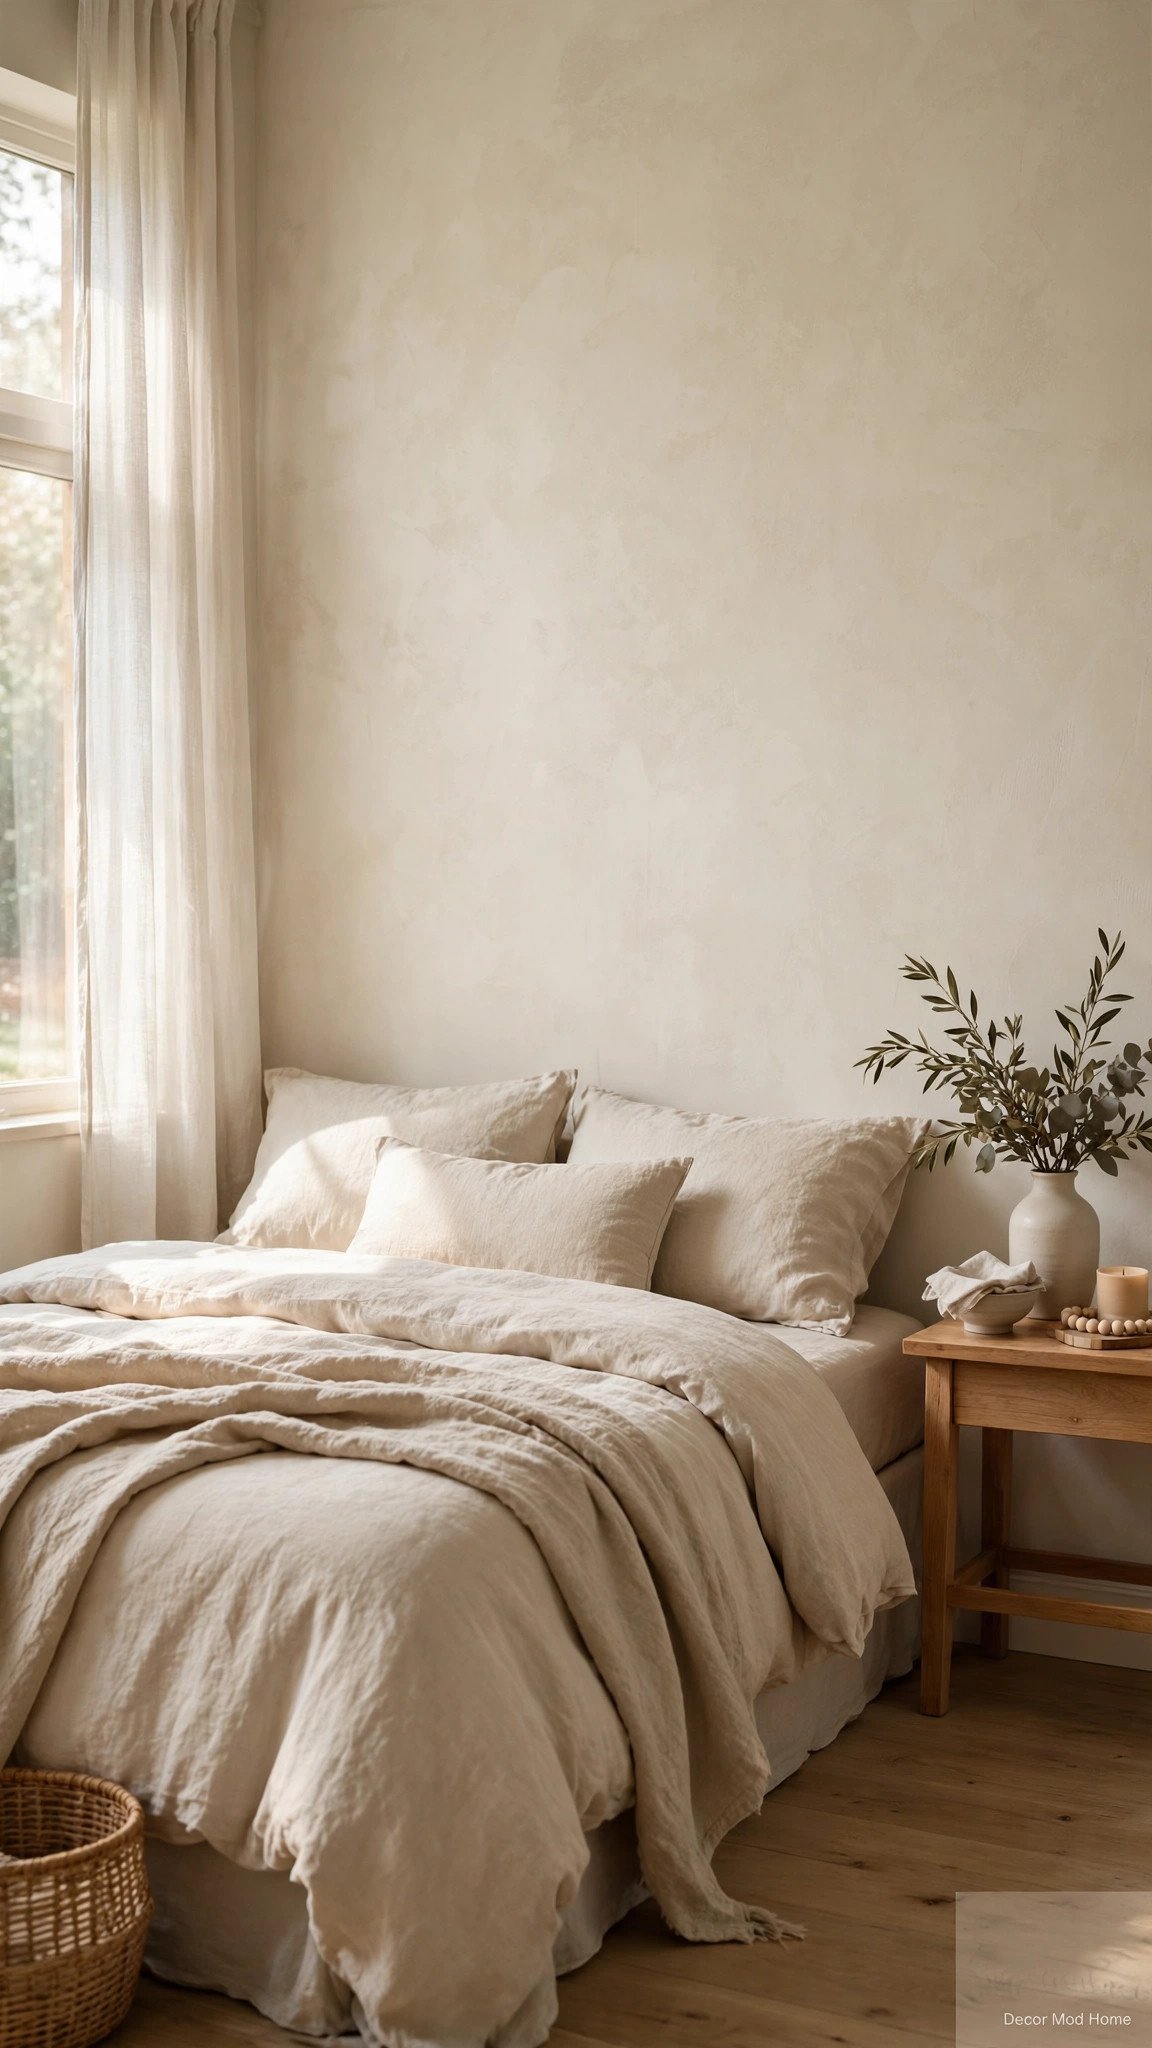
Limewash gives walls a soft, cloudy texture that flat paint simply cannot match. It is forgiving, organic and wonderfully forgiving of imperfect walls, which makes it perfect for older homes. Buy a ready-made limewash paint in a warm off-white or pale sage, then apply it with a large block brush in loose, overlapping strokes. Work in sections and embrace the natural variation — that is the whole point. Two coats usually deliver the dreamy, old-world finish. Seal it only if the wall will be touched often. Pair your new wall with linen bedding, wooden furniture and a single ceramic vase for a bedroom that feels like a boutique hotel.
3. Style Floating Shelves Like a Vignette
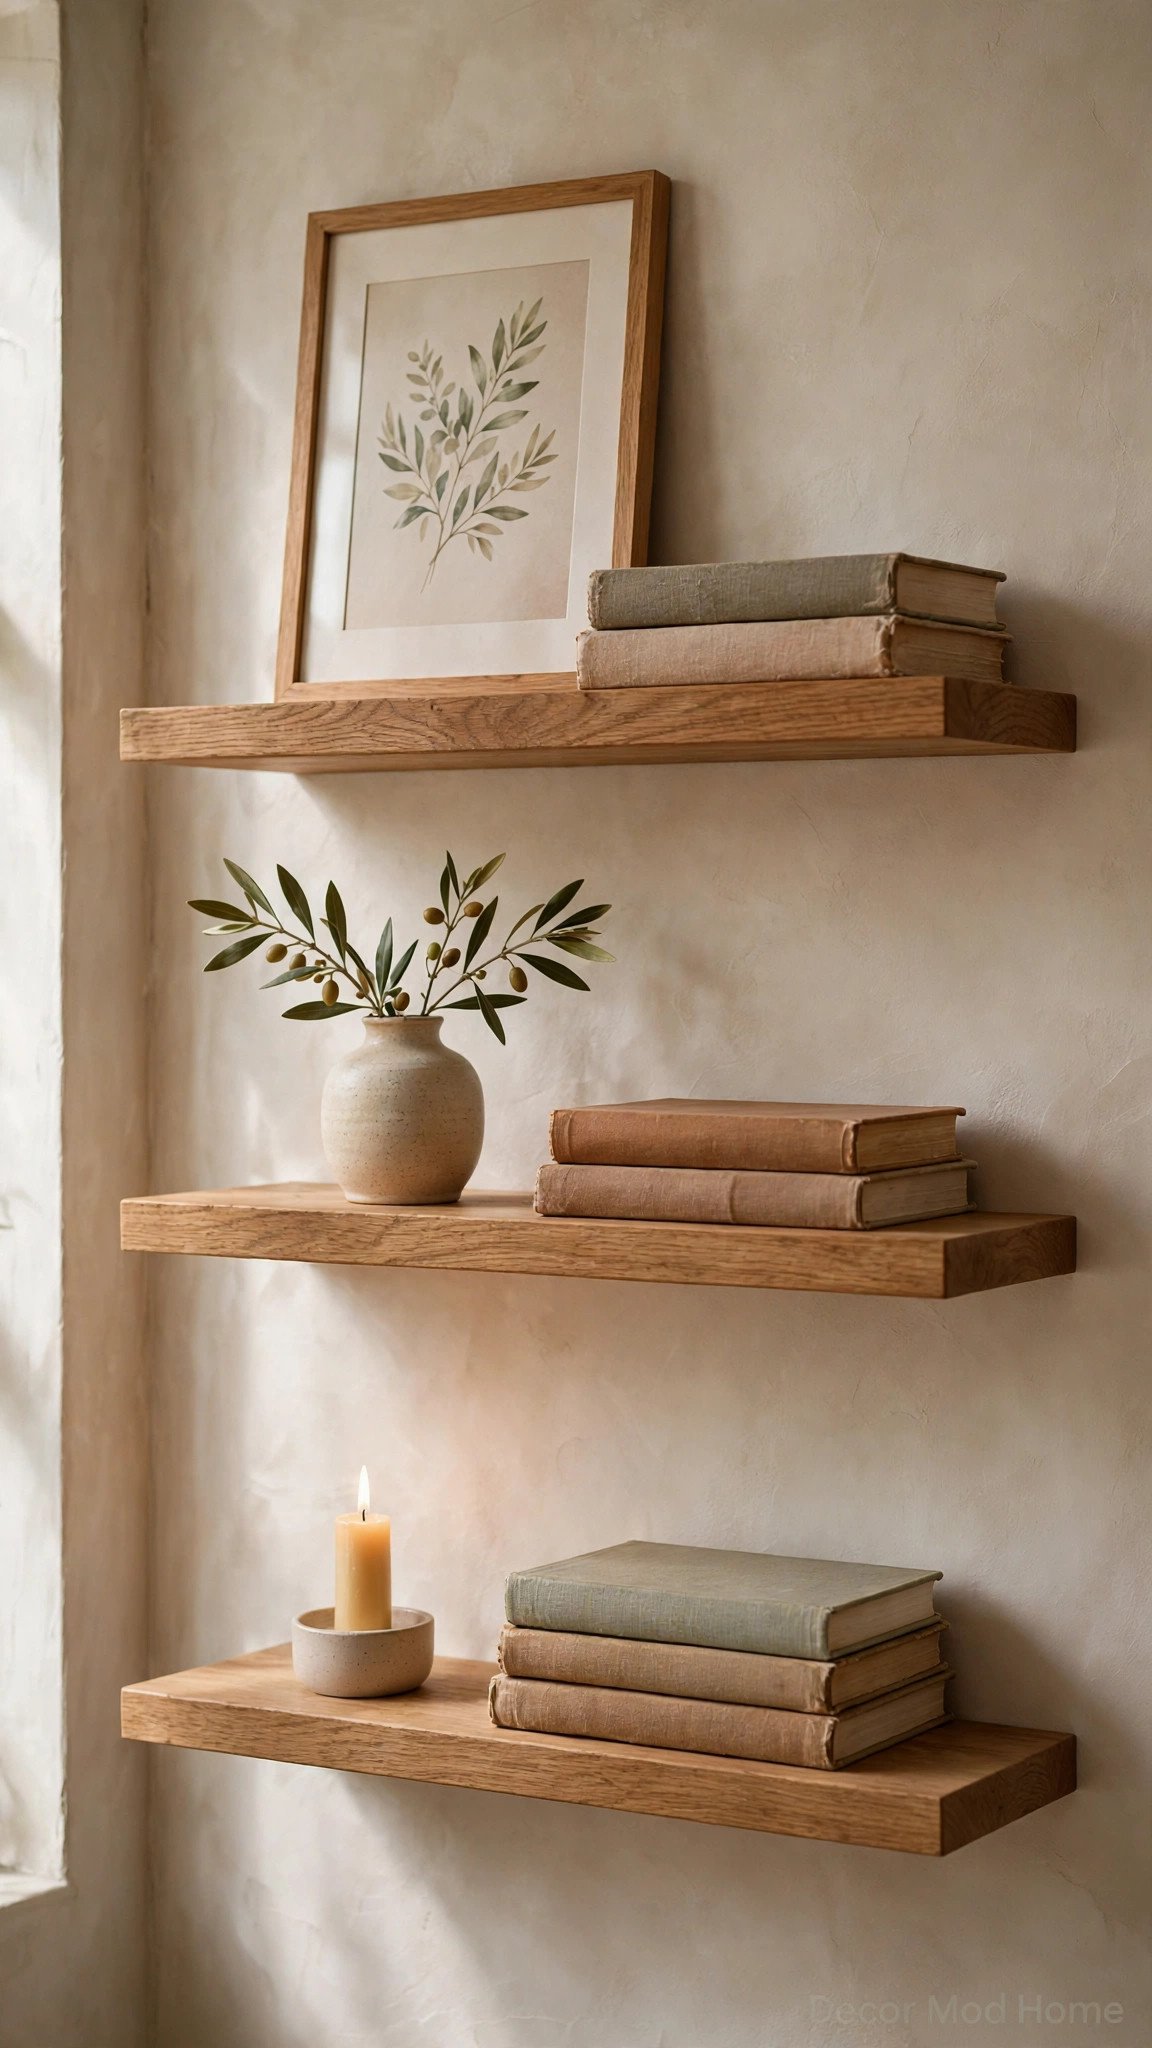
Floating shelves only look effortless when they are styled with intention. Start with two or three shelves in a warm wood tone, mounted at eye level. Then group objects in odd numbers: a stack of books, a small vase, a candle and a framed print. Vary heights and textures — ceramic next to wood, glass next to linen — and leave a little breathing space between groups so the shelf does not look cluttered. Hang one small piece of art above the top shelf to draw the eye upward. The beauty of this project is that it costs almost nothing if you shop your own home first, rearranging pieces you already own into fresh combinations.
4. Apply Peel-and-Stick Wallpaper
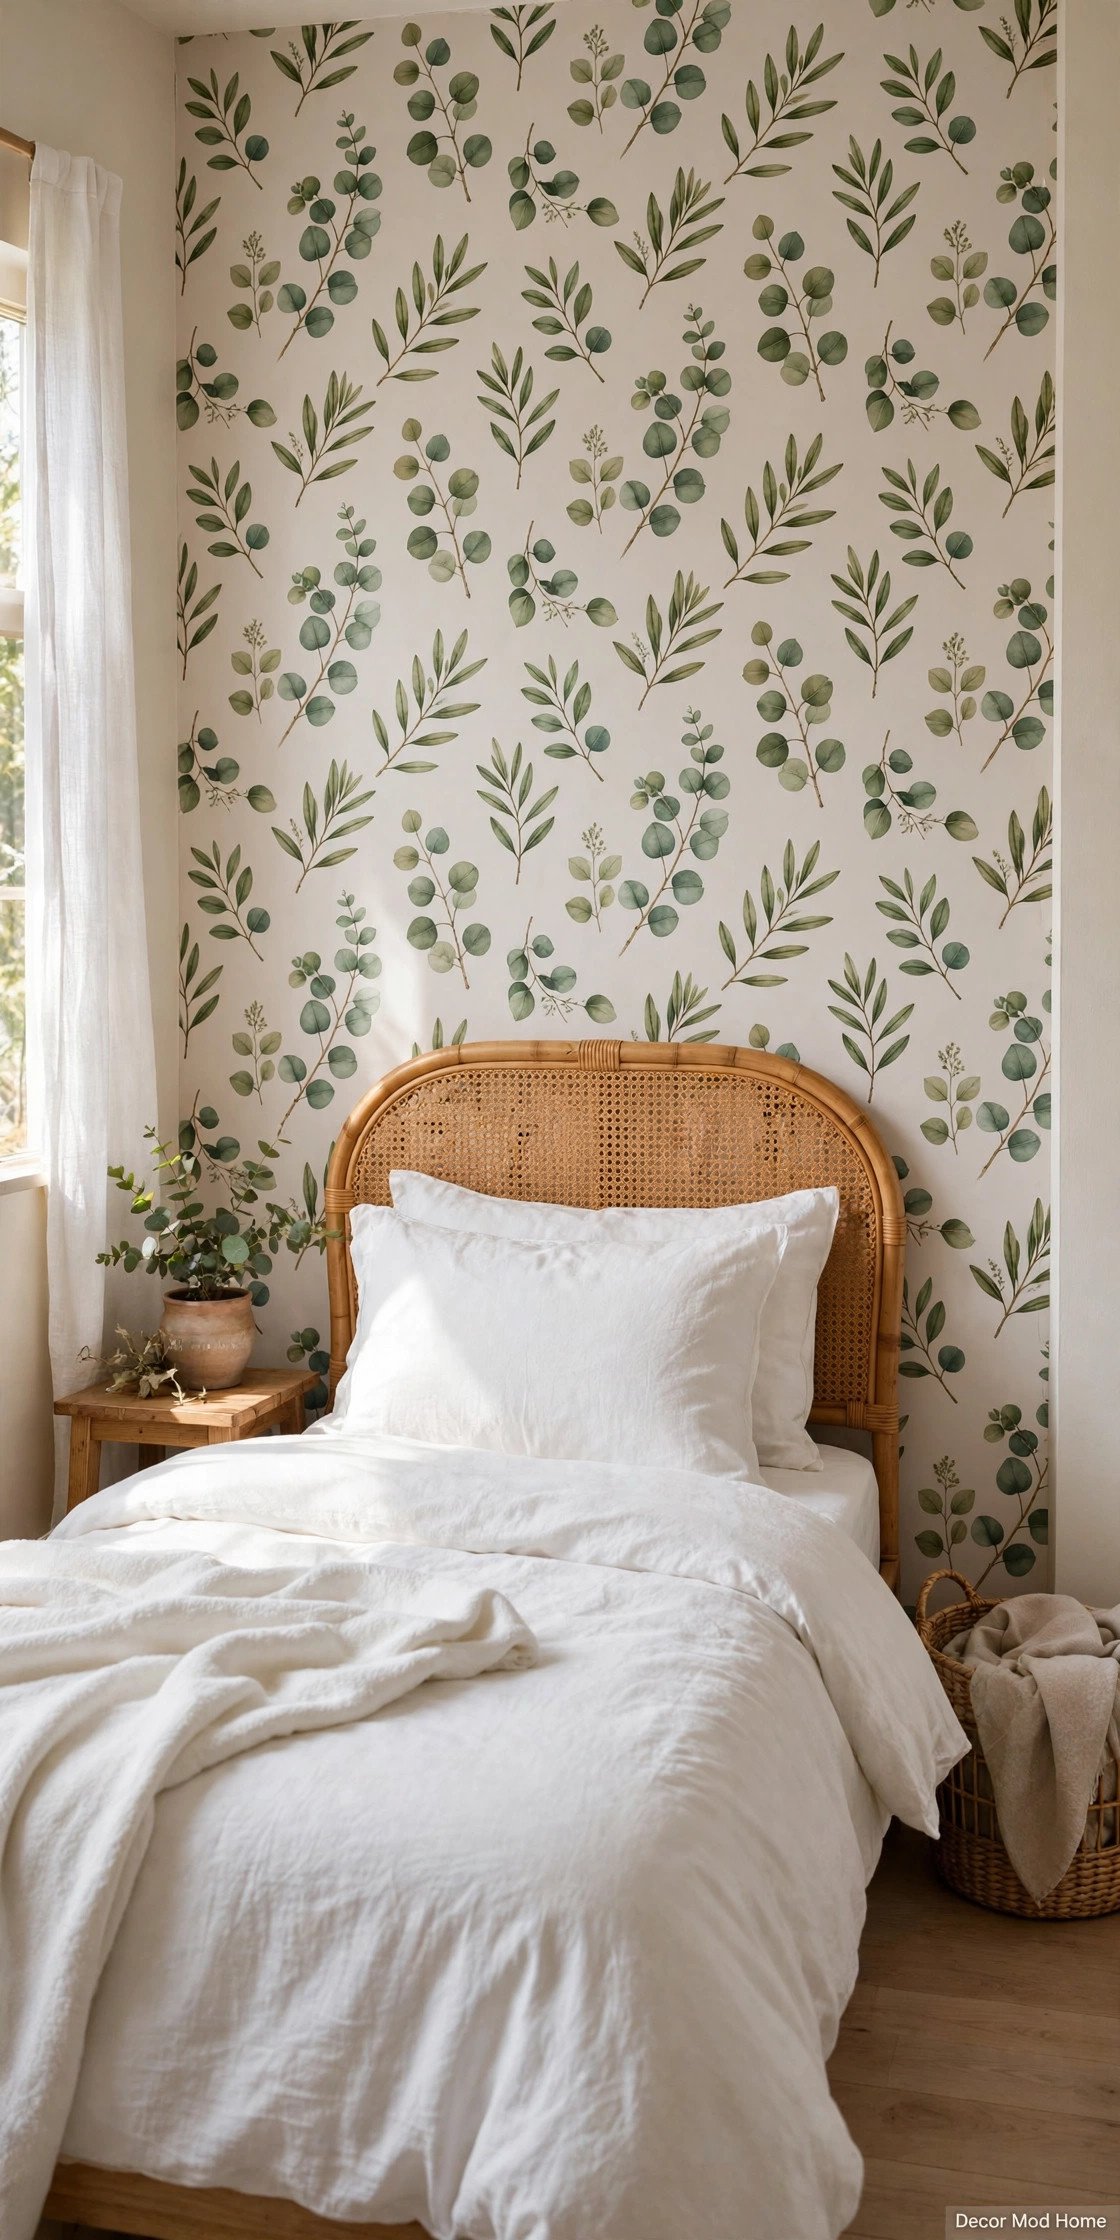
Peel-and-stick wallpaper is the renter’s best friend and the commitment-phobe’s dream. Choose a botanical, gingham or soft striped print and apply it to a single feature wall — behind the bed works beautifully. Measure carefully, cut panels a few centimetres long, and smooth from the centre outward with a plastic smoother to avoid bubbles. The trick is patience: peel a little, stick a little, smooth as you go. When you move out, it peels away without damage. One roll usually covers a small wall, and the transformation is instant. Add matching bedding in a solid colour so the pattern stays the star.
5. Create a Thrifted Mirror Gallery Wall
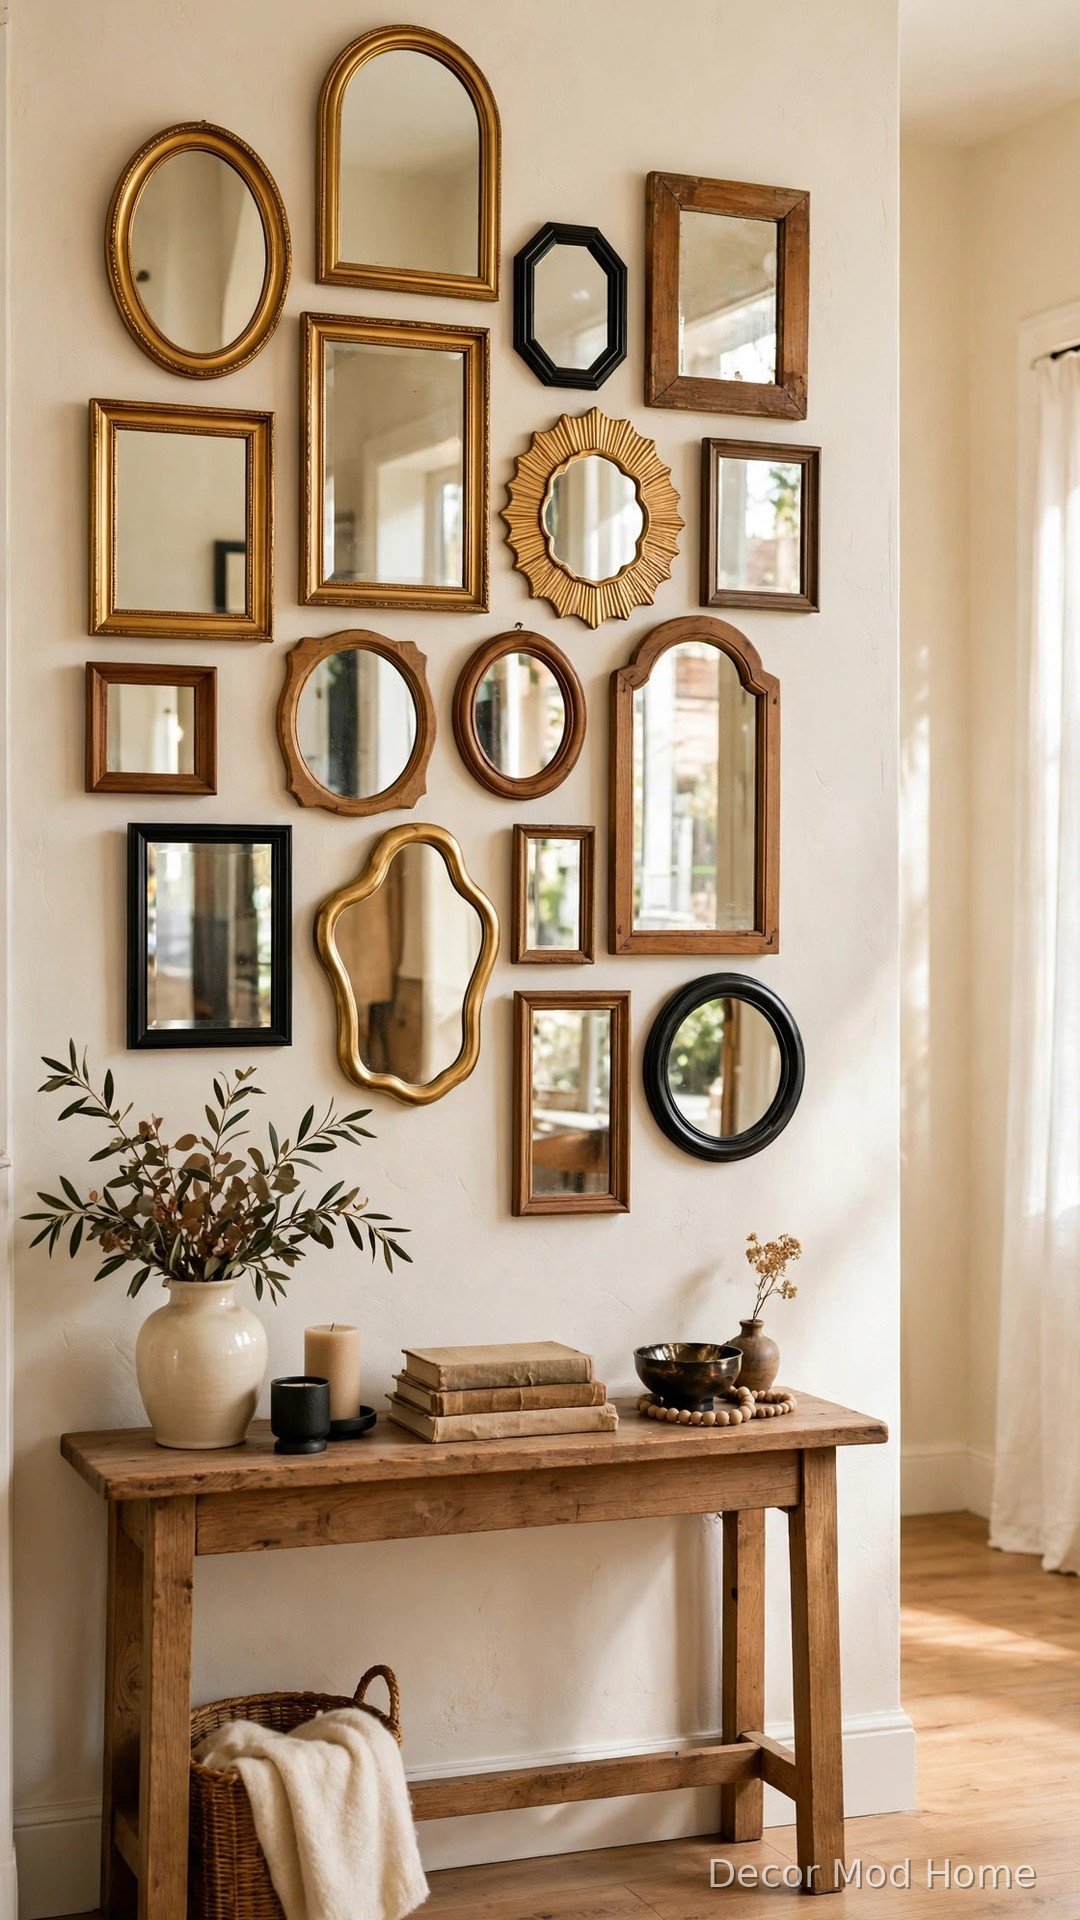
A gallery of mirrors bounces light around a room and makes small spaces feel twice their size. Collect mirrors from charity shops, car boot sales and online marketplaces — mismatched shapes are part of the charm. Spray-paint the frames in a cohesive palette of gold, black and warm wood so the collection feels curated rather than random. Lay the arrangement on the floor first, photograph it, then hang it using the photo as your guide. Keep spacing even, around five centimetres apart. Hang the gallery in a hallway or above a console, where it will catch natural light and double your decor.
6. Make a Macramé Wall Hanging
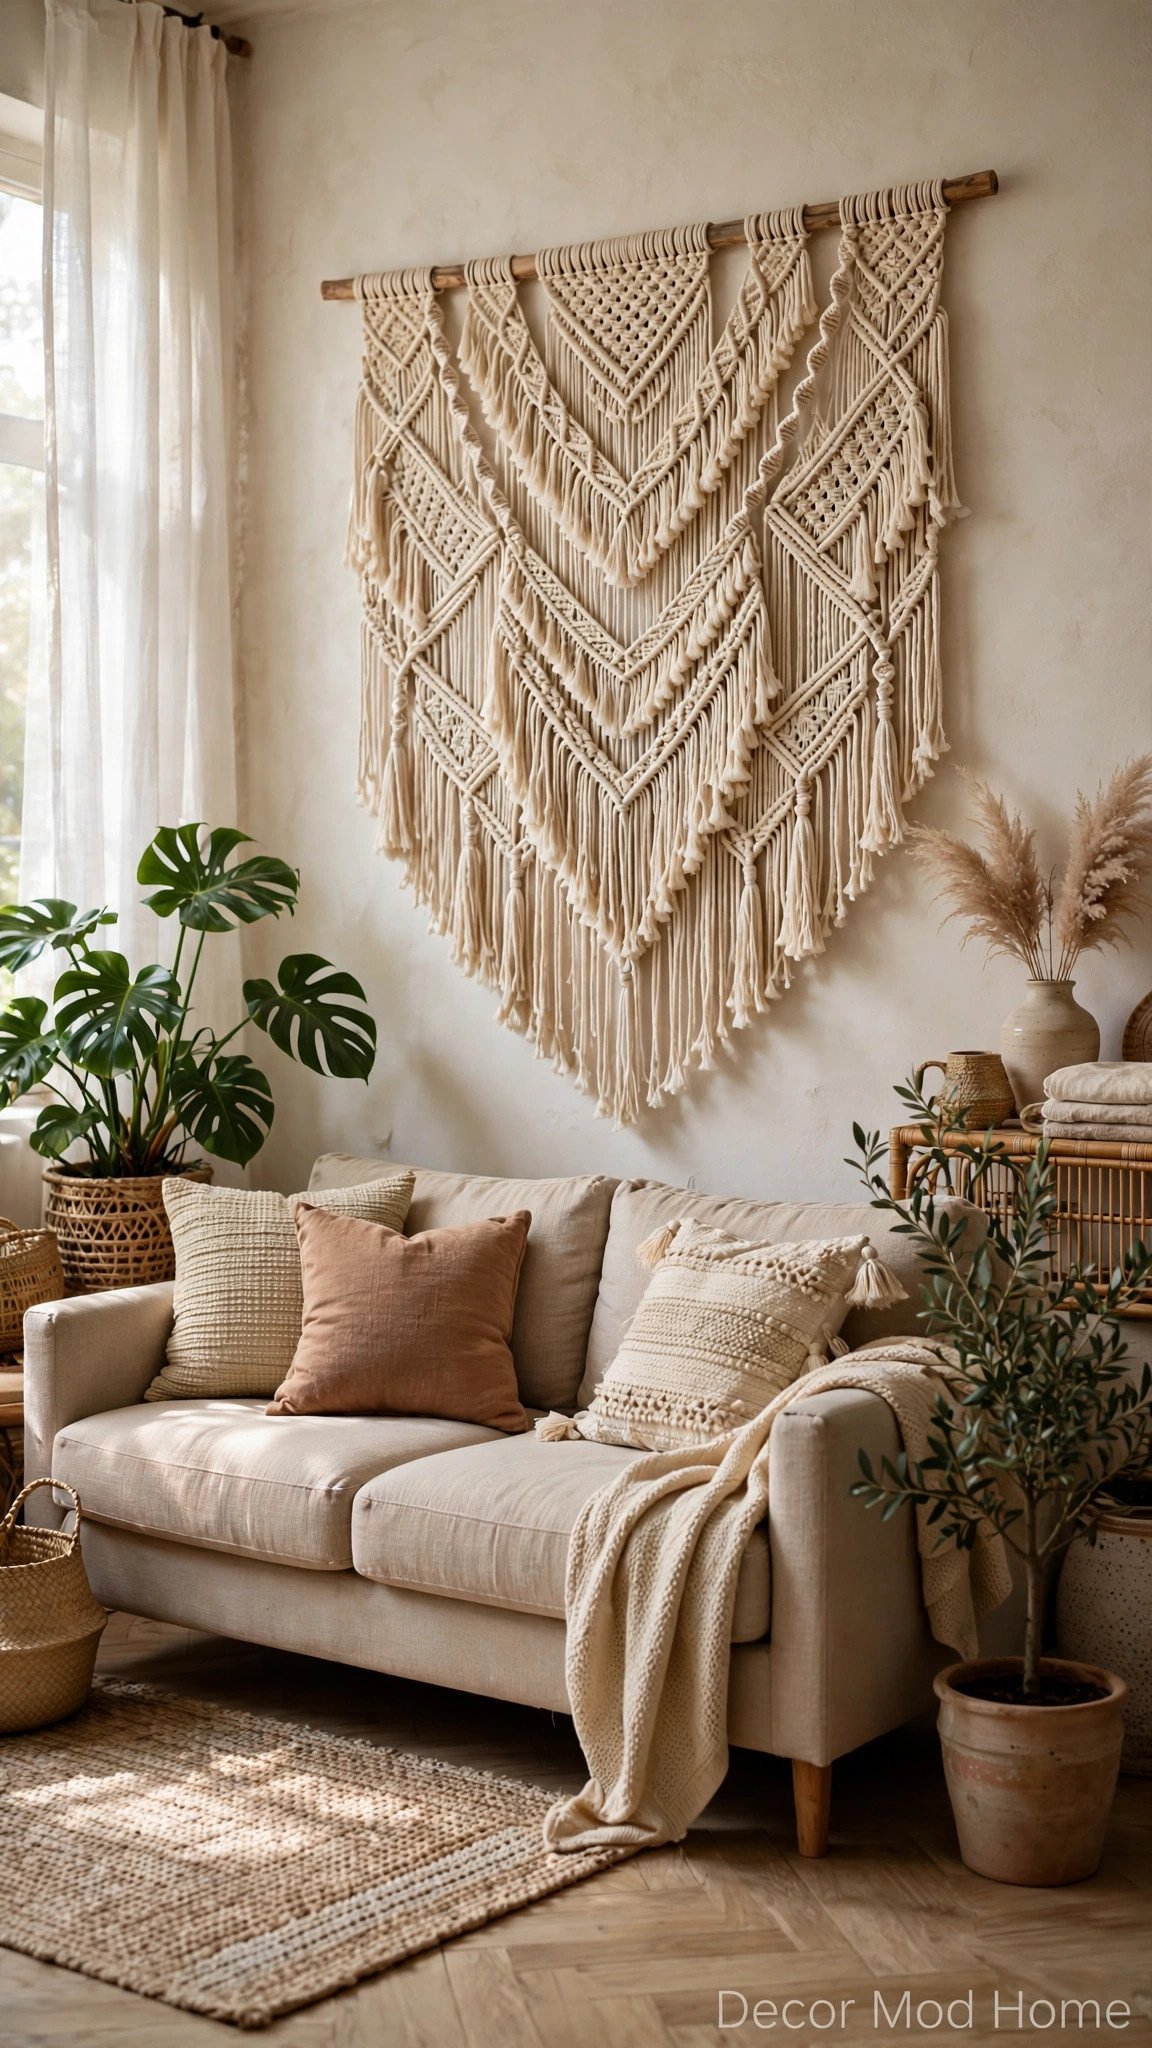
Macramé is easier than it looks, and a handmade wall hanging adds instant warmth and texture. All you need is cotton cord, a wooden dowel and one basic knot — the square knot — repeated in a simple pattern. Online tutorials walk you through it in under an hour. Choose natural cream cord for a soft, boho feel, and trim the fringe with sharp scissors for a neat finish. Hang your piece above a sofa or bed, and let it soften the wall behind it. Once you master the basics, you can scale up to plant hangers, curtain tiebacks and even a headboard.
7. Stencil Your Floor Tiles
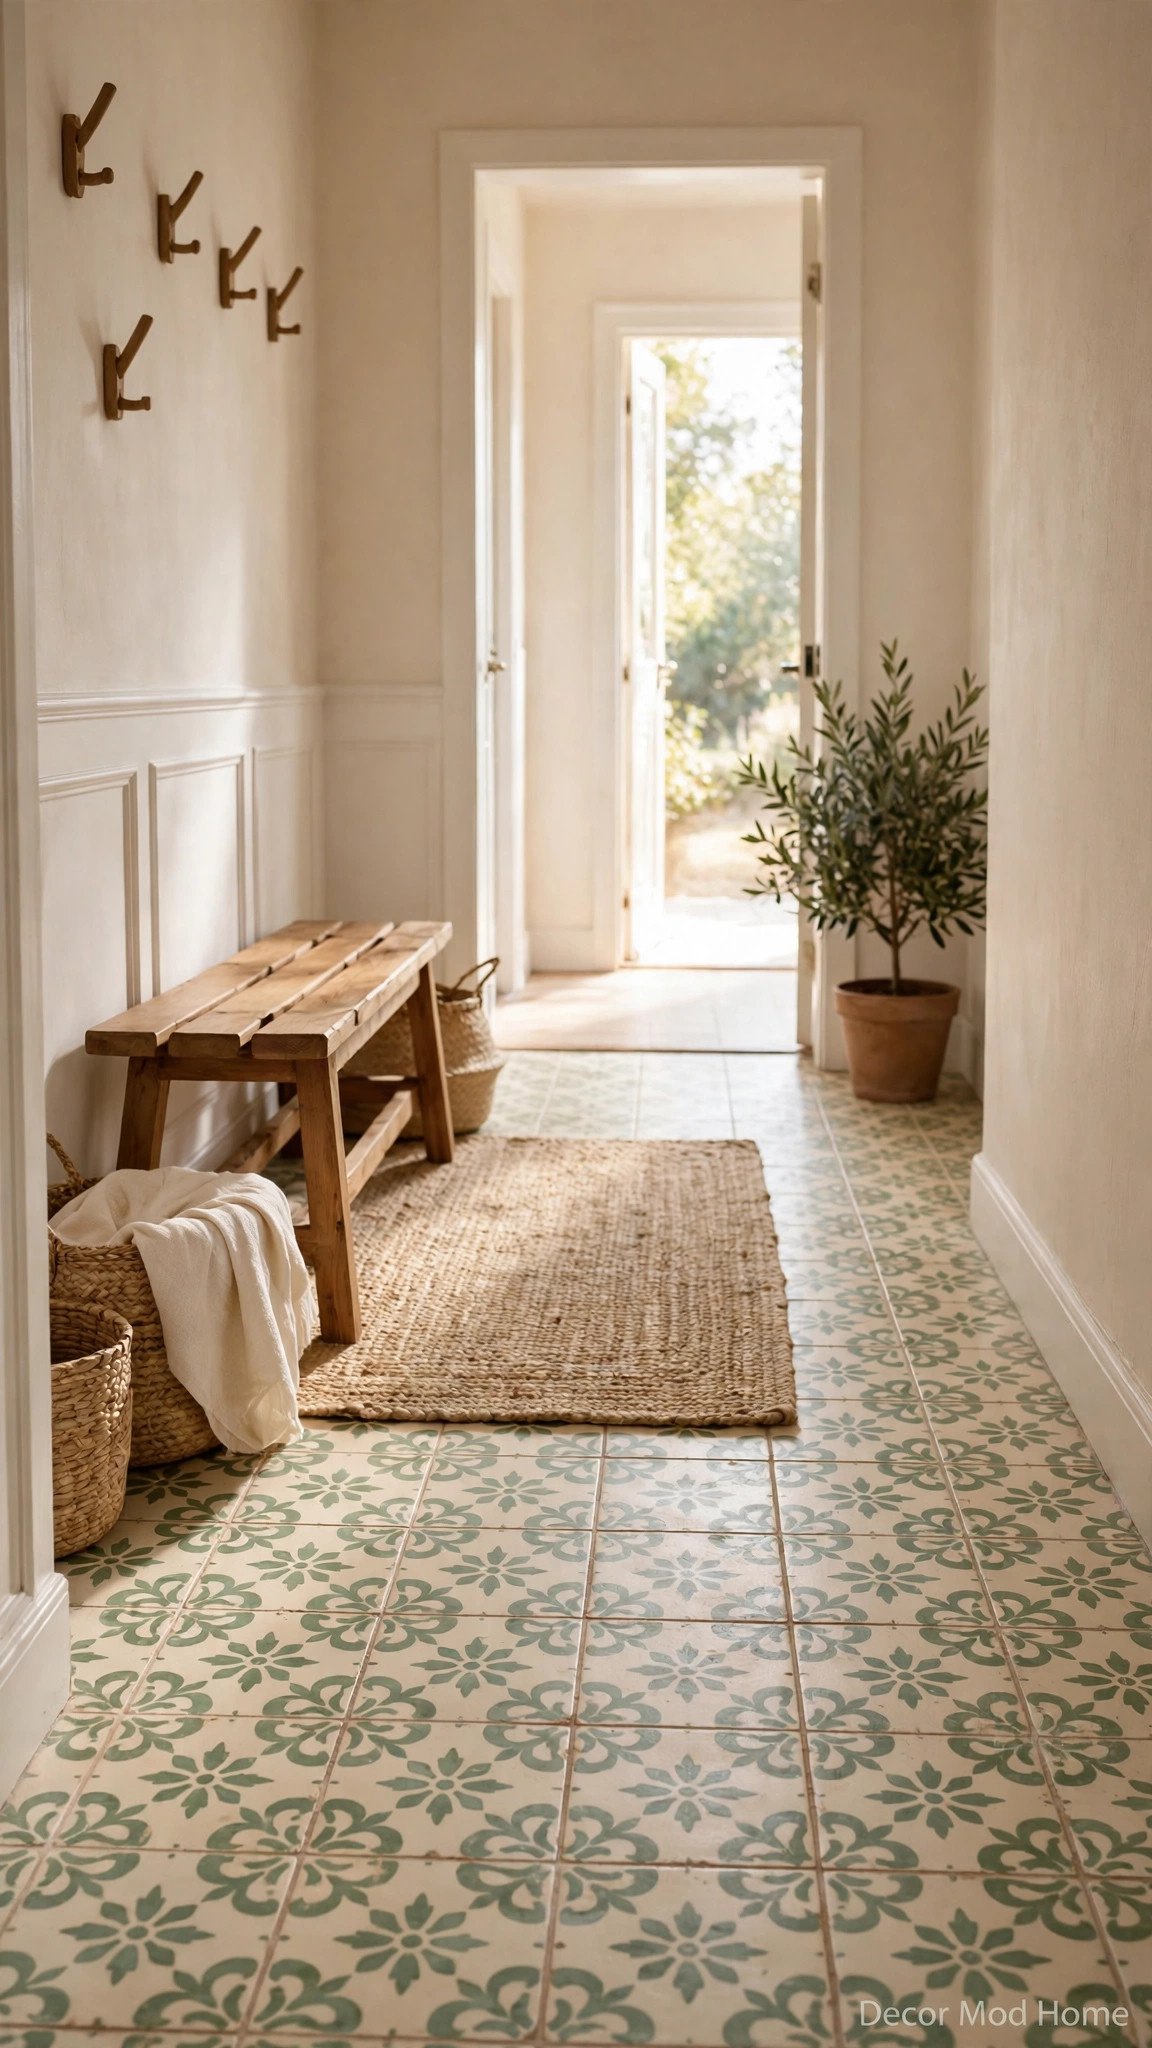
Painting and stencilling tired floor tiles is a weekend project with a jaw-dropping payoff. Clean the tiles thoroughly, sand lightly, then apply a bonding primer. Use a tile stencil in a classic pattern — Moroccan star, simple diamond or herringbone — and a small foam roller with floor paint in two contrasting colours. Seal with three coats of polyurethane for durability. The result looks like expensive encaustic tile at a fraction of the price. This works brilliantly in hallways, kitchens and bathrooms. Take your time with the first few tiles; once you find your rhythm, the rest flies by.
8. Craft Roman Clay Vases
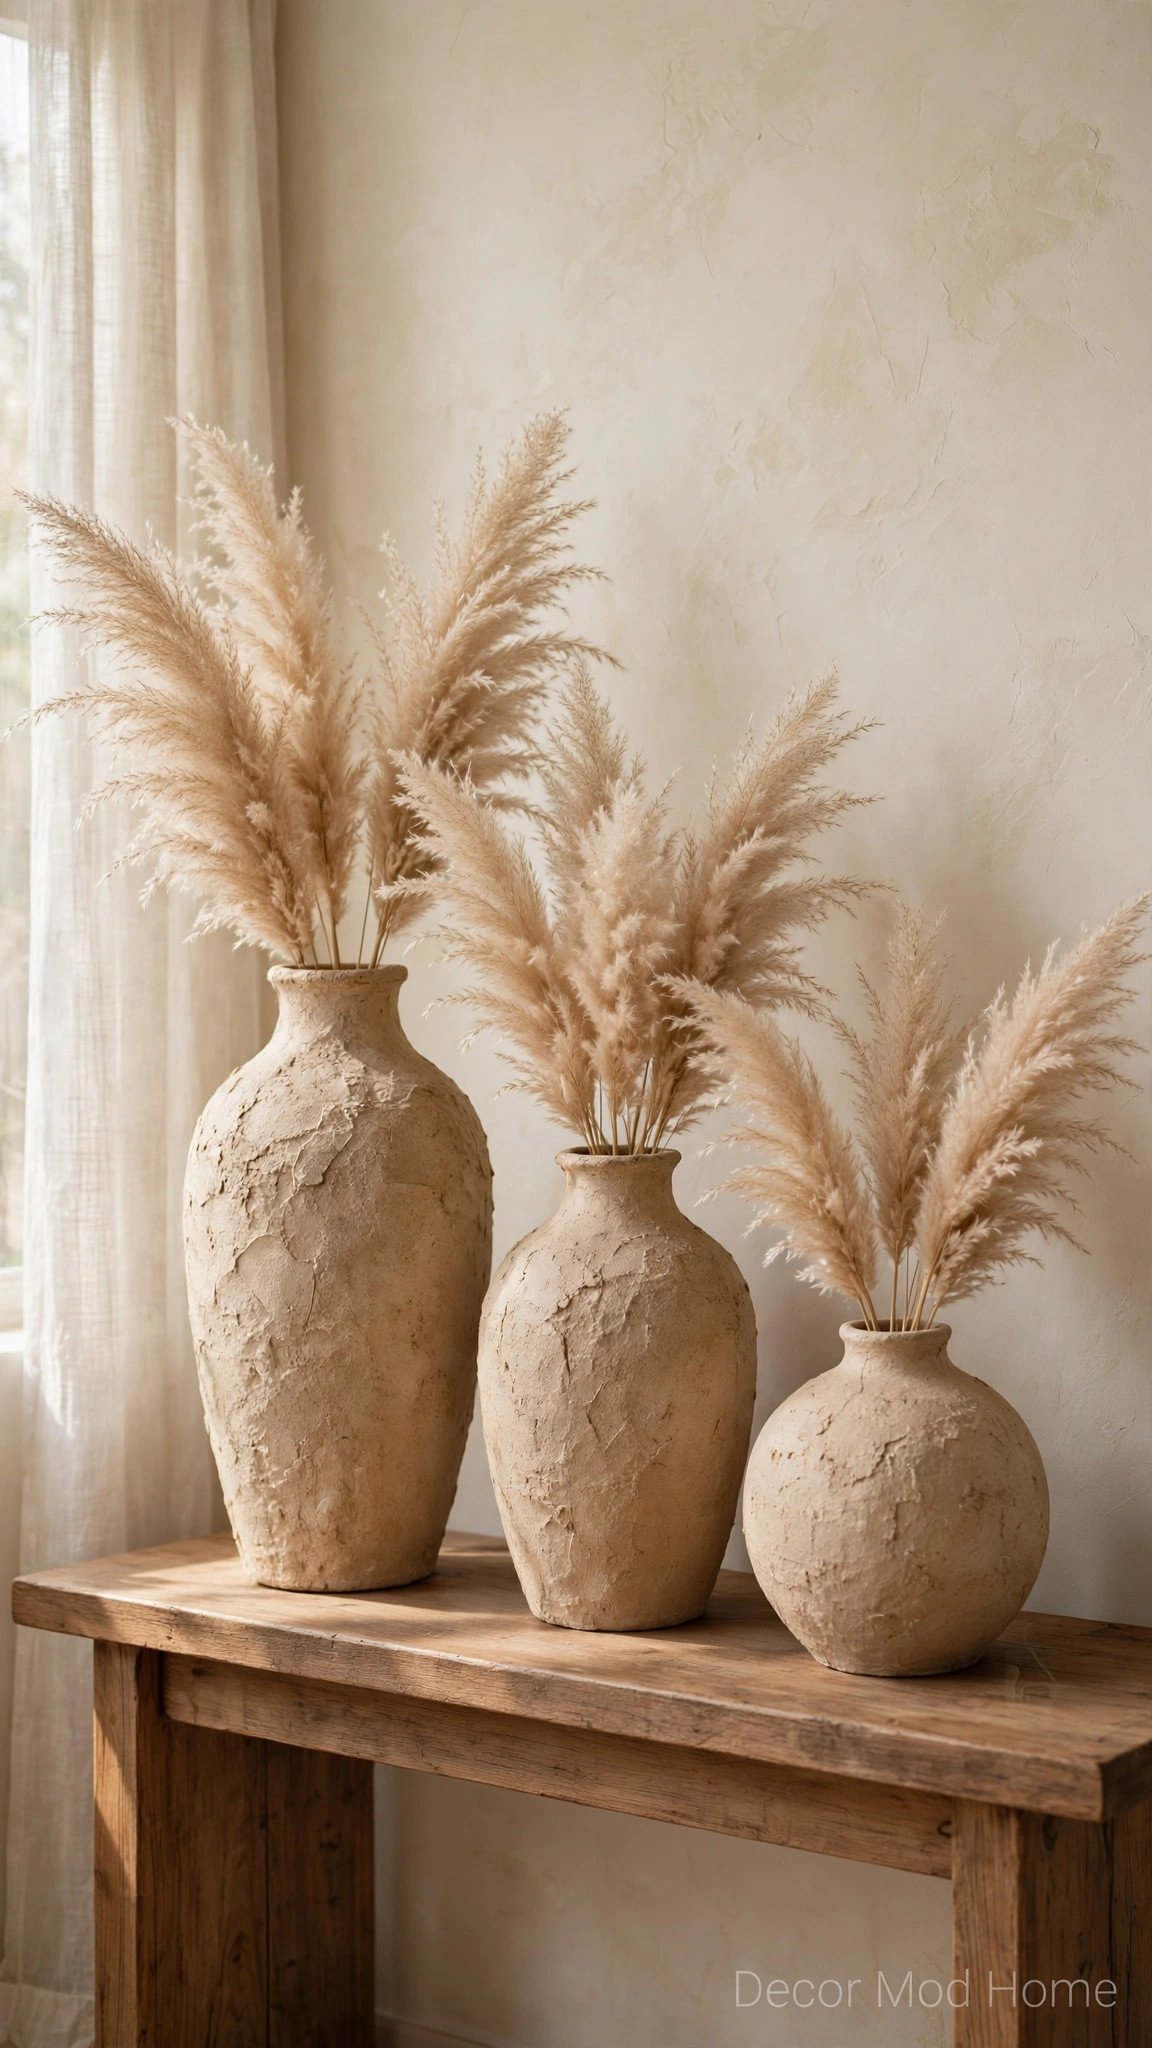
Roman clay vases are everywhere in high-end homeware shops, but you can make them for pennies. Start with an old glass jar or a charity-shop vase, then mix baking soda into matte paint until it reaches a thick, plaster-like consistency. Brush it on in uneven strokes, letting drips and ridges stay visible — the texture is the charm. Two or three coats build a beautiful, aged finish. Style your finished vases with dried pampas grass, eucalyptus stems or a single sculptural branch. Group three vases of different heights on a console or mantel for a display that looks genuinely expensive. This is a brilliant rainy-day project.
9. Build a Matching-Frame Gallery Wall

Matching frames turn any collection of prints into a gallery that looks professionally curated. Buy a set of identical thin black or oak frames — the same size keeps things simple — and fill them with a mix of botanical prints, typography, family photos and abstract art. Lay the grid on the floor first, spacing frames about five centimetres apart, then use paper templates taped to the wall to get the layout right before hammering a single nail. A grid of six or nine frames suits a hallway or staircase perfectly. The secret is consistency: one frame style, one mat colour, and art that shares a loose colour palette.
10. Turn a Ladder Into a Blanket Shelf
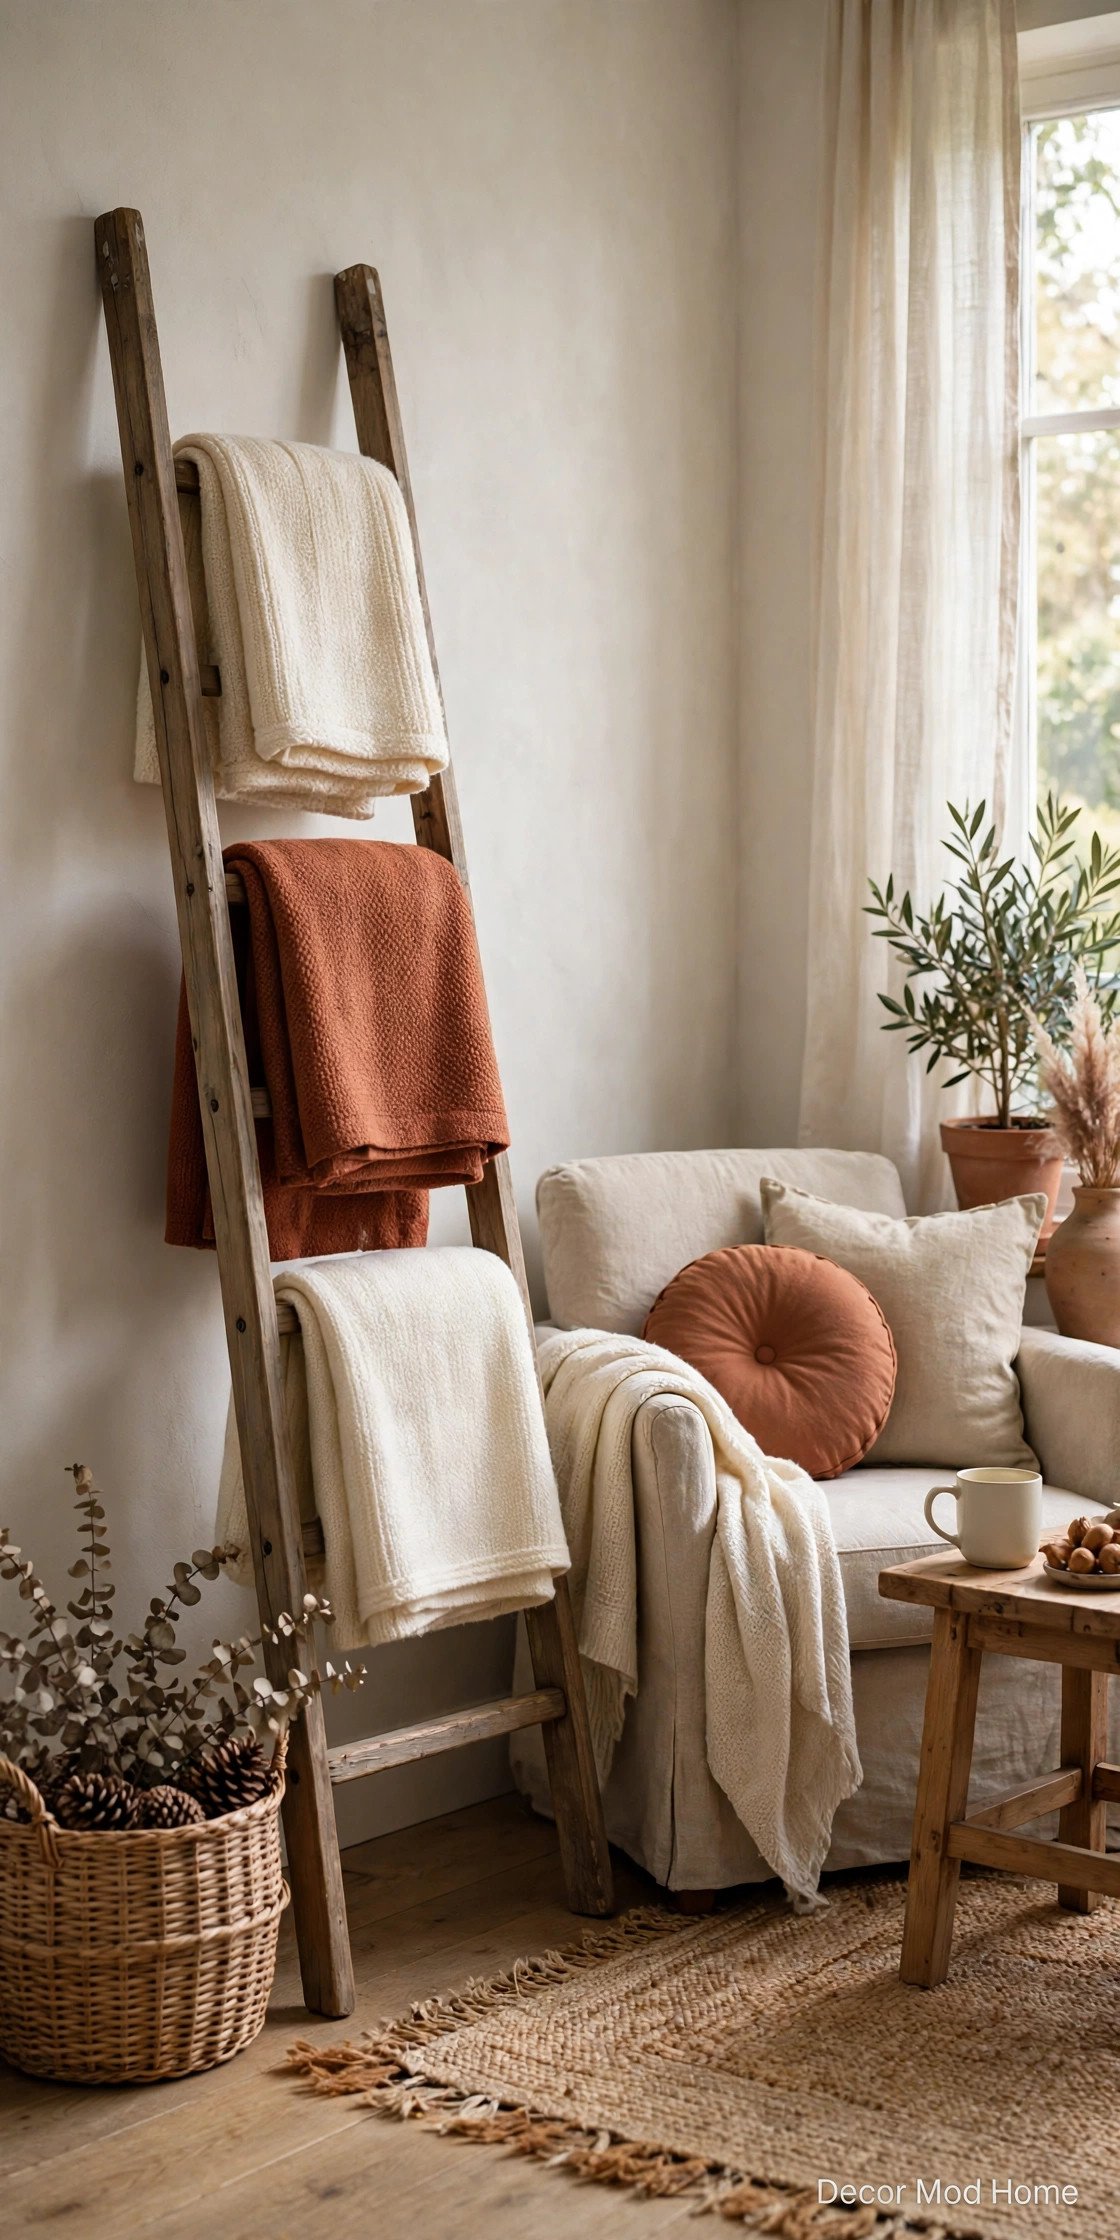
An old wooden ladder makes a charming blanket shelf with almost no work at all. Sand it lightly, then stain or paint it to match your decor — warm walnut, soft white or sage green all work beautifully. Lean it against the wall at a slight angle, secure the top to the wall with a small bracket for safety, and drape folded throws over the rungs. Roll smaller blankets to display on the lower rungs, and hang a woven basket from a hook on the side for extra storage. It keeps throws within reach on chilly evenings and adds a layer of cosy, lived-in texture to any corner.
11. Style a Candle Tray Centrepiece
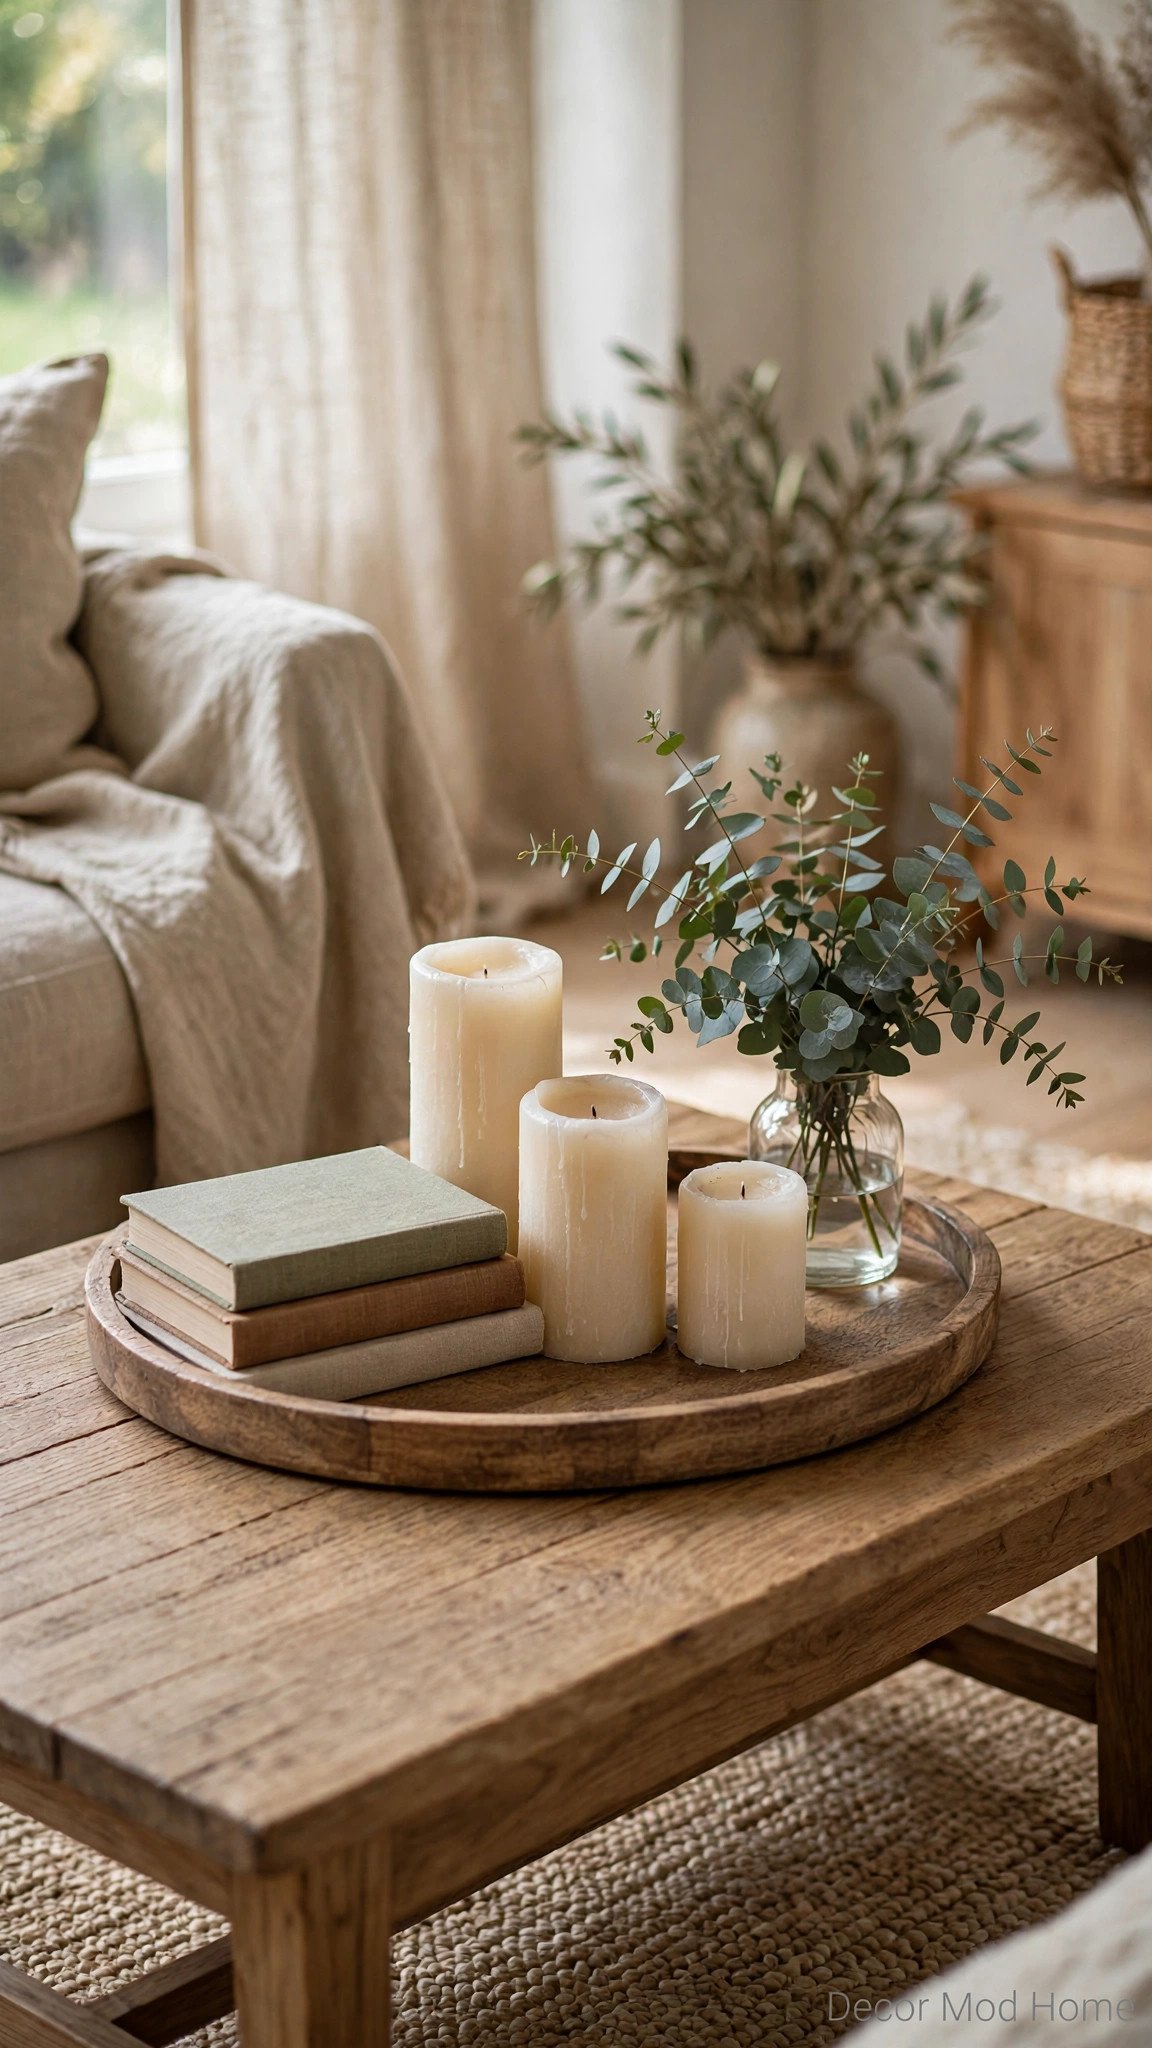
A candle tray is the simplest way to make a coffee table look styled rather than cluttered. Start with a round wooden or marble tray, then layer three items of different heights: a tall pillar candle, a small vase of greenery, and a stack of two books. Add a small decorative object — a brass dish, a shell, a smooth stone — to finish. The tray corrals everything into one tidy vignette, so the table still feels clear and usable. Swap the greenery seasonally: eucalyptus in winter, wildflowers in summer, dried stems in autumn. It takes five minutes and changes the whole room.
12. Mount Woven Baskets as Wall Art

Woven baskets are beautiful, affordable and surprisingly versatile as wall decor. Collect seagrass, rattan and jute baskets in different sizes and depths, then arrange them in a loose cluster or a neat grid on a blank wall. The natural textures add warmth, and the baskets double as storage for scarves, remotes or small toys. Hang them with a single nail each, starting with the largest basket in the centre and working outward. This project suits hallways, stairwells and the wall above a sideboard. Mix flat baskets with deeper ones for dimension, and keep the palette warm and natural.
13. Paint an Arch Mural Behind the Bed

A painted arch is one of the most striking DIYs you can do with a single pot of paint. Mark a large arch shape on the wall behind your bed using a pencil, a piece of string and a pin — the string acts as a compass for a perfect curve. Fill the arch with a warm terracotta, dusty pink or deep olive, and keep the rest of the wall light. The arch frames the bed like a headboard, adds architectural interest, and costs almost nothing. Pair it with simple bedding and a small wall light for a boutique-hotel feel. If you ever tire of it, one coat of white paint erases it.
14. Refresh a Cabinet With Rattan Cane
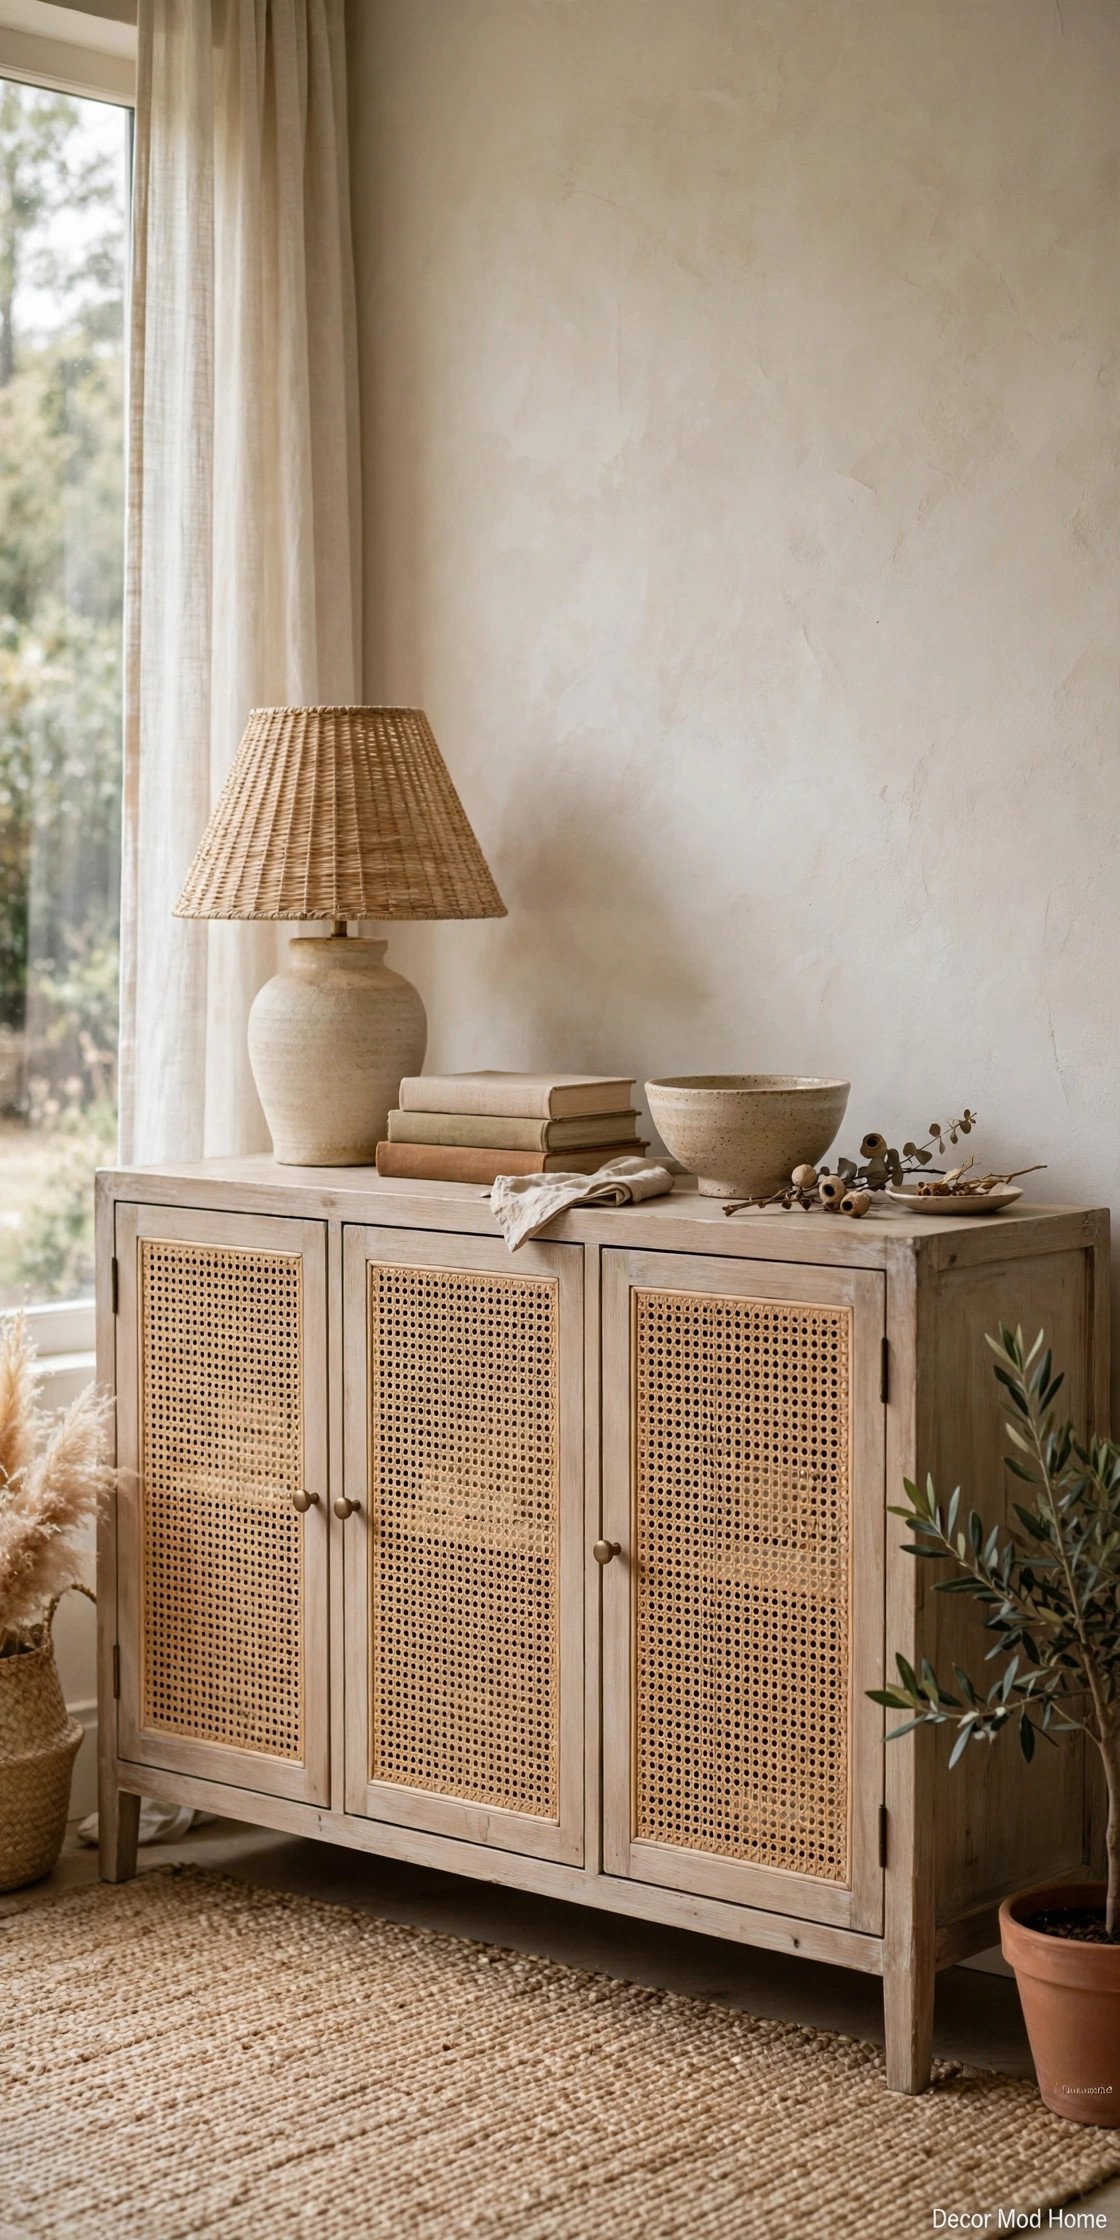
Rattan cane webbing transforms a dated cabinet into a piece that looks straight out of a designer showroom. Remove the old cabinet doors, cut the cane webbing to size, and fix it into the frames with a spline or small staples, then trim the edges neatly. Paint the cabinet carcass in a warm neutral — cream, sage or charcoal — and add new brass or wooden knobs. The woven texture lets light through, so it is ideal for sideboards and media units where you want to hide clutter without blocking airflow. Soak the webbing in warm water first; it tightens as it dries for a drum-taut finish.
15. Drape a Fairy Light Canopy
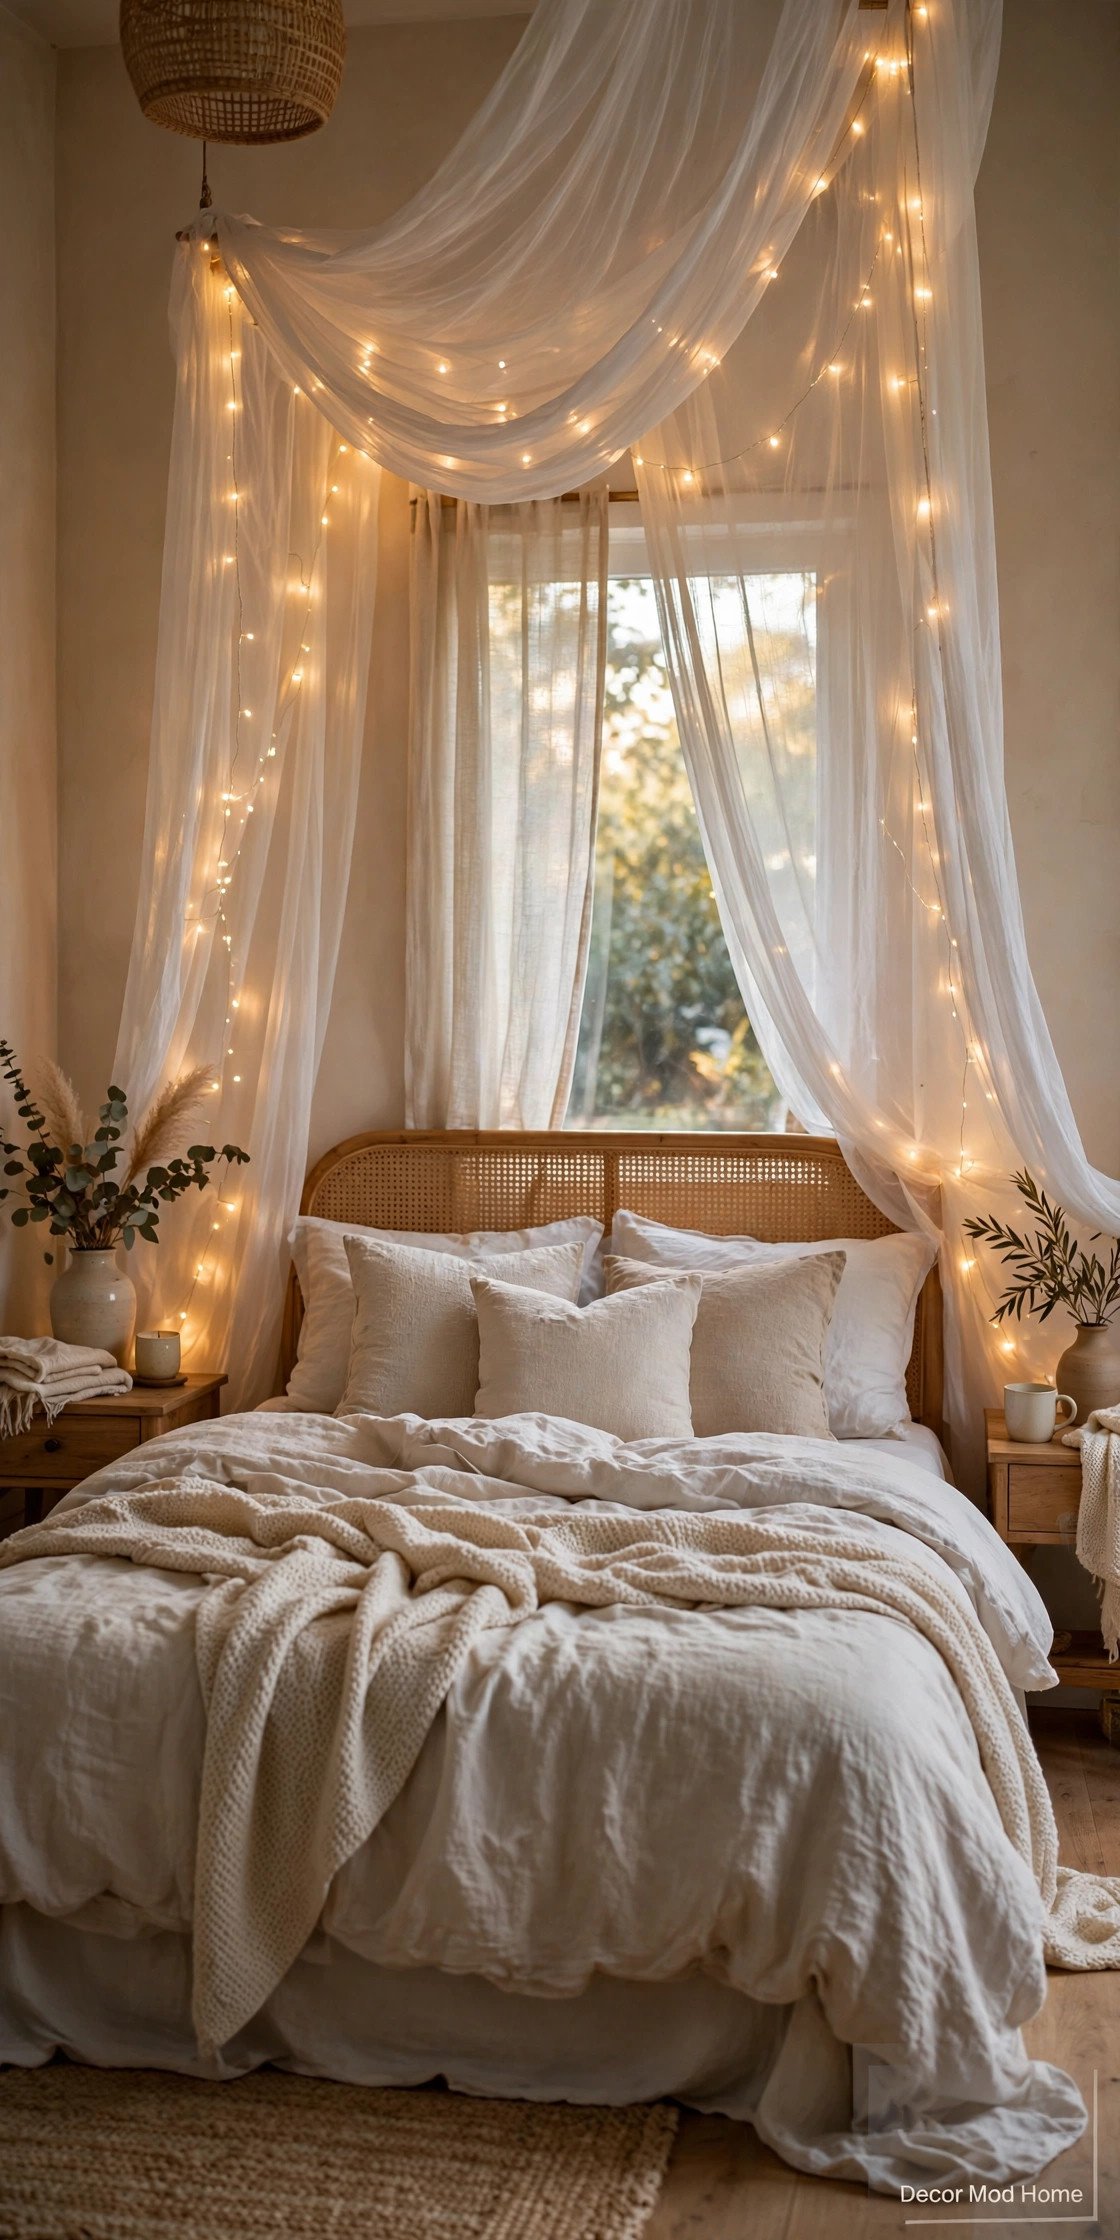
Fairy lights turn an ordinary bedroom into a magical retreat, and a canopy makes it feel intentional rather than student-dorm. Drape a length of sheer white fabric from a ceiling hook or a curtain rod above the bed, letting it fall softly on both sides. Weave warm-white fairy lights through the fabric, keeping the battery pack or plug tucked behind a pillow. Choose lights with a warm glow — cool white feels clinical. The result is a dreamy, cocoon-like bed that glows gently in the evening. This is a lovely project for a child’s room too, where it doubles as a reading nook.
16. Sew No-Sew Cushion Covers
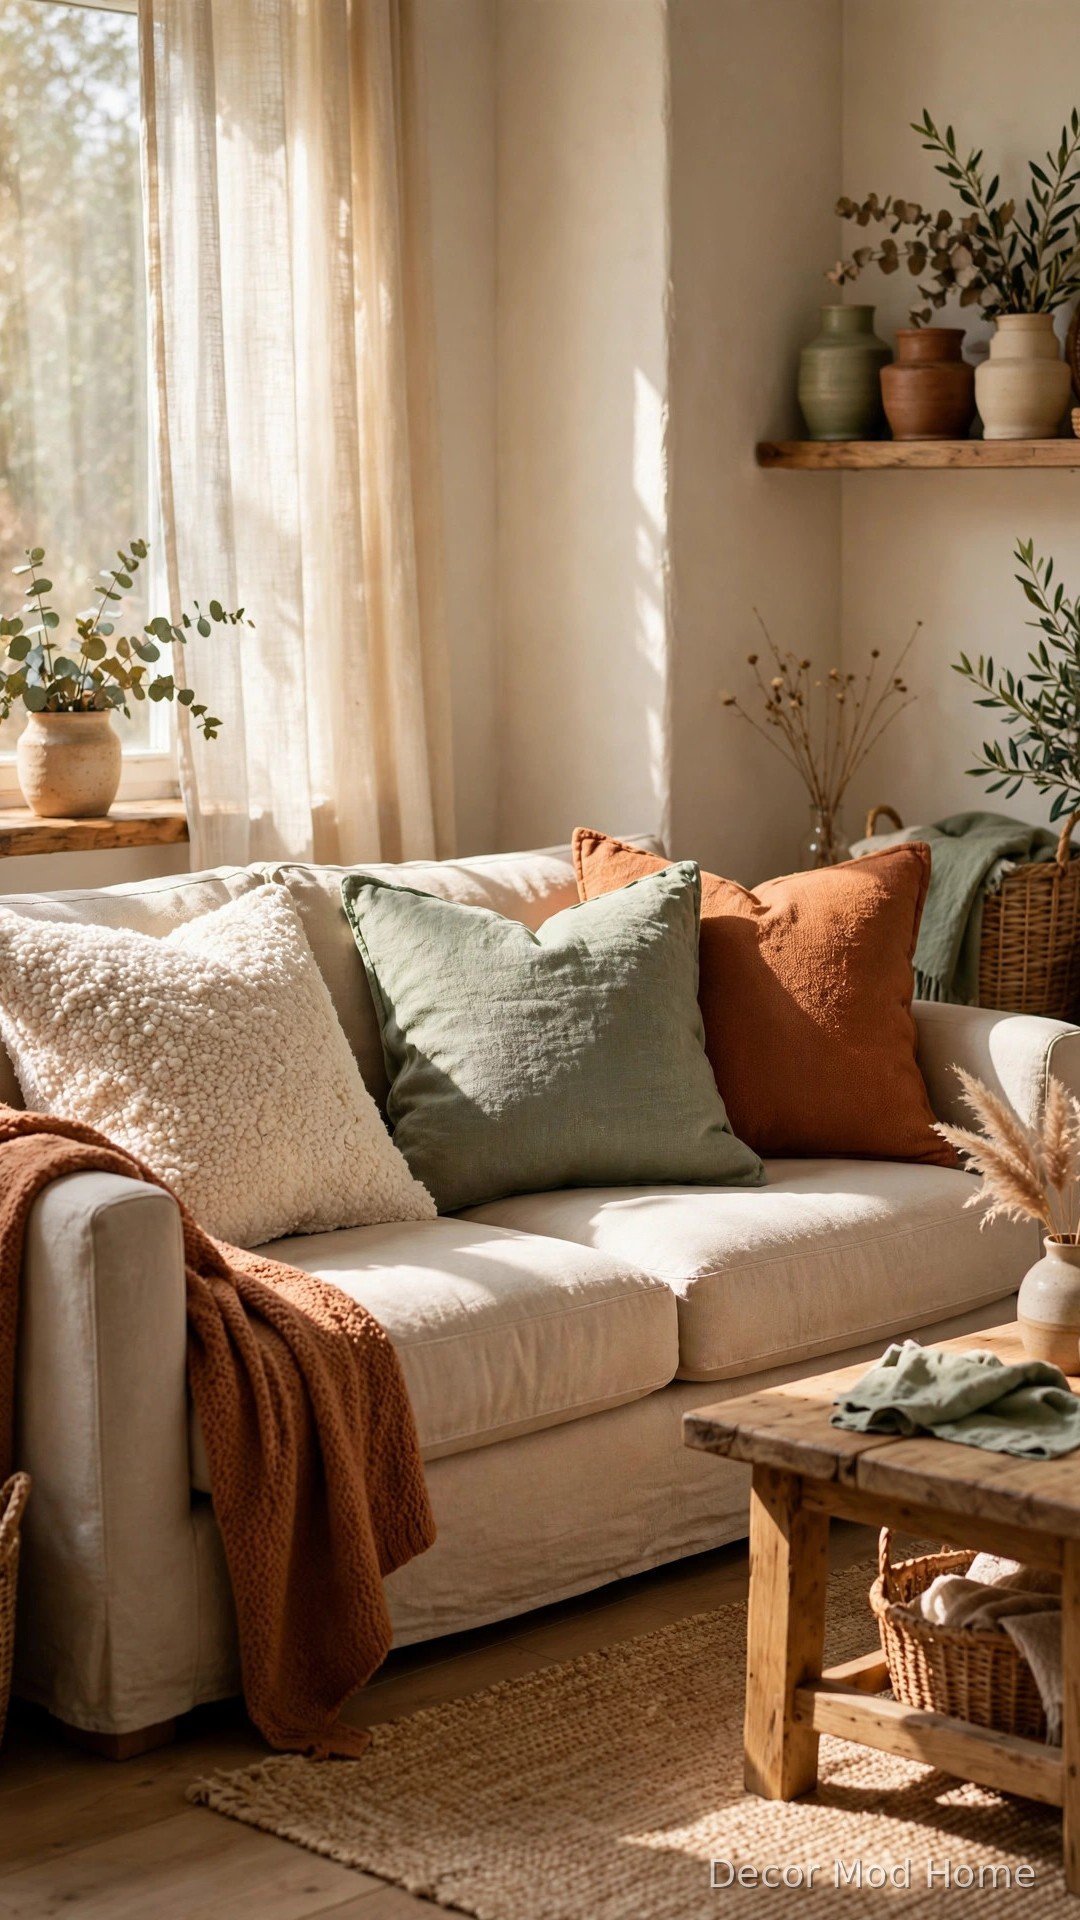
New cushion covers are the quickest way to refresh a sofa, and the no-sew version needs no machine at all. Buy a metre of linen-look fabric in two or three coordinating colours, cut it to wrap around your cushion with a generous overlap, and secure the folds with iron-on hem tape. The envelope fold hides the raw edges neatly. Mix textures — a nubby bouclé, a smooth cotton, a slubby linen — in a palette of cream, sage and rust for a layered, designer look. A set of four covers costs less than one shop-bought designer cushion and takes under an hour to make.
17. Master Coffee Table Tray Styling

A styled coffee table is really just a tray with a formula. Start with a tray that suits your room — woven rattan for a relaxed look, lacquered wood for something smarter. Add one tall element, such as a vase with stems; one flat element, like a coffee-table book; and one small, tactile object, such as a candle or a decorative bead garland. Keep the palette to three colours and leave at least a third of the table surface clear so the room still feels calm. Restyle it once a season with what you already own, and the table will always feel fresh.
18. Paint Kitchen Cabinets and Swap the Hardware
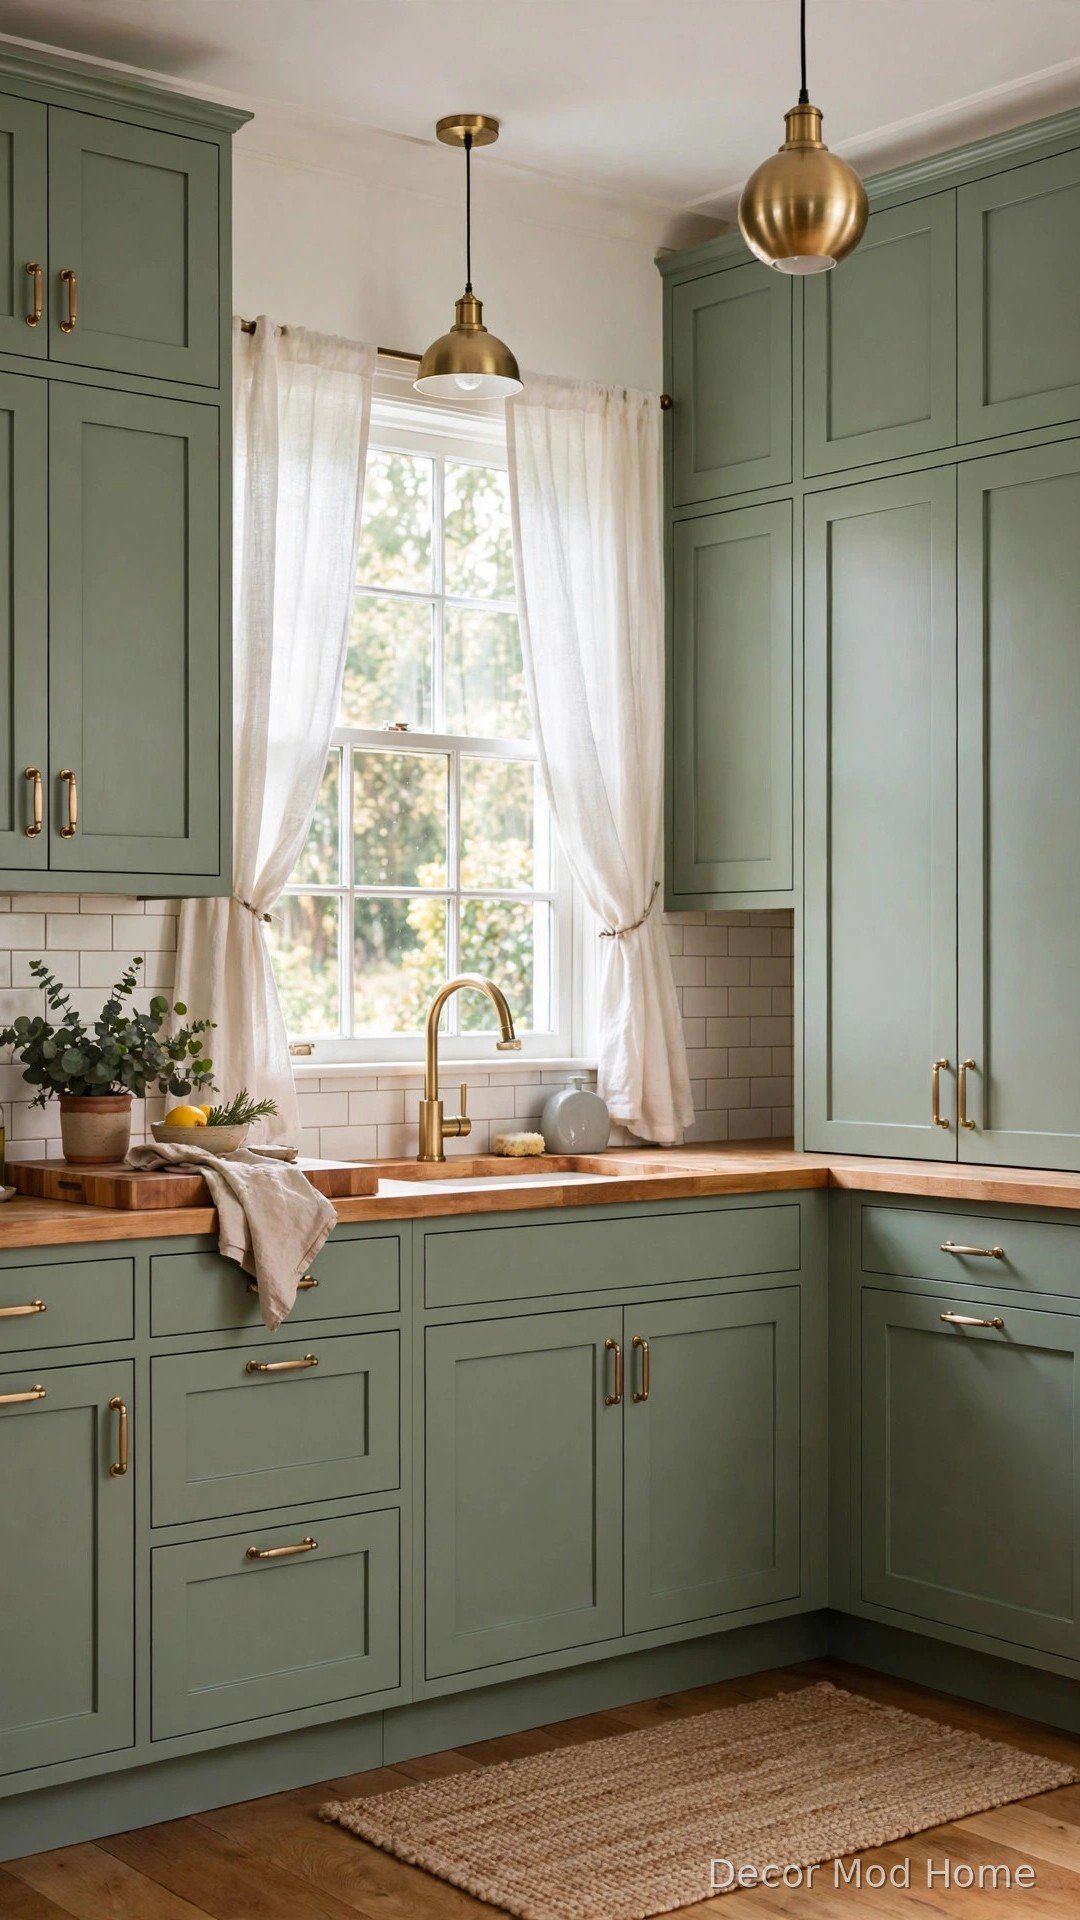
Painting kitchen cabinets is the highest-impact DIY in any home, and new hardware is the finishing touch that makes it look professional. Remove the doors and handles, clean everything with sugar soap, and sand lightly. Apply a bonding primer, then two coats of cabinet paint in a colour you love — sage green, warm cream and soft navy are all timeless. While the paint cures, fit new brushed-brass or matte-black handles. The whole kitchen feels brand new for the price of a few tins of paint and a bag of handles. Work one section at a time so the kitchen stays usable.
19. Arrange Dried Flowers and Pampas Grass
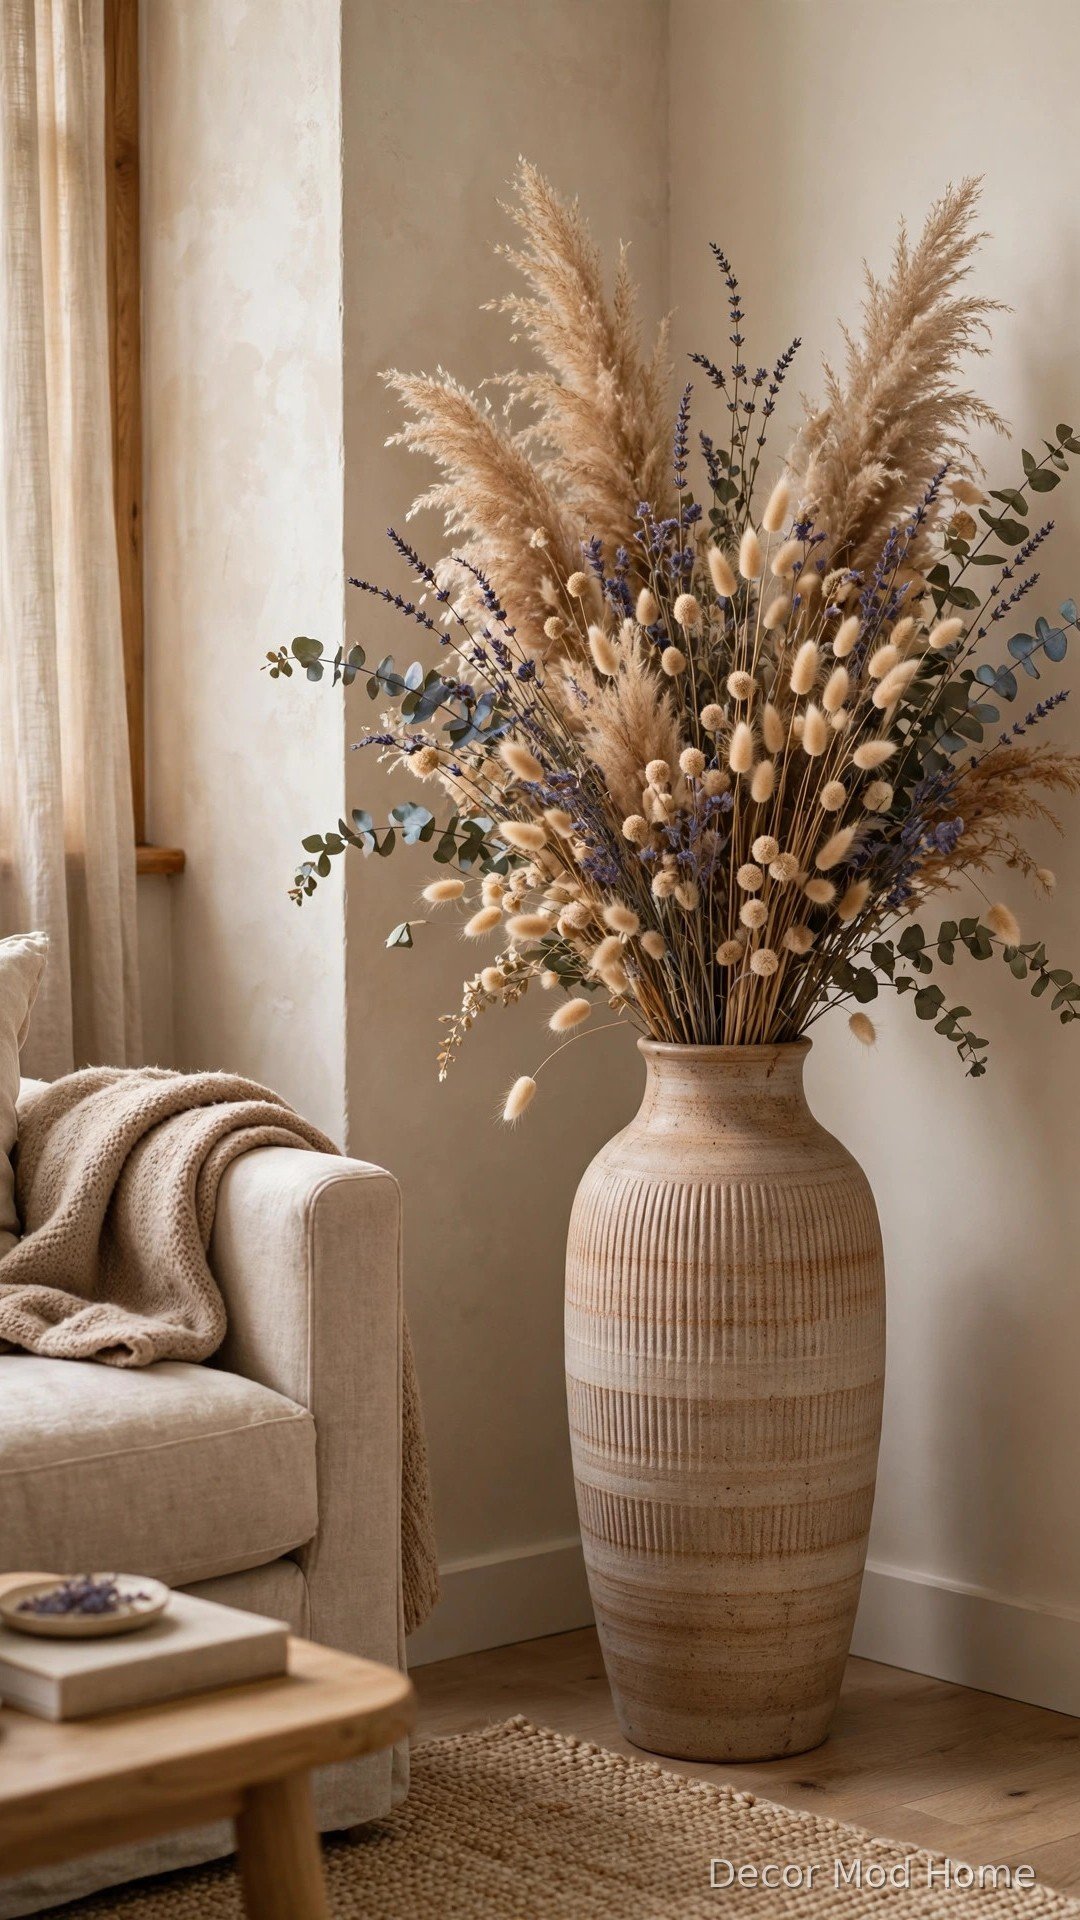
Dried flowers are the zero-maintenance answer to fresh blooms. Pampas grass, dried lavender, bunny tails and preserved eucalyptus last for months and need no water. Choose tall stems for a floor vase in an empty corner, and smaller arrangements for console tables and shelves. Mix textures — feathery pampas with papery honesty and woody stems — and keep the colour palette warm and muted. A quick spritz of hairspray stops pampas from shedding. The best part is that dried arrangements move happily from room to room, so one good bunch can restyle your whole home.
20. Style an Entryway Console

Your entryway sets the tone for your whole home, and a styled console table does most of the work. Start with a console you love — a thrifted find is perfect — then layer a round mirror above it, a small lamp on one side, and a woven basket beneath for shoes or bags. Add a tray for keys, a stack of books, and a vase of stems. Keep the surface tidy: every item should earn its place. The console becomes the first thing guests see and the last thing you touch on your way out, so make it beautiful and useful in equal measure.
Frequently Asked Questions
What is the cheapest home aesthetic DIY idea?
Paint is almost always the cheapest transformation. A single tester pot can create an arch mural, a painted arch behind a bed, or a stencilled floor accent. Rearranging and restyling what you already own — floating shelves, tray styling, a mirror gallery from charity-shop finds — costs next to nothing and often makes the biggest difference.
How can I make my home look aesthetic on a small budget?
Focus on three things: a consistent colour palette, good lighting and breathing space. Pick two or three warm neutrals and repeat them across rooms, swap harsh overhead bulbs for warm-white ones and add a lamp or fairy lights, then edit ruthlessly so each surface holds only a few well-chosen objects. These three habits make any home feel calmer and more curated.
Which DIY ideas work best for renters?
Stick to reversible projects: peel-and-stick wallpaper, command-hook gallery walls, painted furniture, removable decals, styled trays and shelves, and freestanding pieces like a ladder blanket shelf. Always check your tenancy agreement first, and keep original fixtures safe so you can restore the property when you move out.
How long do these DIY projects take?
Most of the ideas in this list take between one hour and one afternoon. Styling projects — trays, shelves, cushion covers — can be done in under an hour. Painting projects, like cabinets or a limewash wall, need a full weekend including drying time, but the results last for years and are well worth the effort.
Start Small, Dream Big
You do not need to tackle all twenty ideas at once. Choose the one that made you smile, gather your supplies this weekend, and enjoy the quiet satisfaction of making something beautiful with your own hands. Then share your finished project — tag us, or simply enjoy the moment you walk into the room and think, I did that. Your home is already full of potential; these ideas simply help you see it. Which project will you try first? Tell us in the comments below, and browse our other decor guides for even more inspiration.