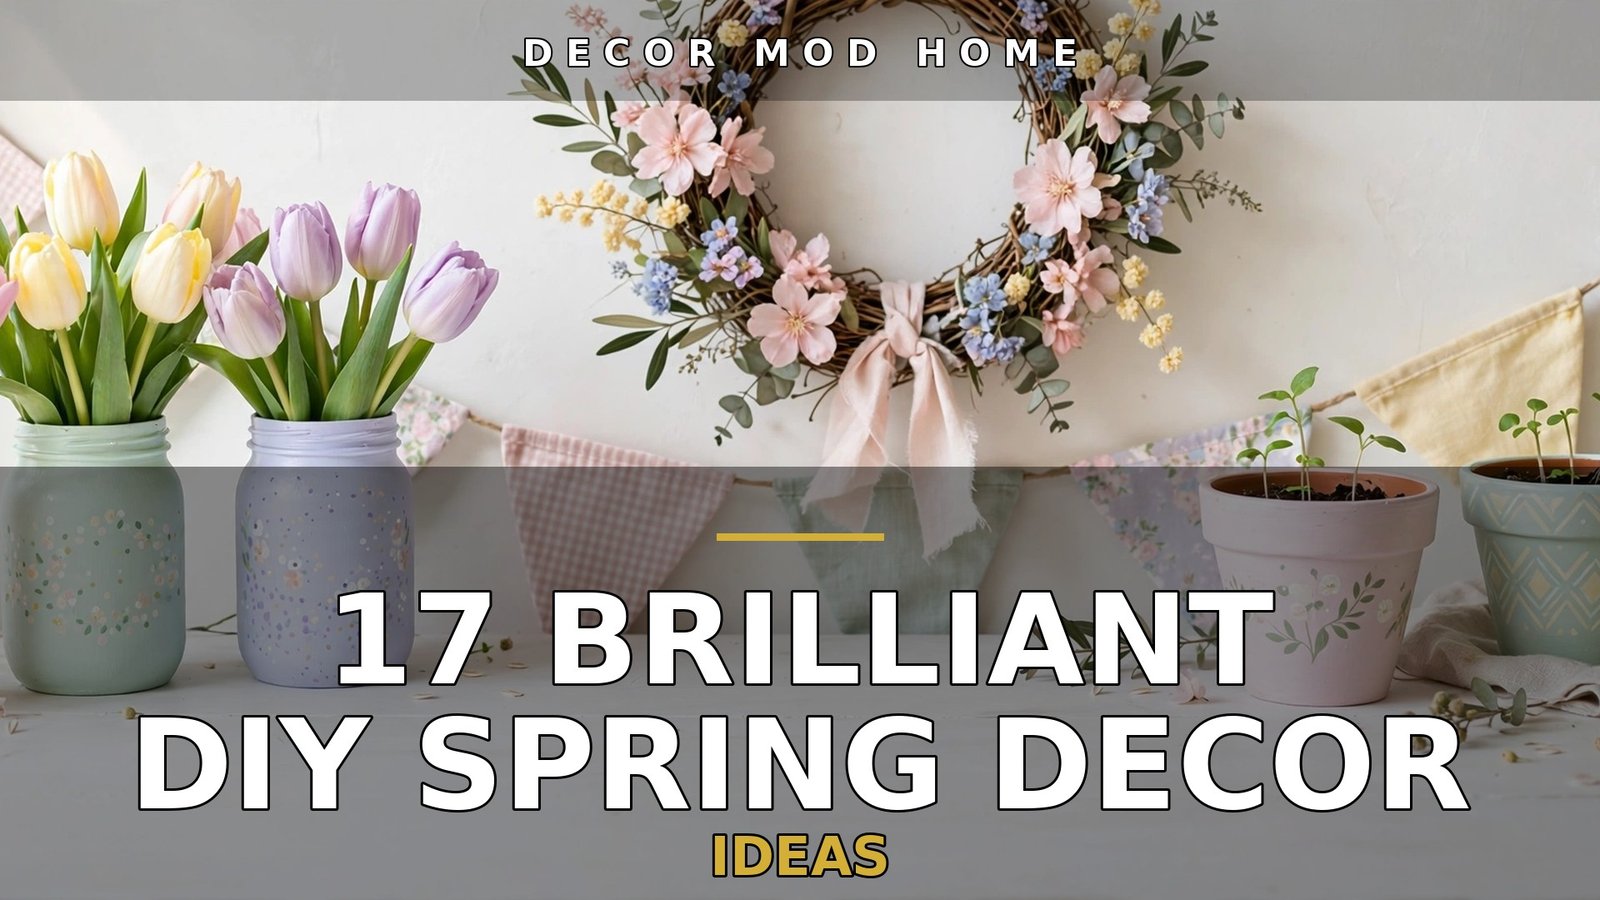
17 Brilliant DIY Spring Decor Ideas
There is a particular kind of joy in making something beautiful with your own hands, and spring is the perfect season to pick up a paintbrush, a pair of scissors, or a glue gun. If you love handmade touches, these 17 brilliant diy spring decor ideas to refresh your home will fill your rooms with colour, texture, and personality — without costing a fortune. Every project below is a genuine do-it-yourself make: wreaths you weave yourself, jars you paint by hand, paper flowers you fold petal by petal, and textiles you dye, stamp, and sew. You do not need advanced crafting skills or expensive equipment — most of these ideas use basic supplies like acrylic paint, crepe paper, fabric scraps, and jars you already have at home. So clear the kitchen table, put on some music, and let us make this spring your most beautiful one yet.
1. Craft a Handmade Grapevine Wreath with Pastel Blooms

A spring wreath you make yourself beats anything from the shops, and a grapevine base makes it wonderfully simple. Start with a plain grapevine wreath form from a craft shop, then gather faux blossoms in pastel shades — blush pink cherry blossom, butter-yellow forsythia, and sprigs of lilac. Using wire cutters, snip the stems to about 15 centimetres, then push them into the grapevine and secure each one with a dab of hot glue. Work in clusters rather than spacing flowers evenly, and let a few stems trail loosely for a natural look. Add a length of gingham or linen ribbon tied in a bow at the top, then hang your wreath on the front door or above the mantel. It will look fresh all season and can be refreshed next year with new blooms.
2. Hand-Paint Mason Jars into Spring Vases
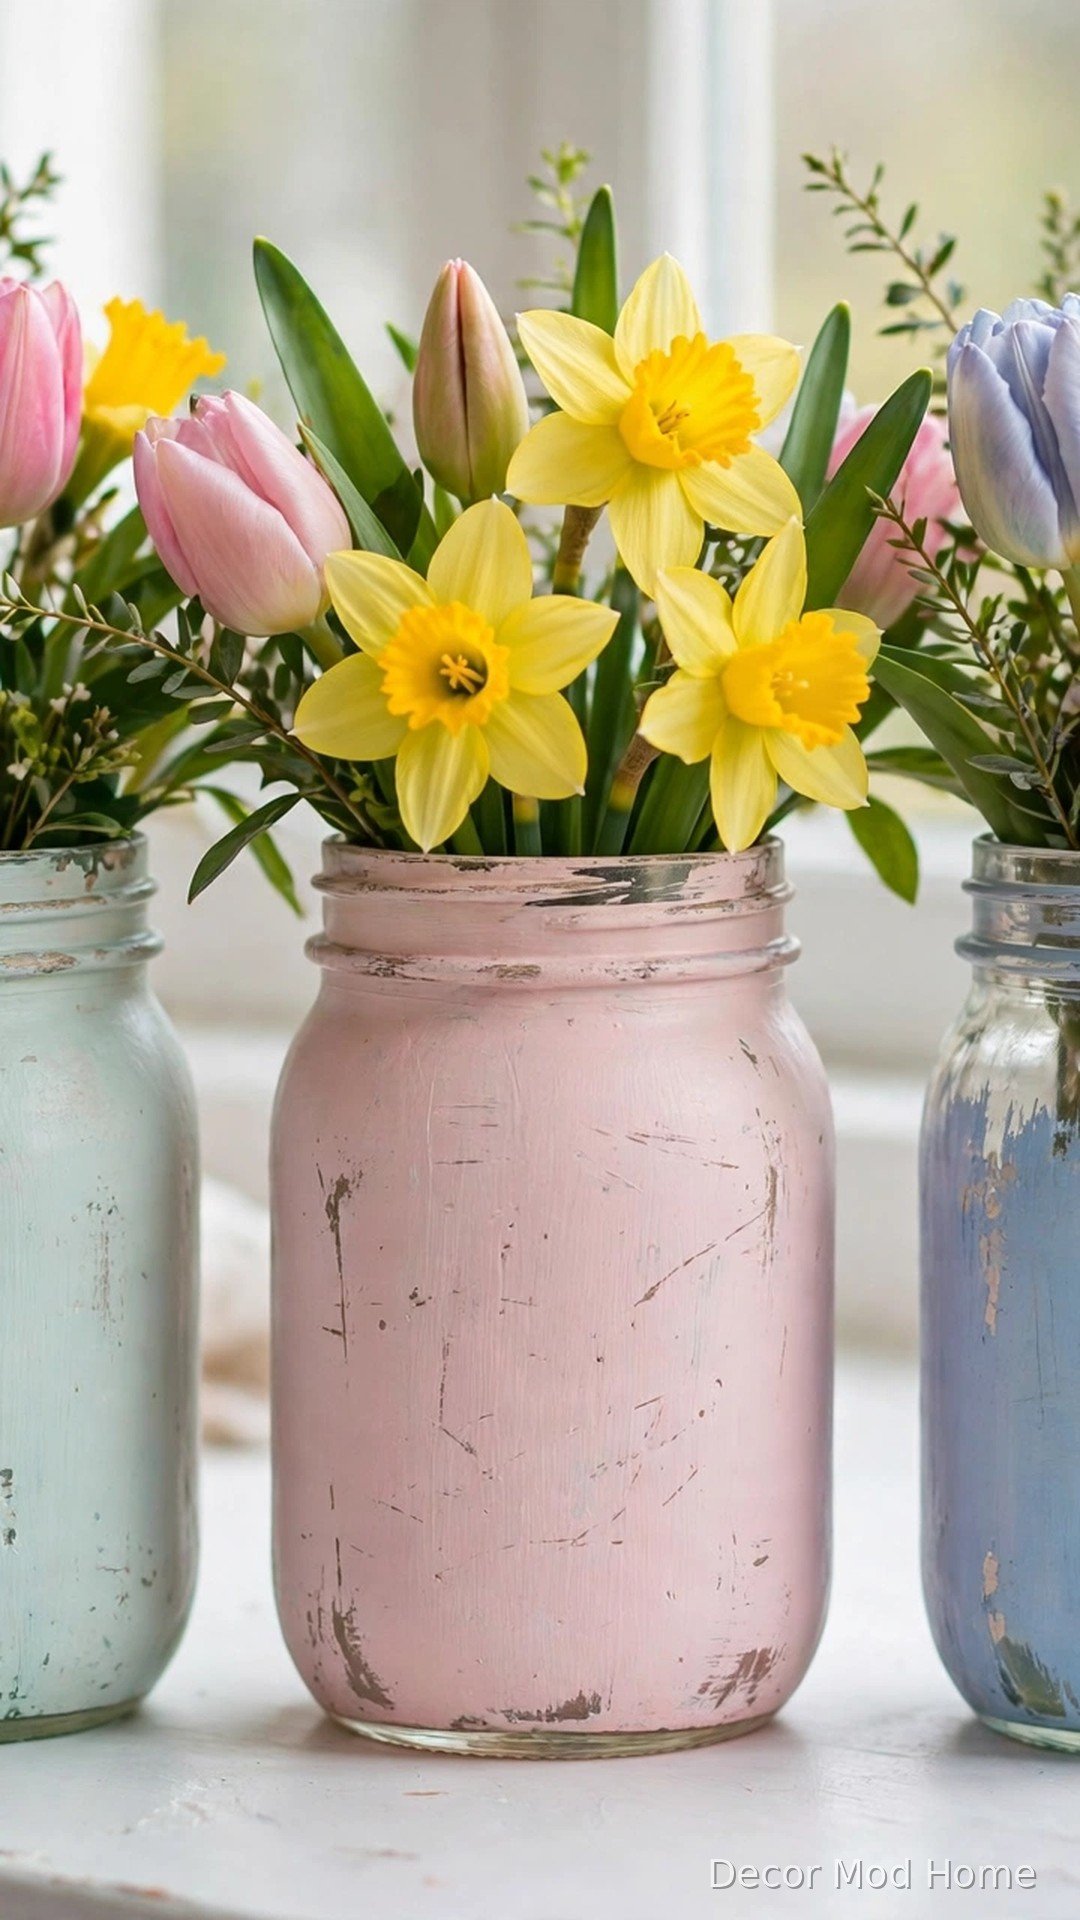
Those empty mason jars in your cupboard are about to become your favourite spring vases. Wash and dry them thoroughly, then apply two thin coats of chalk paint or acrylic paint in soft spring shades — mint green, blush pink, powder blue, or butter yellow all work beautifully. Let each coat dry fully, then lightly sand the raised edges with fine sandpaper for a gently distressed farmhouse finish. Seal with a coat of matte sealer so the paint survives water and handling. Fill each jar with fresh tulips, daffodils, or blossom branches, and group them in threes on a windowsill, dining table, or bathroom shelf. Tie a strip of twine or lace around the neck for an extra handmade touch.
3. Fold Crepe Paper Daffodils and Tulips
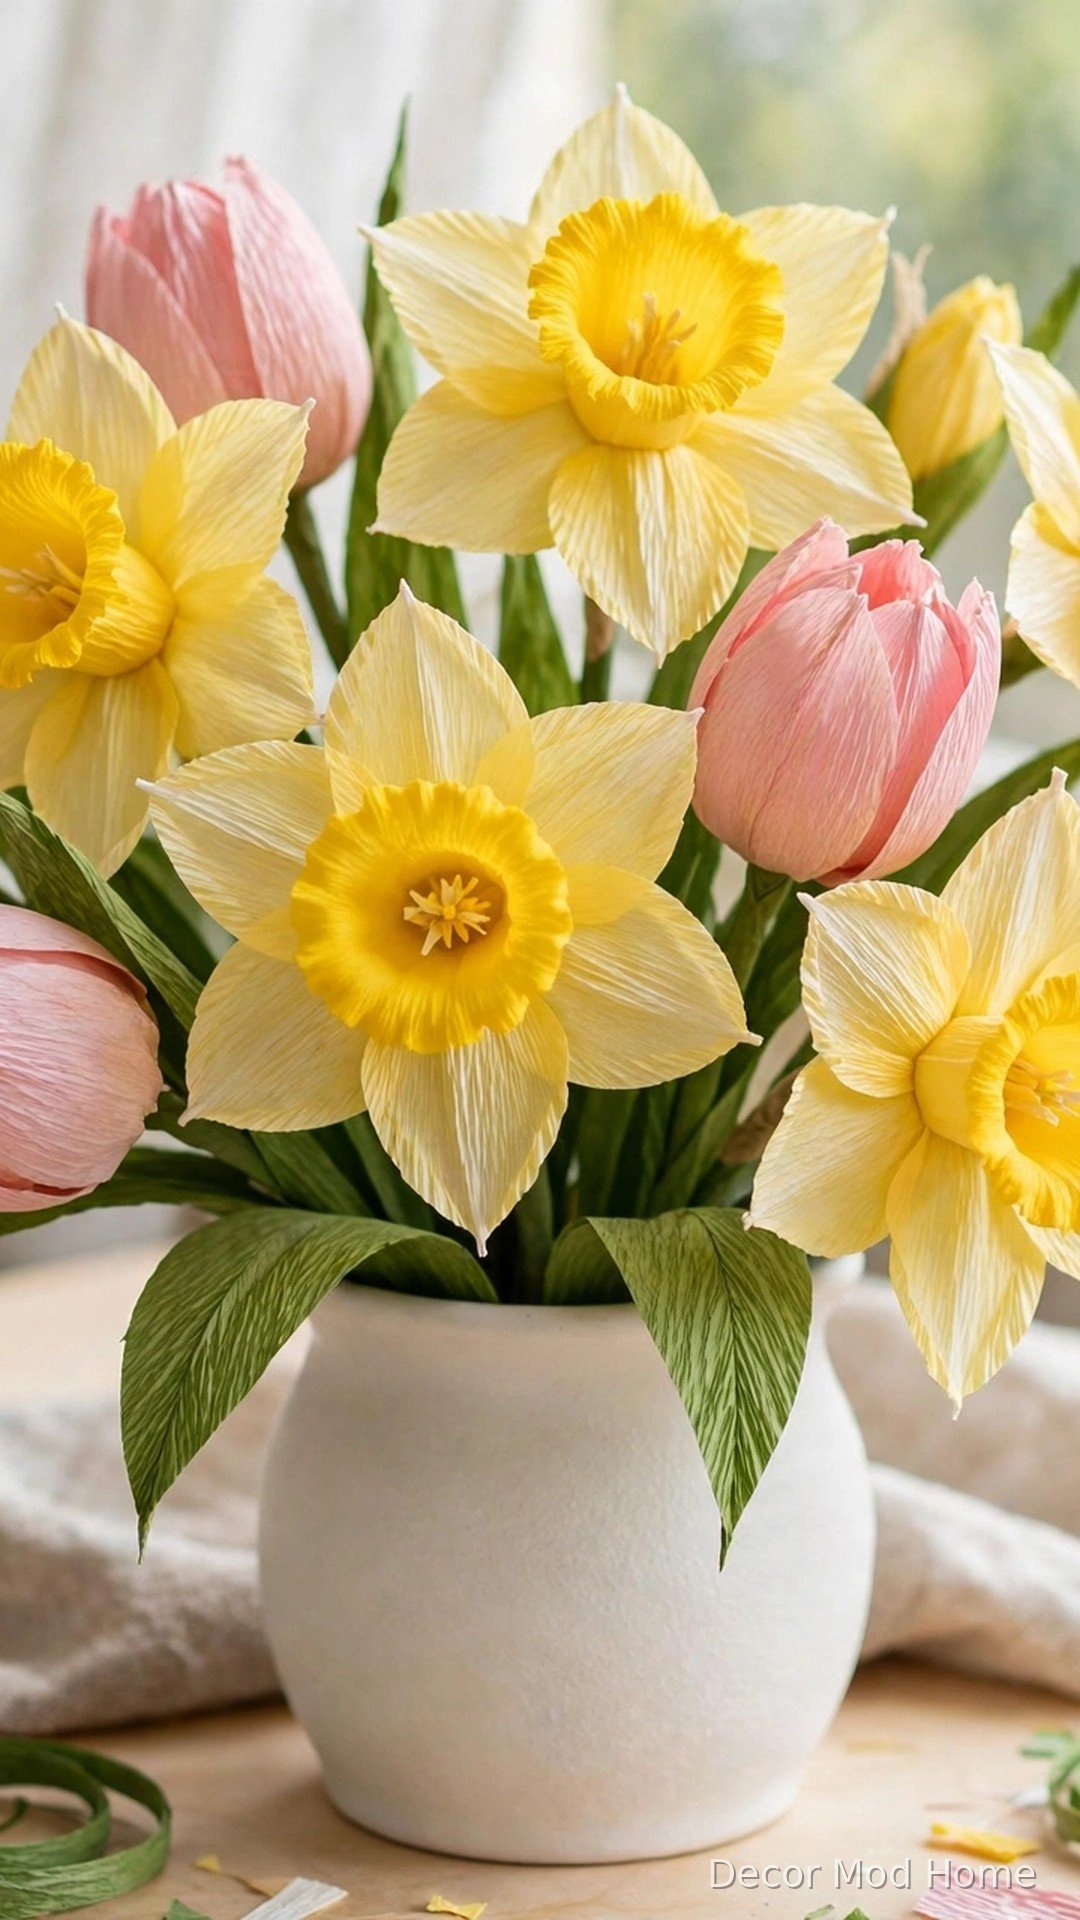
Paper flowers never wilt, never need water, and look astonishingly real when made with crepe paper. Cut petal shapes from yellow crepe paper for daffodils, pink and red for tulips, and green for leaves — you can find free petal templates online. Stretch and curl each petal gently around your finger to give it a natural curve, then wrap the petals around a length of floral wire, securing with floral tape. Add a green paper cup around the daffodil centre for that classic trumpet shape. Make a dozen or more stems, arrange them in one of your newly painted mason jars, and place the bouquet where real flowers would fade too fast — a sunny hallway or a shelf above a radiator.
4. Dip-Dye Linen Cushion Covers in Spring Hues
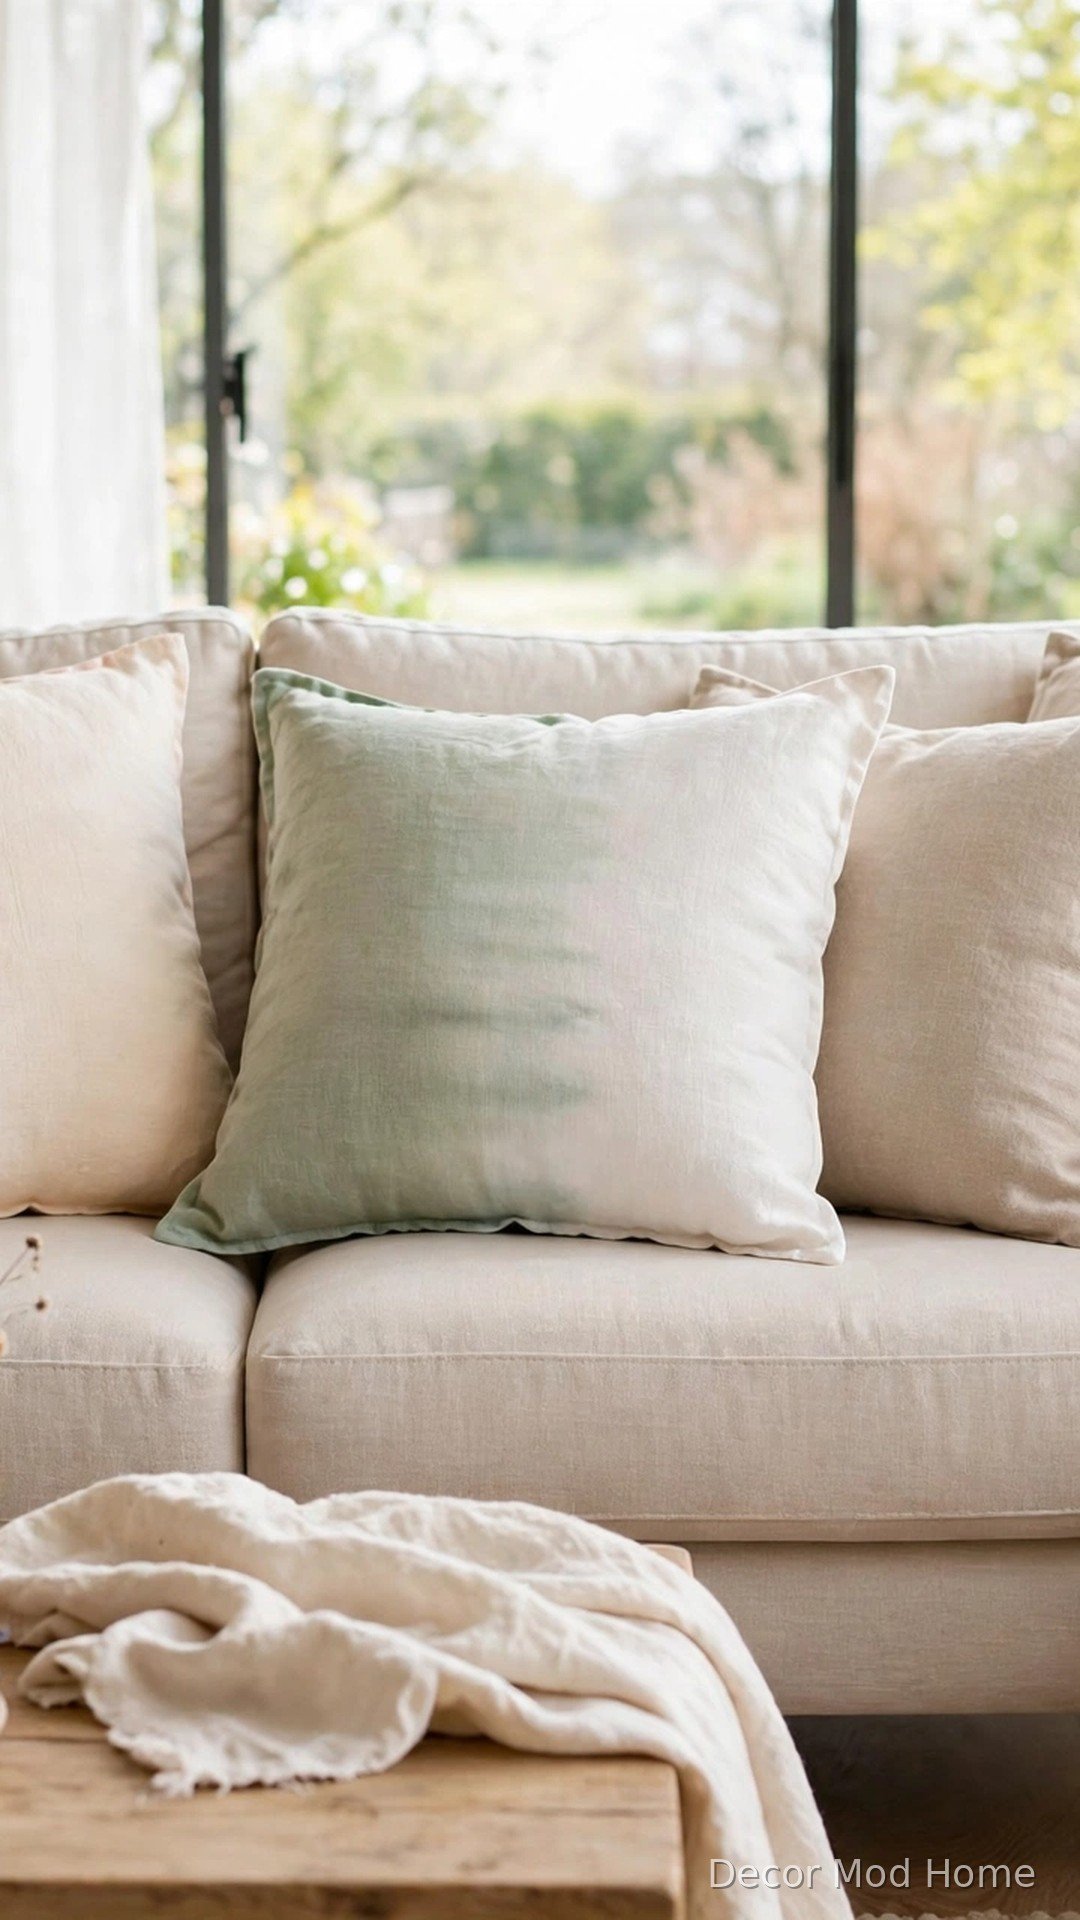
Dip-dyeing gives plain cushion covers a soft, watercolour effect that looks far more expensive than it is. Start with white or natural linen covers, and mix a fabric dye bath in a bucket using hot water, dye, and a spoonful of salt to help the colour set. Dip the bottom third of each cover into the bath and hold it for a few minutes, then dip again more briefly for a gentle ombré gradient. Rinse in cold water until it runs clear, then machine wash and dry. Pastel pink fading to cream, or sage green fading to white, both feel wonderfully springlike. Pair your dyed covers with plain neutrals on the sofa for a calm, coordinated look.
5. Repaint Terracotta Pots in Pastel Colours
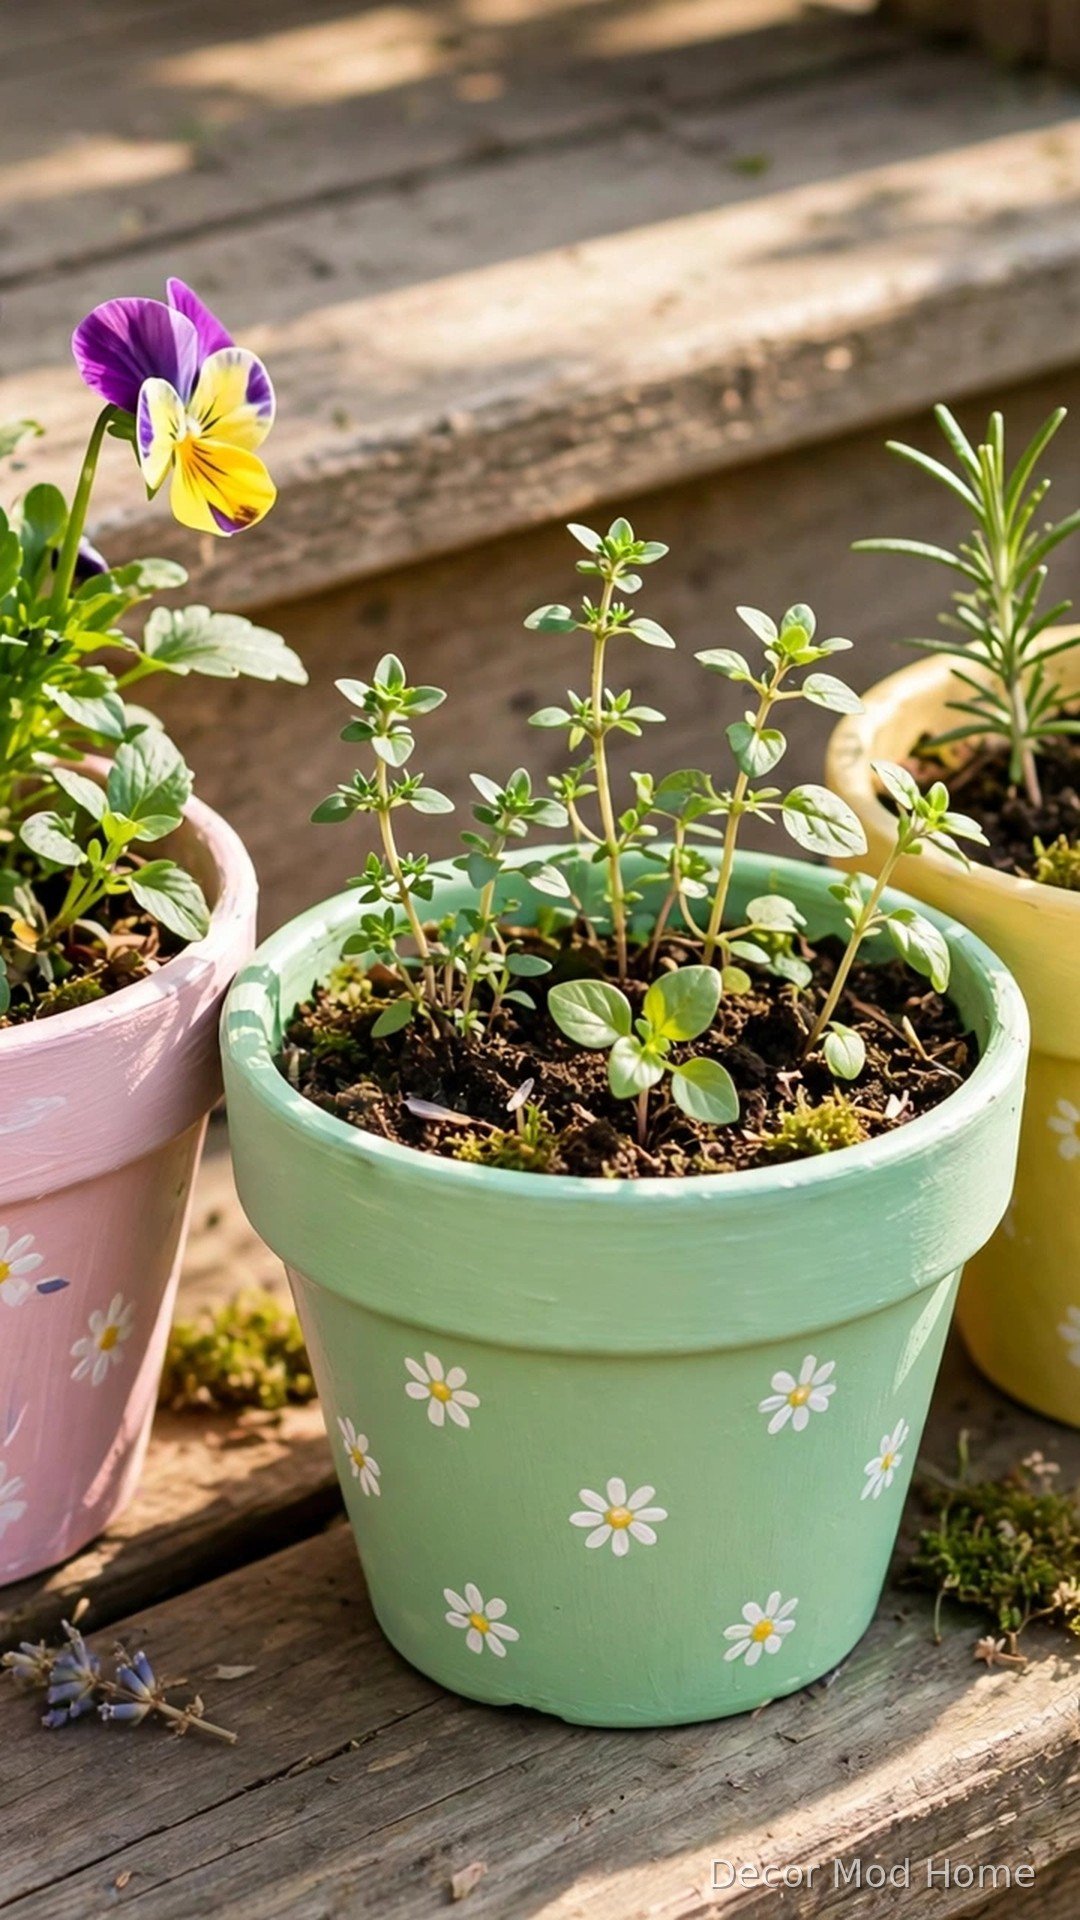
Plain terracotta pots are cheap, cheerful, and transform beautifully with paint. Scrub the pots clean and let them dry completely, then brush on a coat of white primer so your colours stay true. Apply two coats of exterior acrylic paint in pastel shades — try colour-blocking by painting the bottom half one colour and the top another, or keep it simple with a single soft shade. For extra charm, dot on tiny white daisies using the end of a paintbrush handle. Seal with a clear outdoor sealer, then plant spring bulbs, herbs, or trailing pansies. Cluster the finished pots on doorsteps, windowsills, or garden tables for an instant burst of handmade colour.
6. Sew a Fabric Scrap Bunting Garland

Bunting is the happiest kind of handmade garland, and it is the perfect way to use up fabric scraps. Cut a triangle template from card, then cut as many fabric triangles as you need from pastel prints, gingham, and plain linen. Fold the straight top edge of each triangle over a length of bias tape or twine and sew or glue it in place, spacing the flags evenly. Alternate patterns and solids for a cheerful rhythm. String your bunting across a mantel, along a staircase, over a doorway, or across a bedroom wall. The no-sew version — using pinking shears and fabric glue — takes under an hour and looks just as delightful at a spring gathering.
7. Stencil a “Hello Spring” Wooden Sign
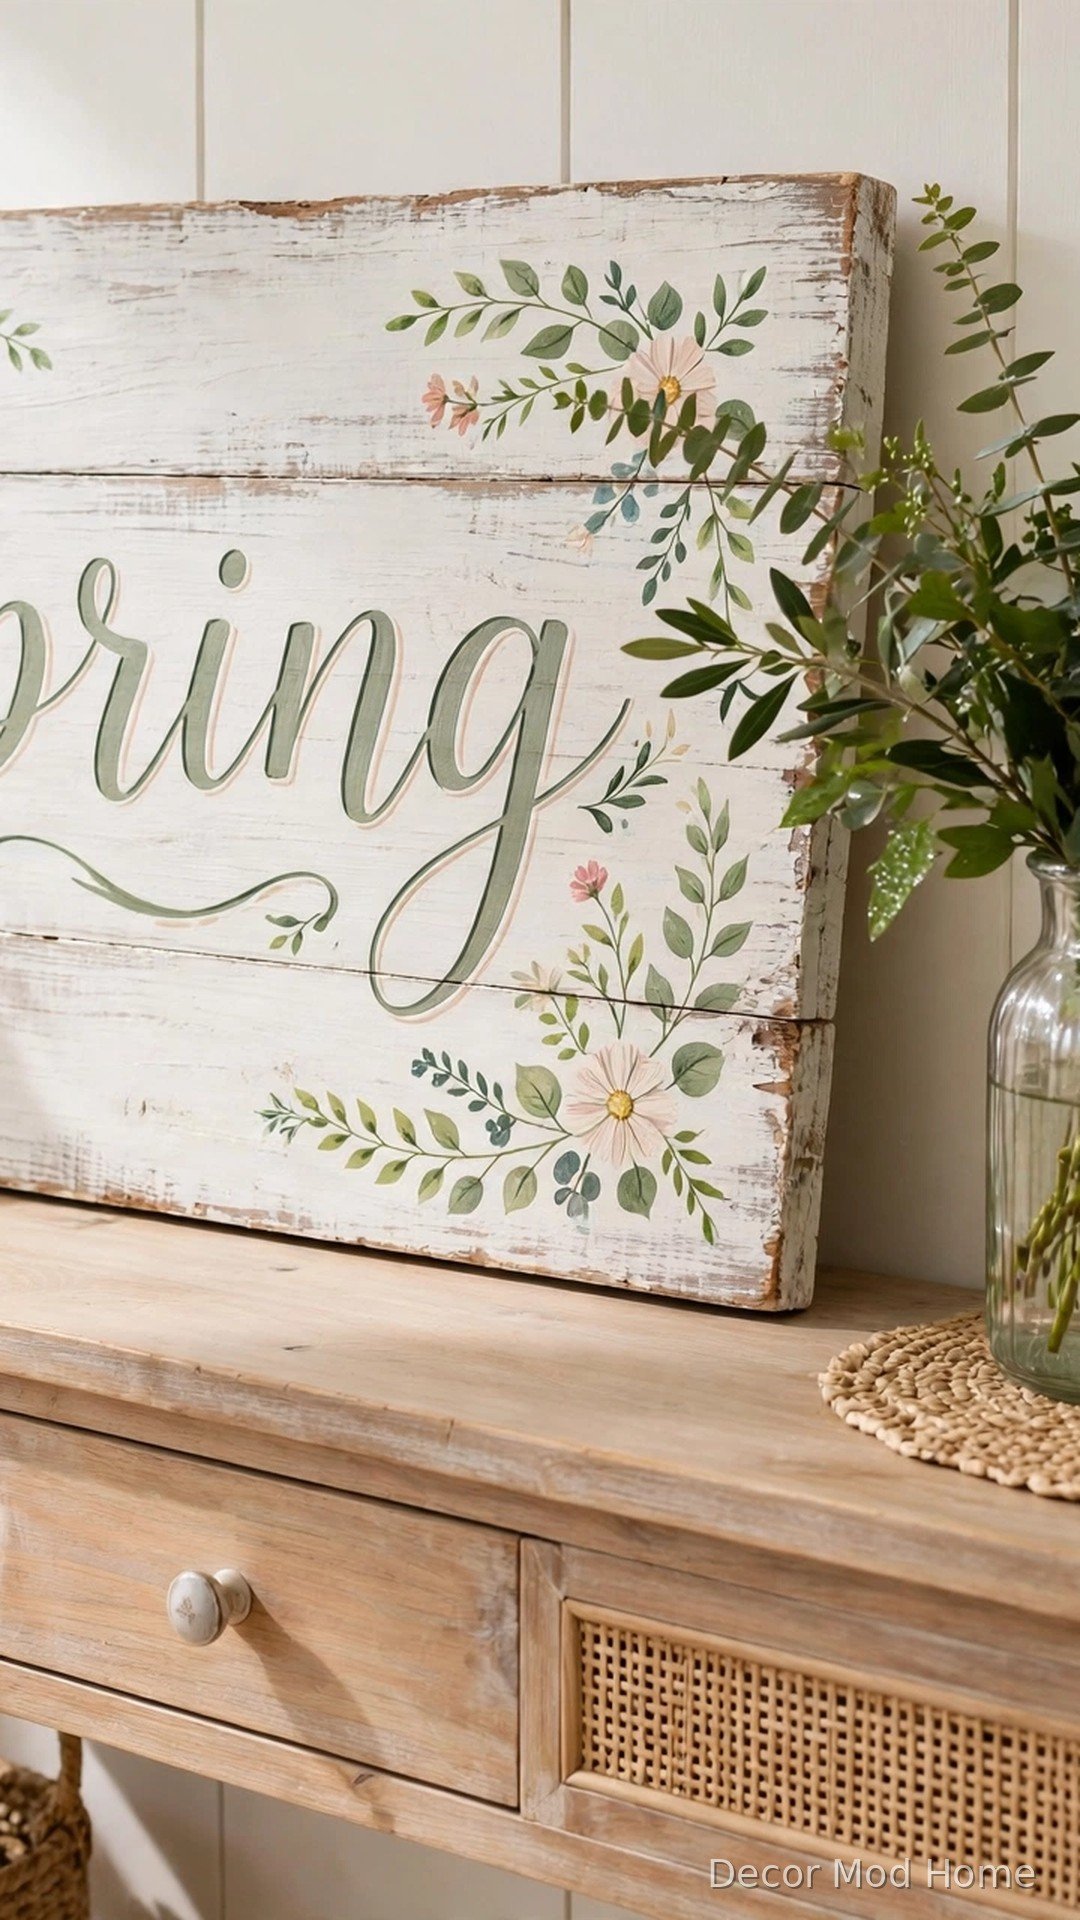
A hand-stencilled wooden sign adds a warm, welcoming message to your entryway or porch. Start with a reclaimed board or an inexpensive blank plaque, sand it smooth, and paint a base coat in whitewash or soft cream. Position an adhesive stencil with a spring phrase in the centre, then dab chalk paint over it with a stencil brush, using very little paint to prevent bleeding under the edges. Carefully peel the stencil away while the paint is still slightly tacky, then lightly distress the edges with sandpaper for a vintage feel. Seal with clear wax. Lean the finished sign on your entryway console beside a vase of greenery, and swap it out when the seasons change.
8. Upcycle an Old Tray with a Hand-Painted Floral Motif
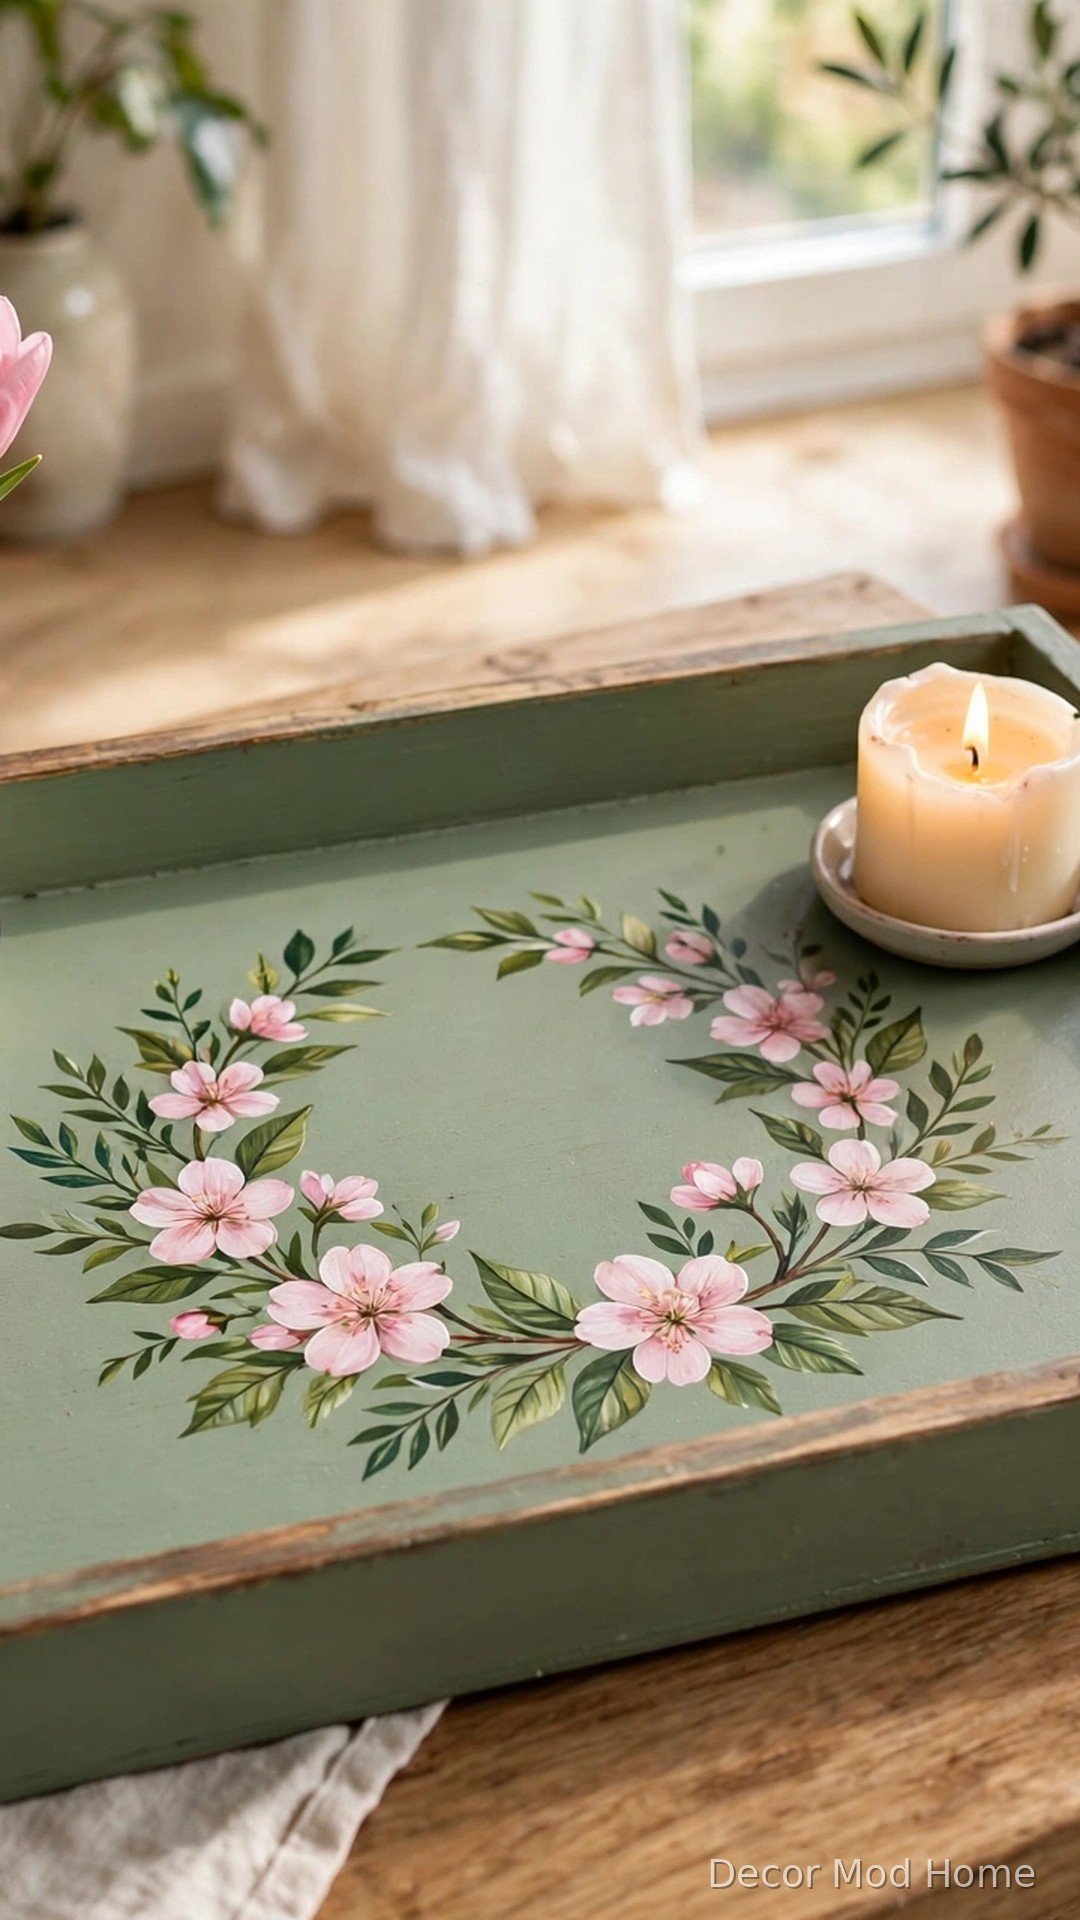
That scratched wooden tray from the charity shop is a floral centrepiece waiting to happen. Sand it lightly, wipe away the dust, and paint the whole tray in a soft base colour such as sage green, warm cream, or pale grey. Once dry, hand-paint a simple floral motif in the centre — five-petal blossoms are easy with a round brush: five dabs of pink around a yellow dot, plus a few green leaves. If freehand painting feels daunting, use a floral stencil instead. Seal everything with two coats of clear varnish so the tray can handle cups and vases. Style it on your coffee table with a candle and a small bud vase.
9. Make Pressed-Flower Glass Lanterns
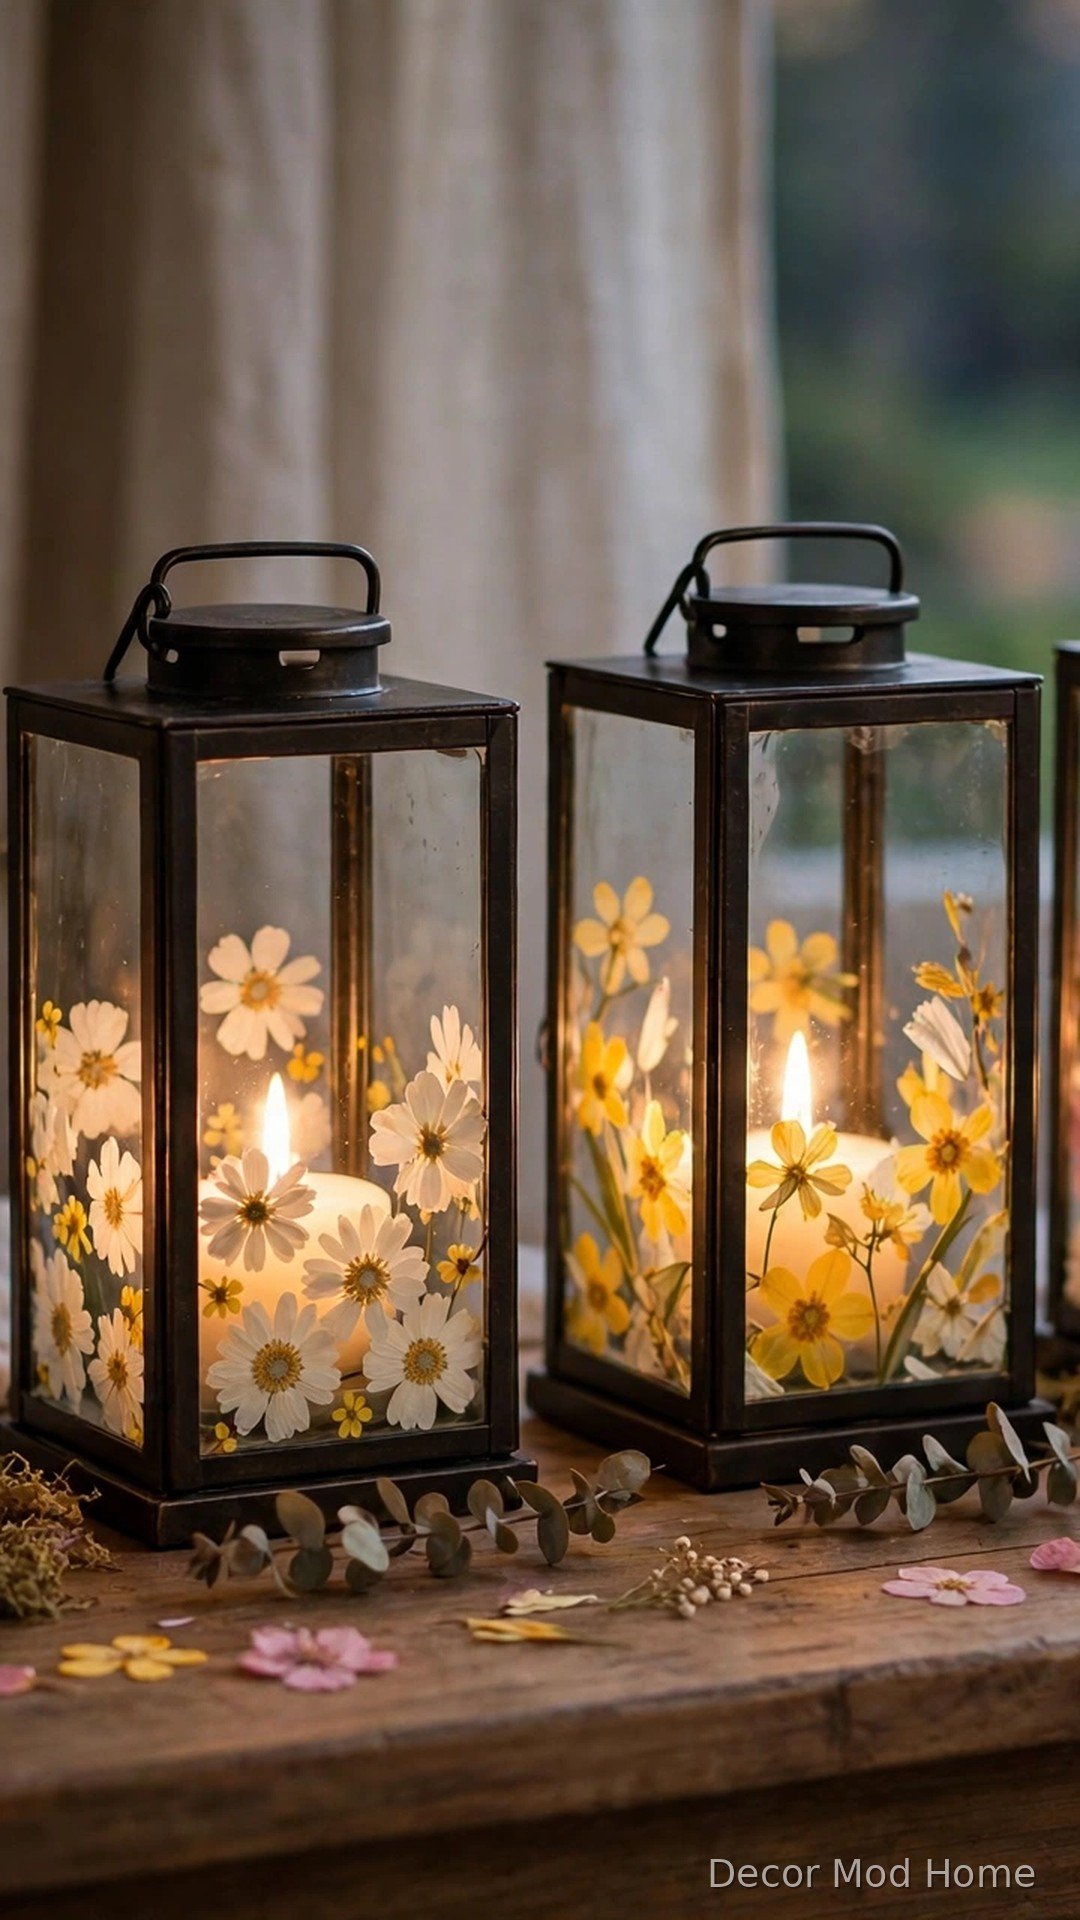
Pressed flowers trapped in glass glow like stained glass when candlelight shines through them. Press real spring blooms — daisies, violets, buttercups, and small leaves — between the pages of a heavy book for about two weeks. Brush a thin coat of decoupage medium onto a glass hurricane or lantern, arrange the pressed flowers on the surface, then seal with another coat of medium. Work gently so the delicate petals do not tear. Place a battery-operated tea light inside rather than a real flame to protect your handiwork. Line up two or three finished lanterns along a mantel or dining table for a soft, romantic spring glow in the evenings.
10. String an Ombré Wooden Bead Garland
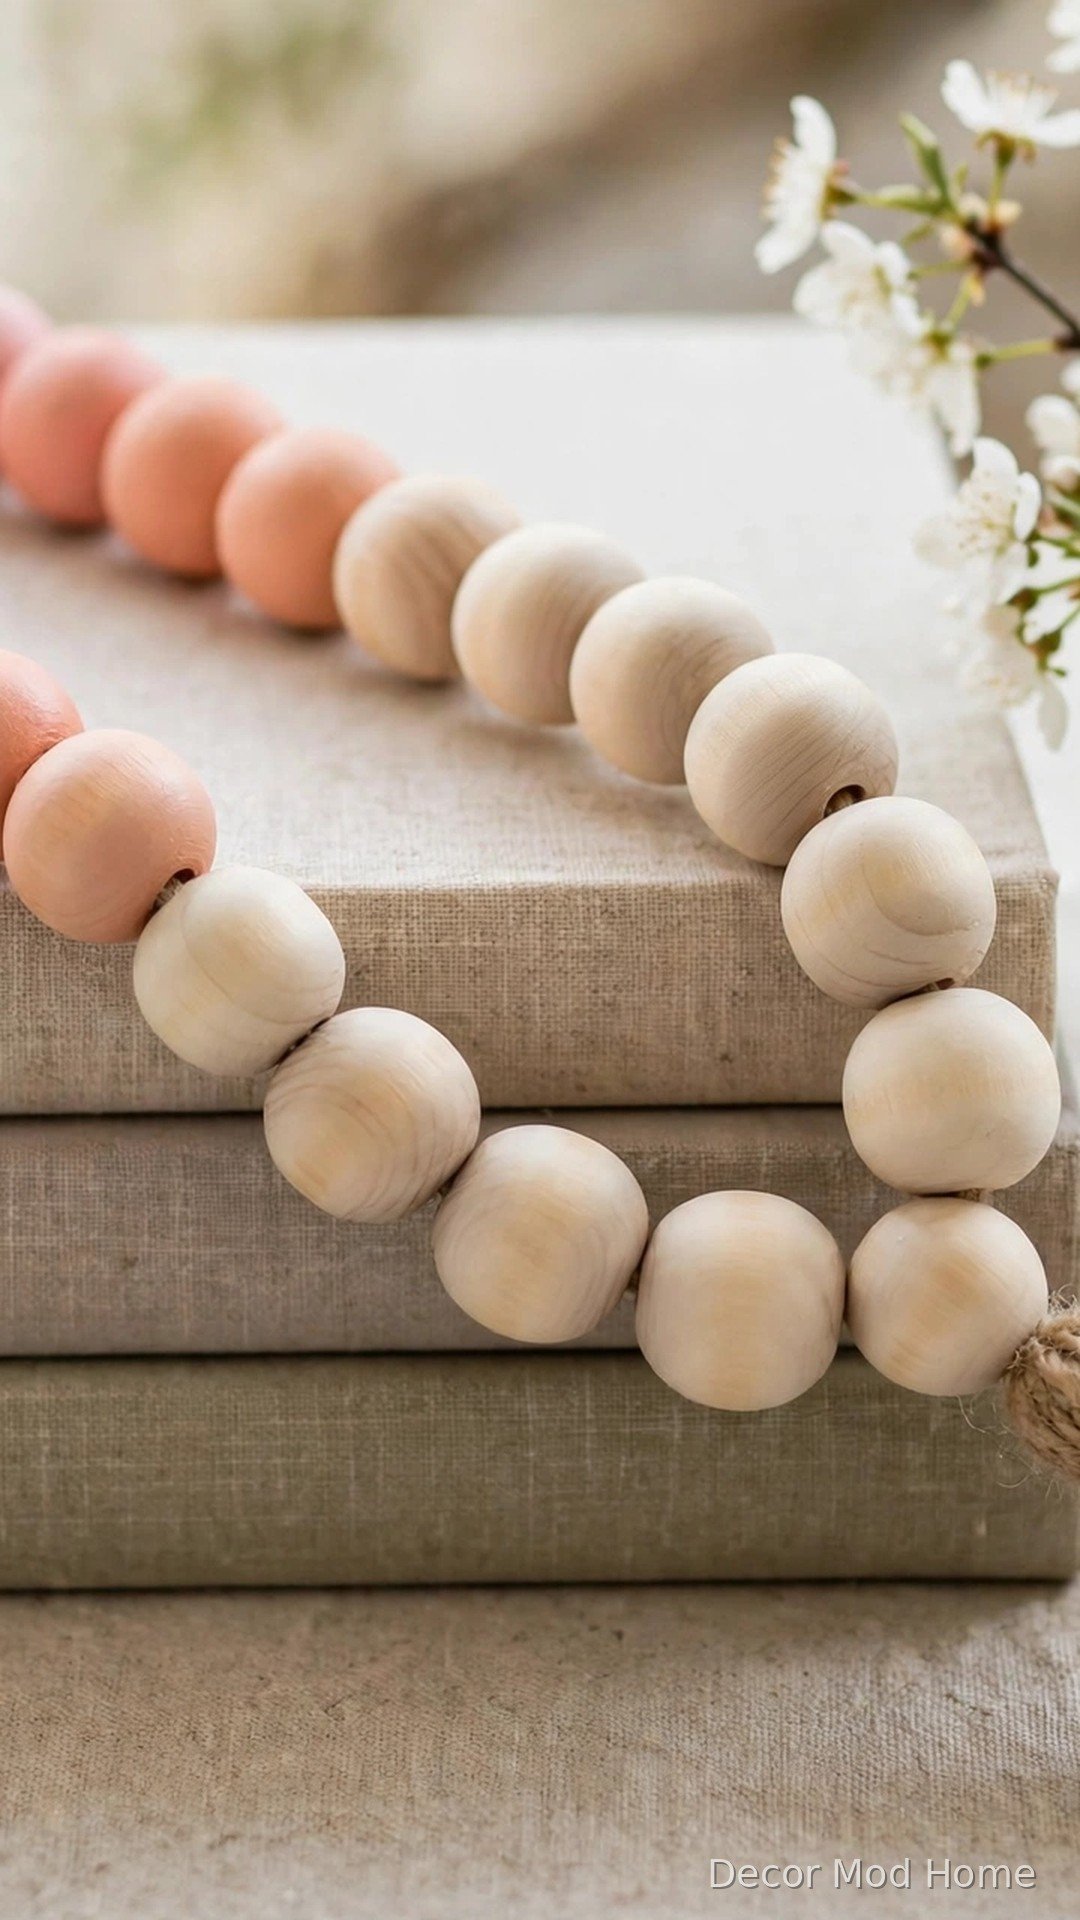
Wooden bead garlands are everywhere in home decor right now, and painting your own in spring ombré colours makes them truly yours. Buy a bag of plain wooden beads in mixed sizes and paint half of them in a gradient of pastels — blush pink fading through peach to cream, for example. Thread the beads onto natural jute twine, alternating painted and unpainted beads, and finish each end with a simple tassel made from the same twine. Drape your garland across a stack of coffee-table books, along a shelf, or around the base of a table lamp. It adds texture and handmade warmth to any corner, and takes less than an hour to make.
11. Build a Tabletop Terrarium from a Repurposed Jar
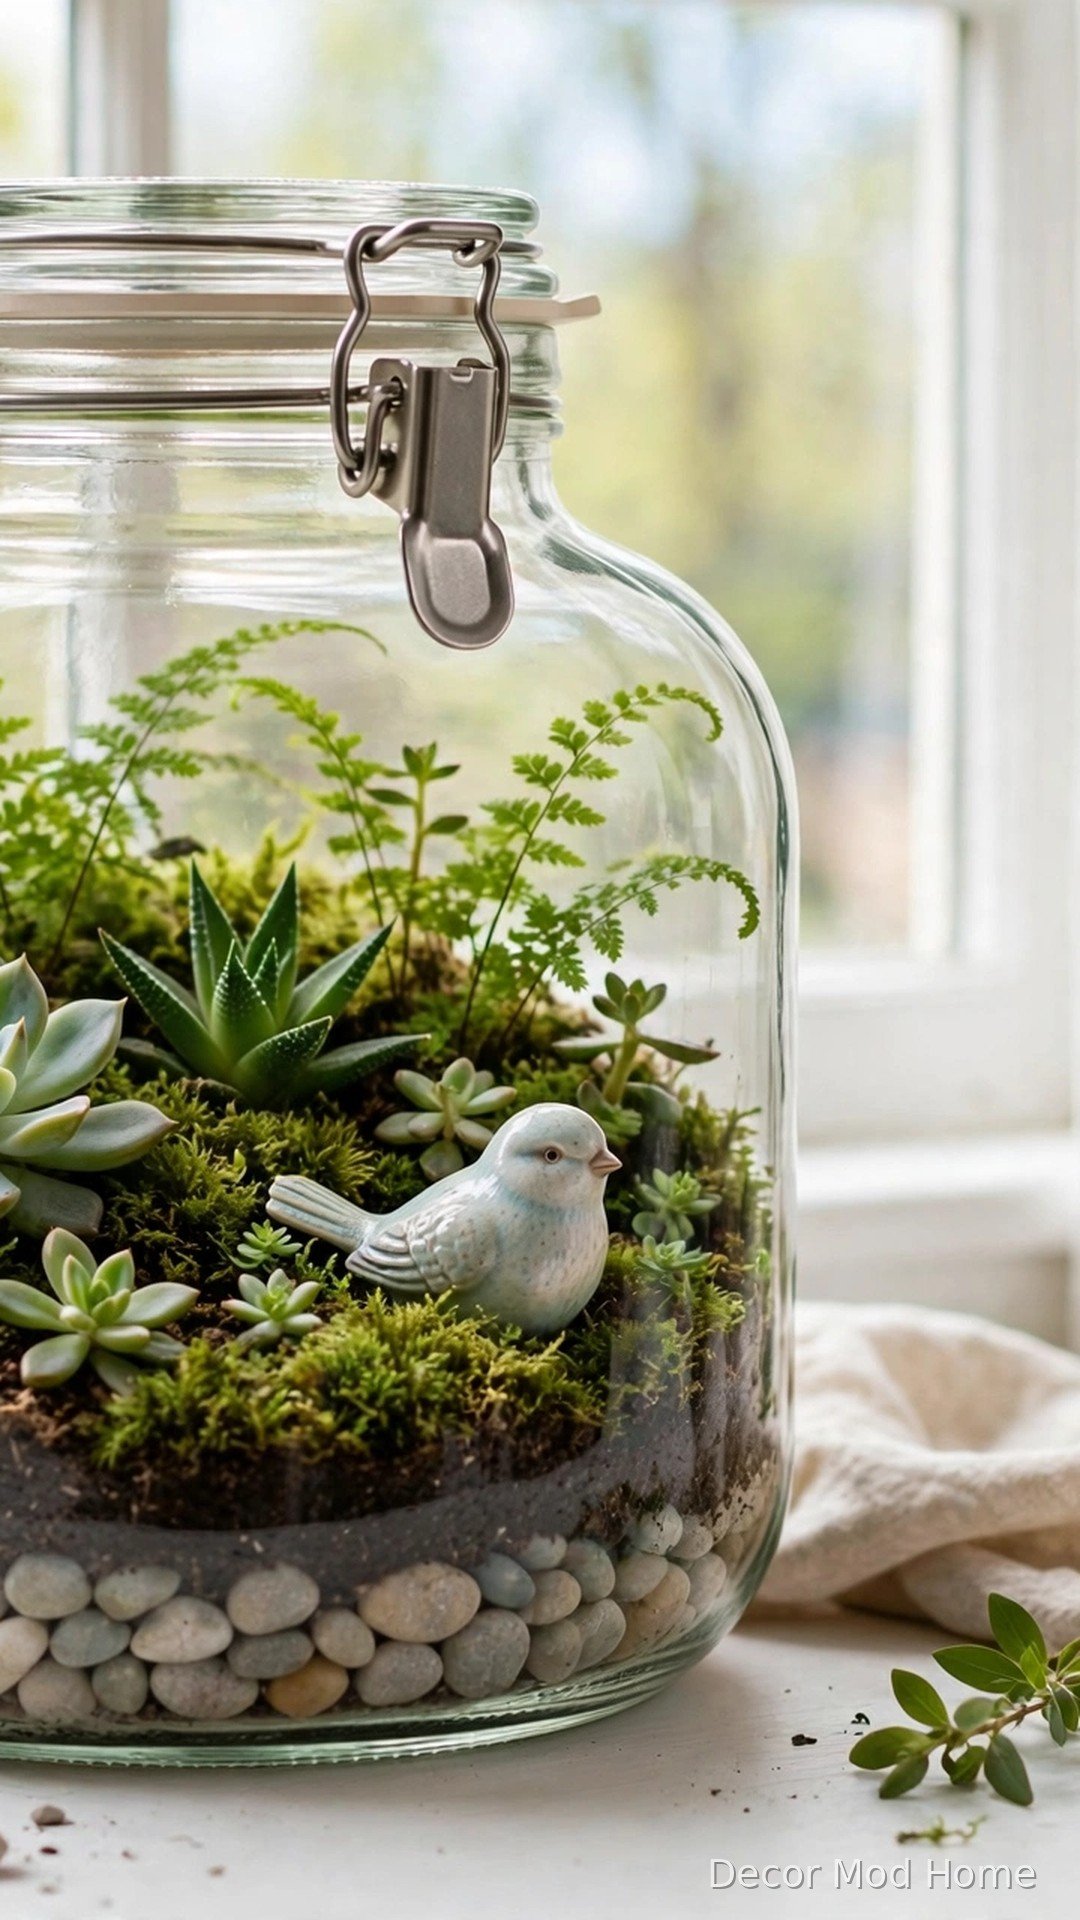
A large glass jar — a cookie jar, a pickle jar, even a fishbowl — makes a charming terrarium with almost no cost. Start with a layer of small pebbles for drainage, add a spoonful of activated charcoal to keep things fresh, then a few centimetres of potting soil. Plant small succulents, moss, or tiny ferns, leaving space between them to grow. Tuck in decorative pebbles, a piece of driftwood, or a miniature ceramic bird for personality. Mist lightly with water and leave the lid off for airflow. Place your terrarium on a desk, side table, or kitchen windowsill where it will catch bright, indirect light.
12. Weave a Braided Rag Runner from Scrap Fabric
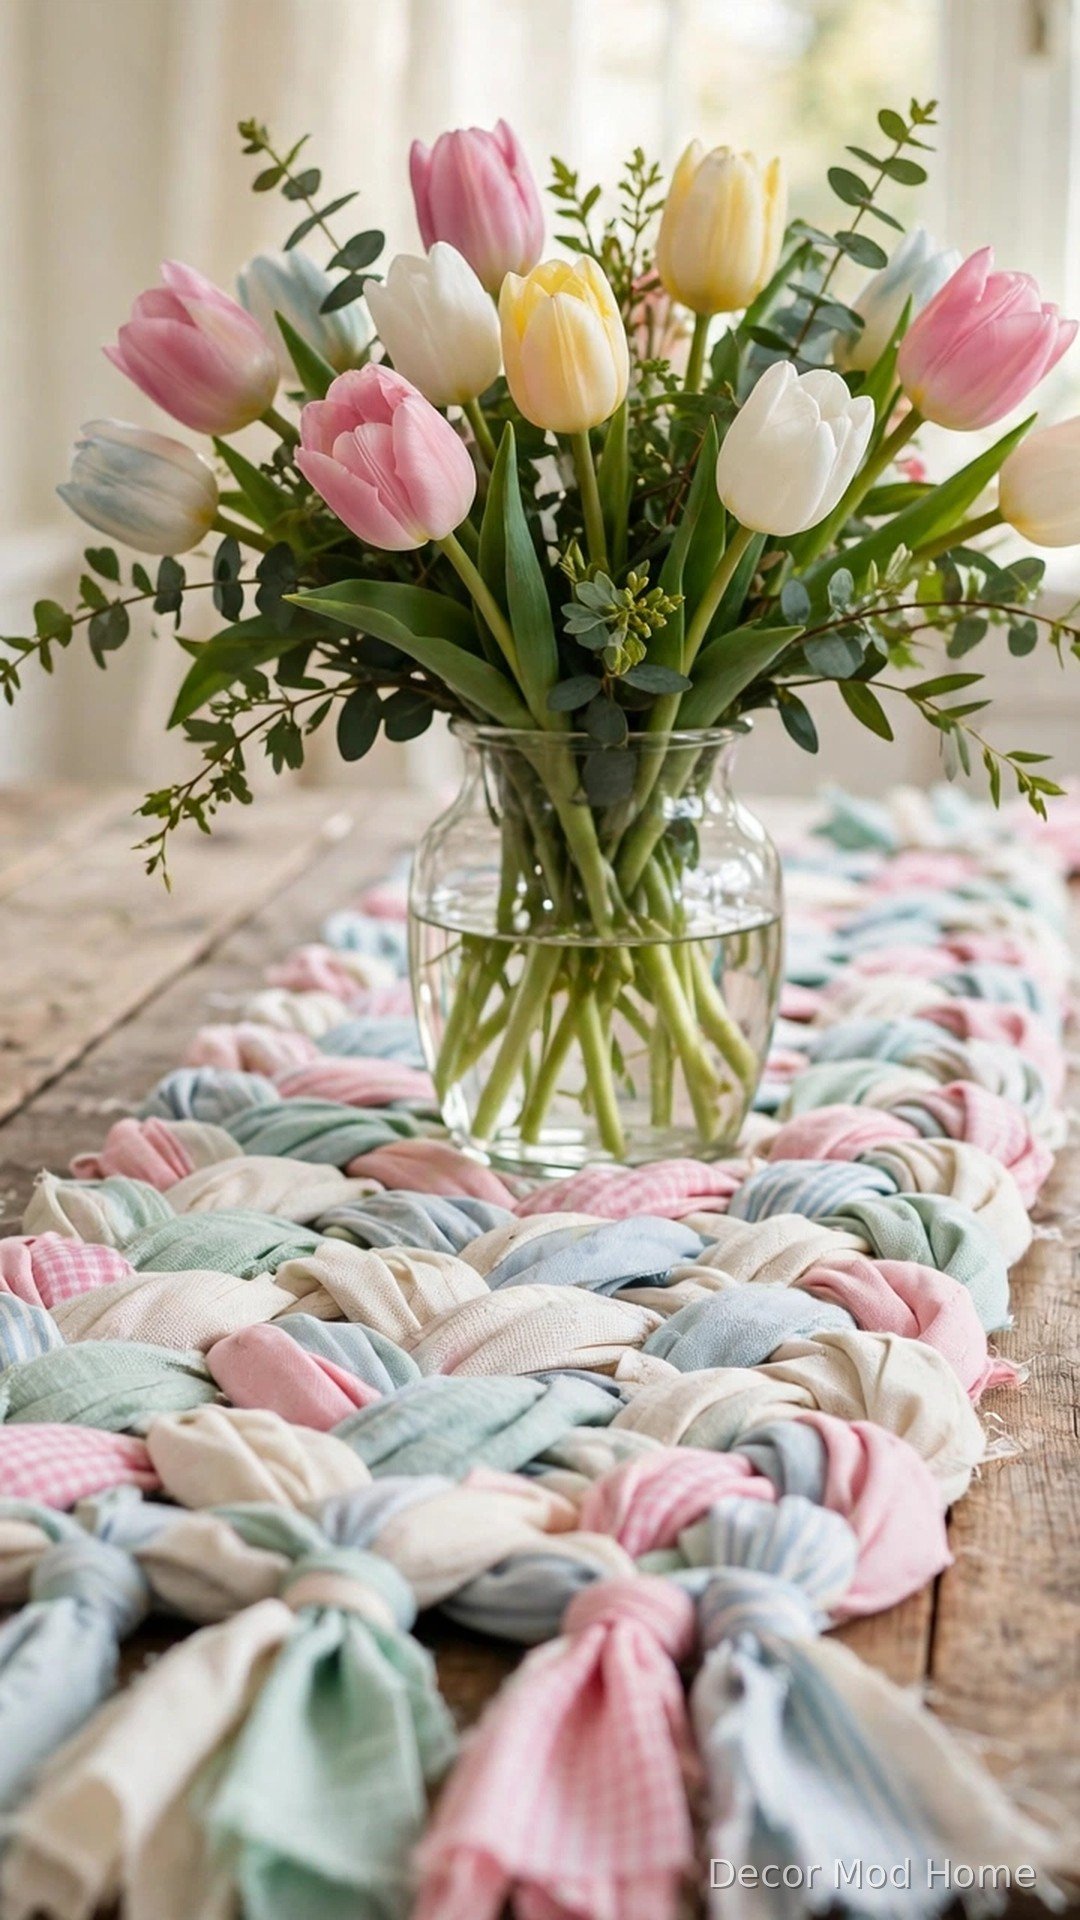
Turn worn-out sheets, old t-shirts, and fabric offcuts into a beautiful braided table runner. Cut or tear the fabric into strips about five centimetres wide, then braid three strands together tightly, adding new strips as you go by overlapping the ends. When your braid is long enough, coil it into a long oval and stitch the coils together with a ladder stitch or a zigzag on the sewing machine. Trim any loose threads and press it flat. The finished runner has a lovely farmhouse texture, washes easily in the machine, and costs nothing but time. Make it in spring pastels for the season, or in neutrals for year-round use.
13. Hand-Stamp Botanical Tea Towels
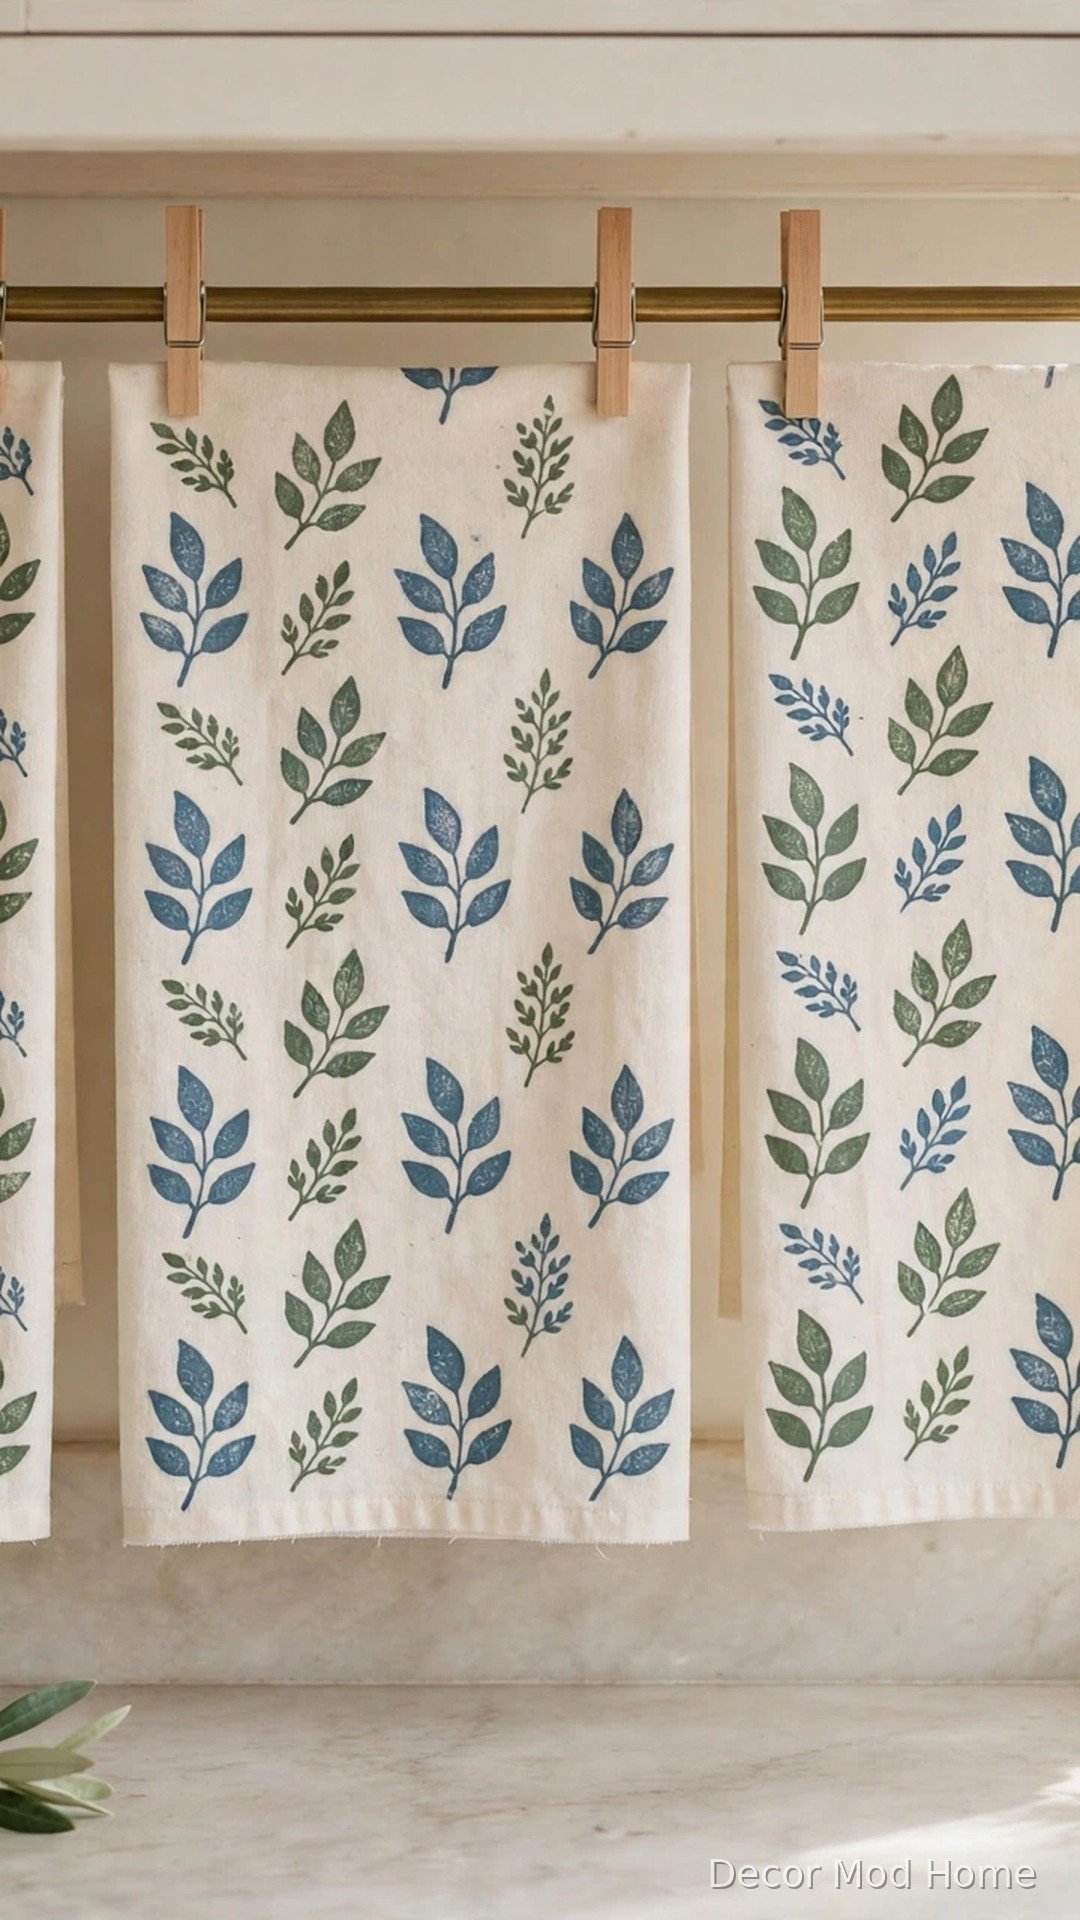
Hand-stamped tea towels bring a personal, artisan touch to your kitchen. Buy plain cotton tea towels and carve a simple leaf or flower stamp from a potato, a craft-foam sheet, or a rubber eraser. Dip the stamp lightly in fabric paint — sage green, dusty blue, and terracotta all look lovely — and press it onto the towel in a repeating border or an all-over sprig pattern. Keep a light, even hand and re-ink the stamp for each impression. Heat-set the paint with a hot iron through a pressing cloth, then wash and use as normal. Bundle a set of three with twine and a sprig of dried lavender for a thoughtful handmade gift.
14. Decoupage Plant Pots with Floral Napkins
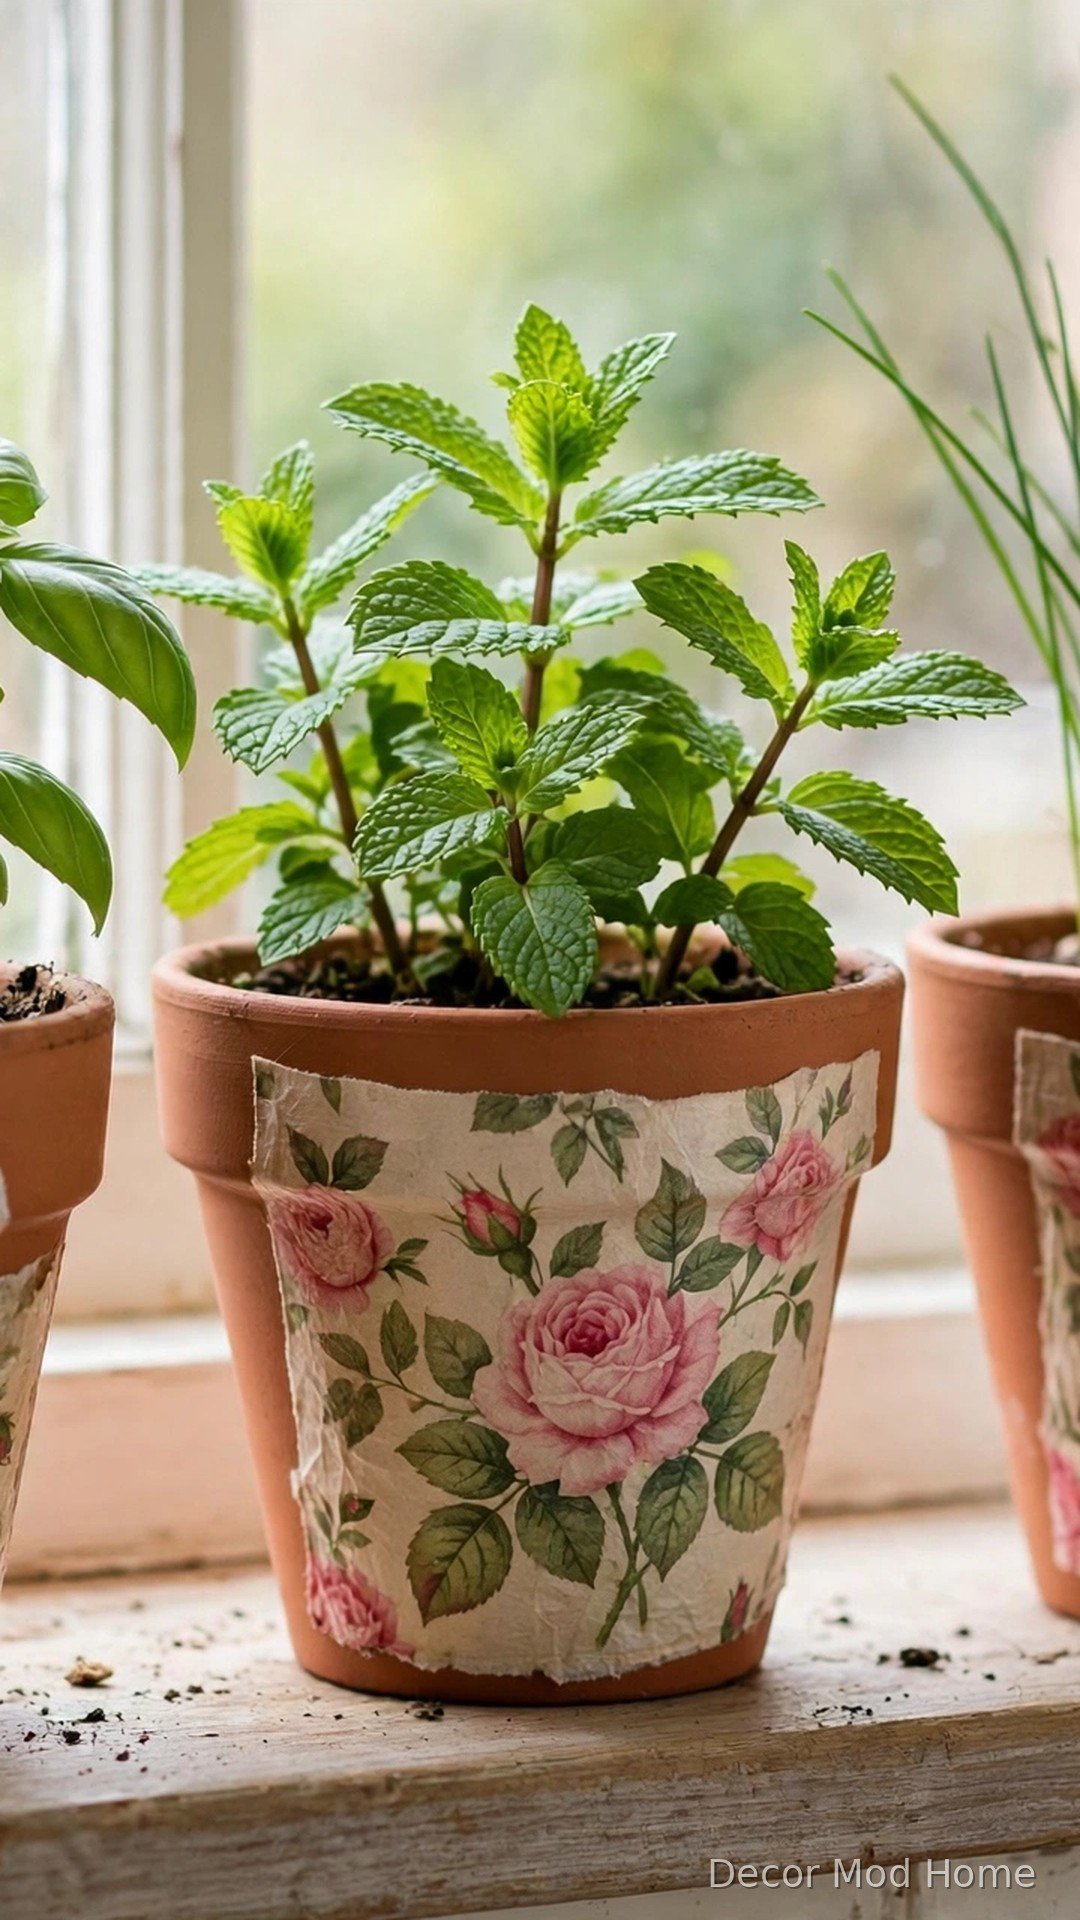
Decoupage gives plain plant pots the look of hand-painted china for the price of a paper napkin. Choose pretty floral paper napkins and separate the printed top ply from the plain layers. Brush decoupage medium onto a small clean pot, smooth a piece of napkin over the surface, and gently brush more medium over the top to seal it — the thin paper moulds itself around curves beautifully. Overlap pieces to cover the whole pot, then finish with two sealing coats. Plant fresh herbs like basil, mint, or chives, and line the finished pots along your kitchen windowsill. They look far more expensive than they were.
15. Paint Garden Plant Markers from Pebbles

Hand-painted pebble markers make your herb pots and garden beds look cared-for and charming. Collect smooth, flat pebbles and paint each one with a base coat of white or pastel acrylic so your lettering stands out. Once dry, write herb names — basil, thyme, mint, rosemary — with a fine paint pen, or paint the letters freehand with a small brush for a rustic look. Add a tiny painted leaf or flower beside each name for extra prettiness. Seal with a clear outdoor varnish so rain does not wash your work away, then nestle the pebbles into your pots. Short on pebbles? Painted popsicle sticks work just as well.
16. Tie-Dye a Pastel Table Runner
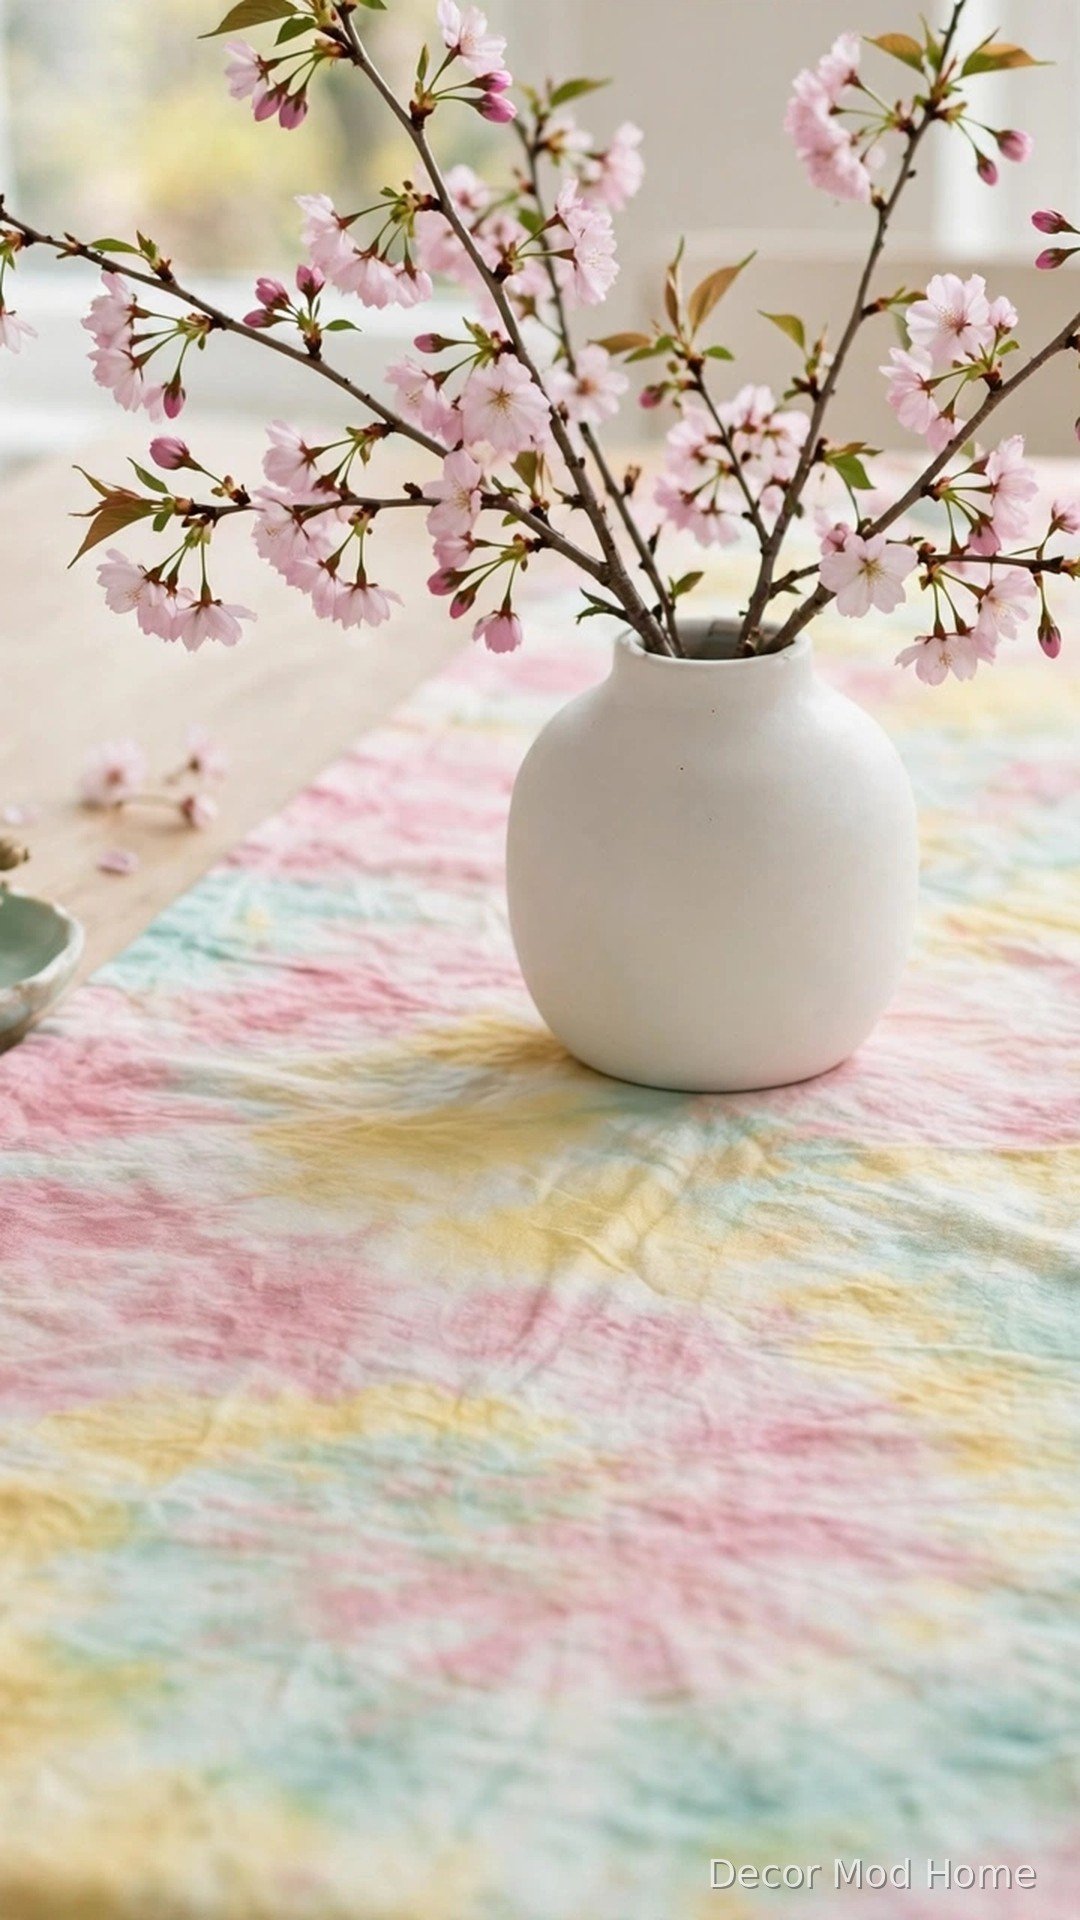
Tie-dye is not just for t-shirts — a pastel tie-dyed runner makes a stunning spring tablescape. Soak a white cotton runner in a soda-ash solution for twenty minutes, then wring it out. Scrunch, spiral, or fold the fabric and secure it with rubber bands, then apply pastel fabric dyes — pink, butter yellow, and mint — with squeeze bottles, letting the colours blend softly at the edges. Seal the runner in a plastic bag for 24 hours, then rinse in cold water until clear and machine wash. Every runner comes out one of a kind. Lay it down the centre of your dining table with a simple vase of blossoms.
17. Create Embroidery Hoop Flower Wall Art

Embroidery hoops make instant frames for a fresh take on floral wall art. Stretch pastel linen or plain calico tightly in wooden hoops of various sizes — a group of three to five looks best. Hot-glue faux spring blooms, greenery, and a few dried grasses onto the fabric in a crescent or corner arrangement, leaving plenty of empty fabric for a modern, airy feel. Hang the hoops in a loose cluster on a hallway or bedroom wall using small nails or adhesive hooks. The beauty of this project is its flexibility: swap the flowers each season and your wall art is new again without buying new frames.
Frequently Asked Questions
How much will these DIY spring projects cost me?
Most of these projects cost very little, especially if you shop your own home first. Paint, glue, and basic tools are one-time buys, and many ideas use things you already own — mason jars, fabric scraps, old trays, and garden pebbles. Charity shops are brilliant for blank canvases like wooden trays and glass jars. Even if you buy everything new, from faux florals to fabric dye, each project typically comes in well under the price of a comparable shop-bought decoration.
I am not very crafty — which projects should I start with?
Start with the painted mason jars, the wooden bead garland, the decoupaged pots, or the pebble plant markers. None of them requires special skills, and each one is forgiving of wobbly lines or uneven paint — that handmade character is part of the charm. Follow the steps slowly, keep your first attempt small, and remember that grouping finished pieces in odd numbers makes almost anything look intentional and stylish.
How long does each project take to finish?
Most of these ideas take between thirty minutes and an hour and a half of hands-on time. The bead garland, stamped tea towels, and pebble markers are quick evening projects. The wreath, bunting, and rag runner take a little longer but are perfect for a relaxed weekend afternoon. Dip-dyeing and tie-dyeing need extra waiting time for soaking and drying, so start those in the morning and finish them the next day.
How do I make DIY decor look stylish rather than homemade?
The secret is restraint: limit yourself to two or three pastel shades plus neutrals across each project, and finish edges neatly by sealing paint, trimming threads, and hiding glue. Display handmade pieces the way a stylist would — grouped in odd numbers, at varying heights, with breathing space around them. Finally, mix one or two handmade items with pieces you already own rather than crafting everything at once, and the whole room will feel curated rather than crafty.
Start Making Your Spring Home Today
Spring is the season of fresh starts, and there is no better way to welcome it than by making something beautiful with your own hands. Whether you begin with a simple jar of hand-painted vases or go all in with a weekend of wreaths, dyeing, and bunting, each of these seventeen projects will leave your home feeling brighter, fresher, and unmistakably yours. Pick the idea that made you smile, gather your supplies, and enjoy the making as much as the result. We would love to see what you create — share your finished project in the comments below, and explore more seasonal ideas across Decor Mod Home to keep every room feeling beautiful all year round.